Showing posts with label herbs. Show all posts

Wednesday, October 26, 2011

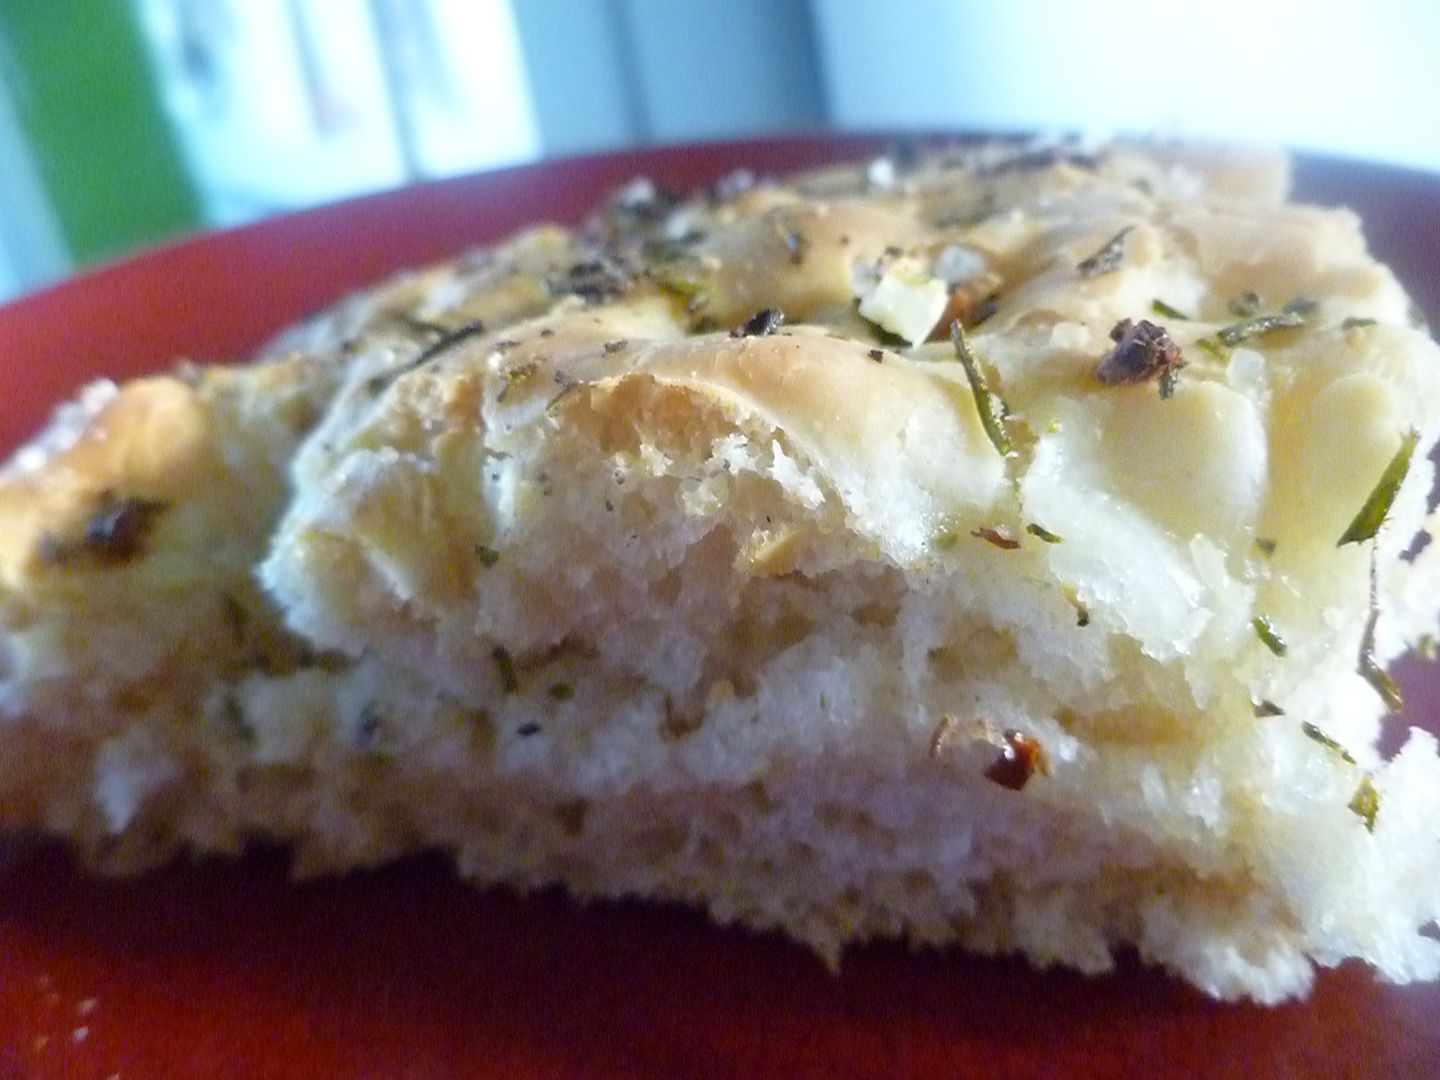
Rosemary-Garlic Foccacia


With all the crock pot soup I've been making, I've felt the urge to have an equally hearty accompaniment. I suddenly found myself thinking of foccacia.

But not just any foccacia. Foccacia studded with rosemary, garlic, and big flakes of salt.

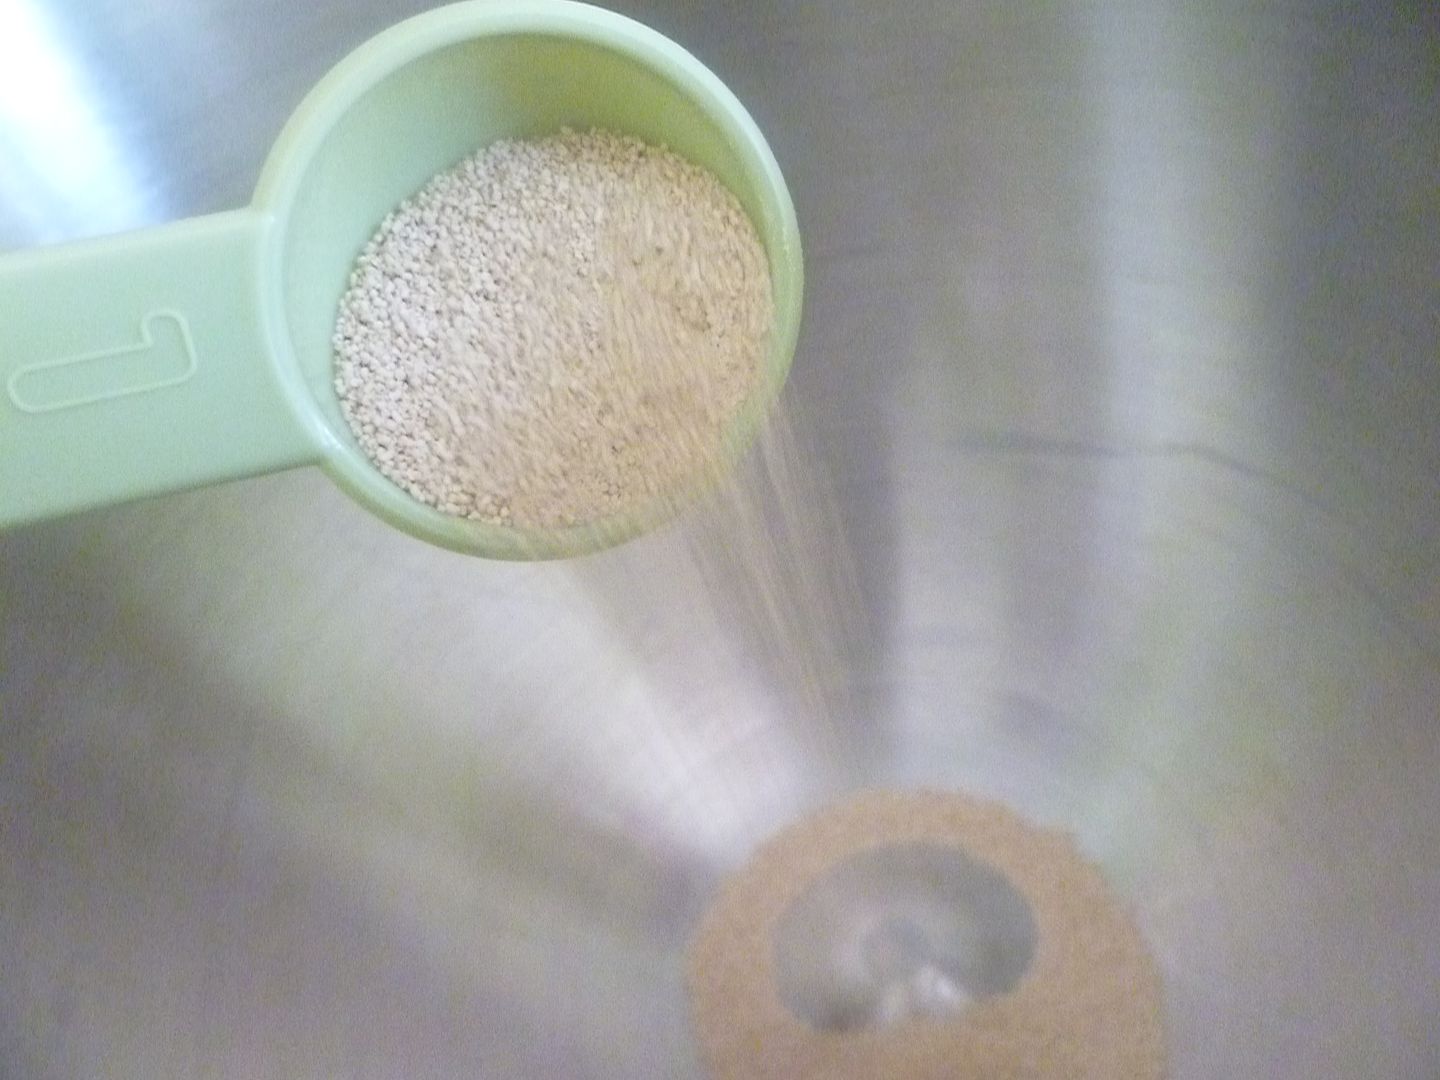
A tablespoon of yeast (or a package, if you're using the premeasured packages) is your first ingredient.

Warm-ish water will help wake the yeast up.

If you're not sure if your water is too hot, stick your finger in it. The water should be slightly warmer than your body. If it hurts your hand, it's too hot! It will kill the yeast and your bread won't rise.

I recommend slowly heating your water in the microwave at 5-10 second increments. You need to start out with cold water--hot water from the tap won't cut it. The hot water will loosen mineral deposits in your pipes. Have you ever looked at the hot water that comes out of your kitchen sink, and seen how cloudy it is? It's minerals.

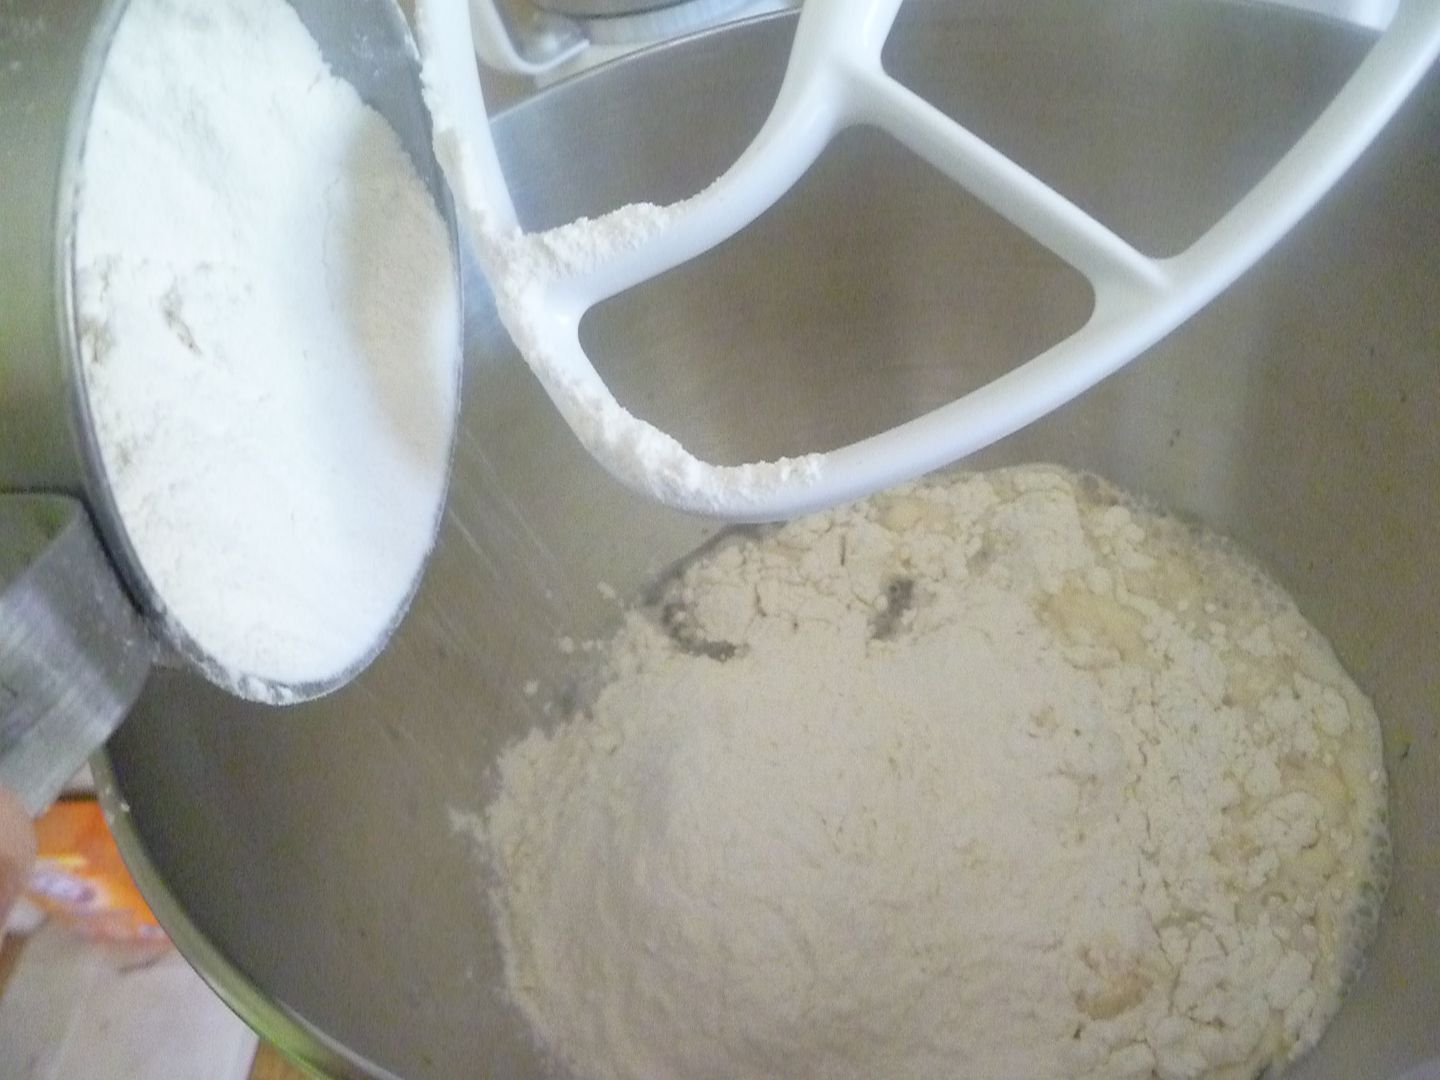
Sprinkle in half the flour.

Then turn on the mixer. Beat it for about a minute, on high.

Now for the aromatics. Fresh rosemary goes so well with garlic!

Strip the leaves off the woody branches.

Grab some garlic.

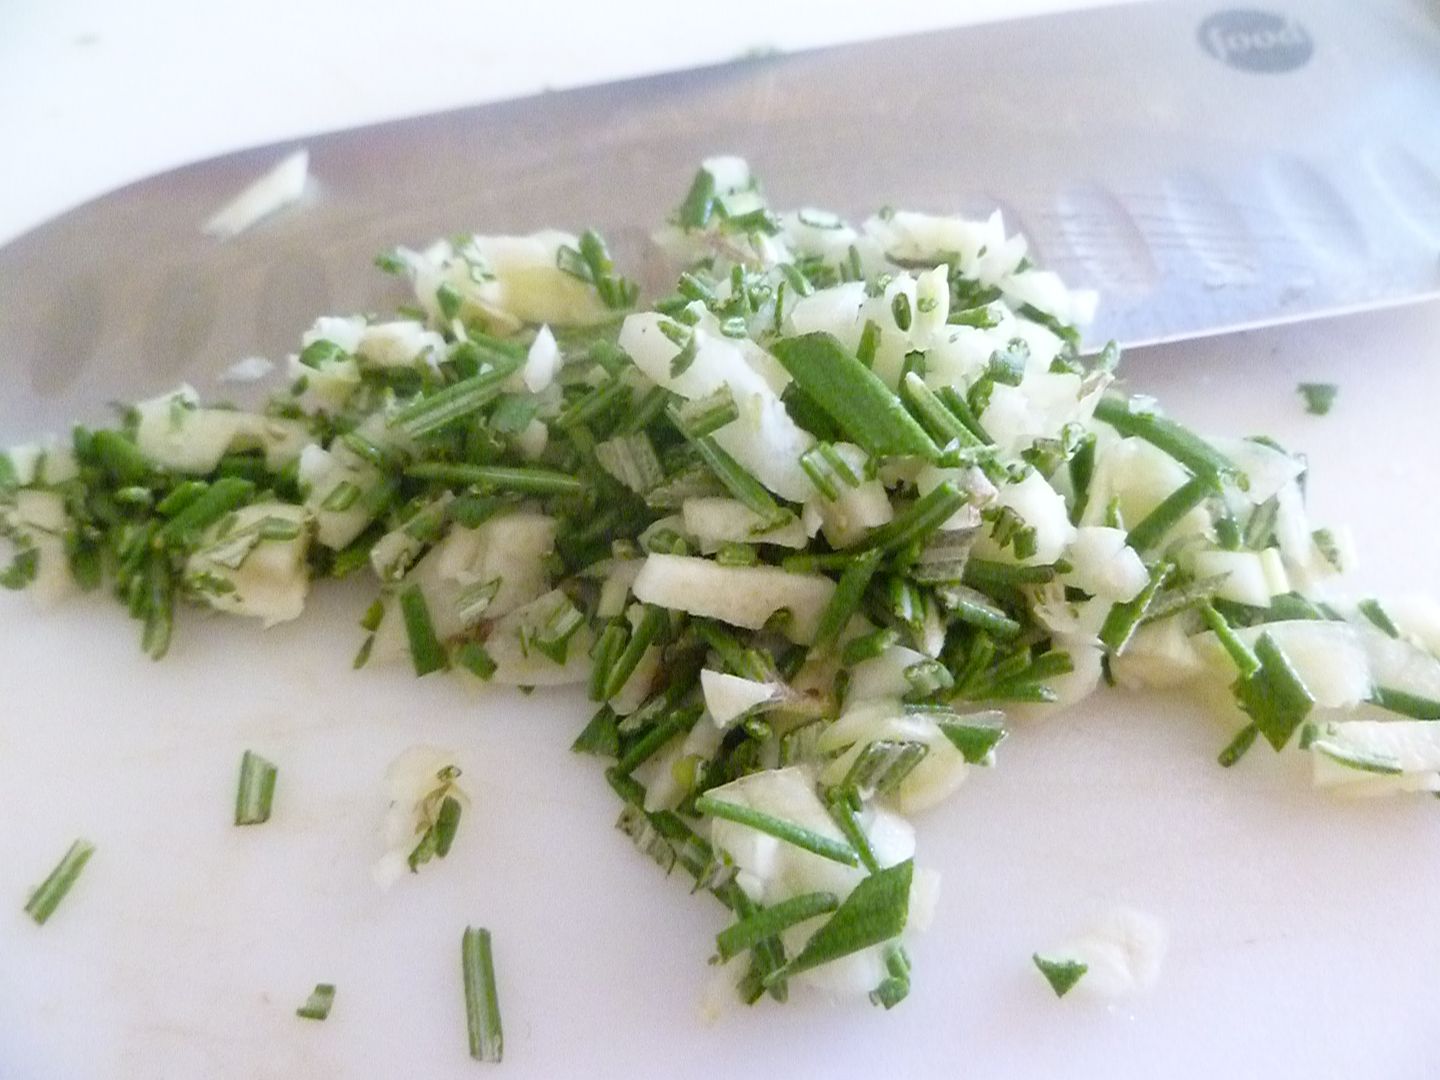
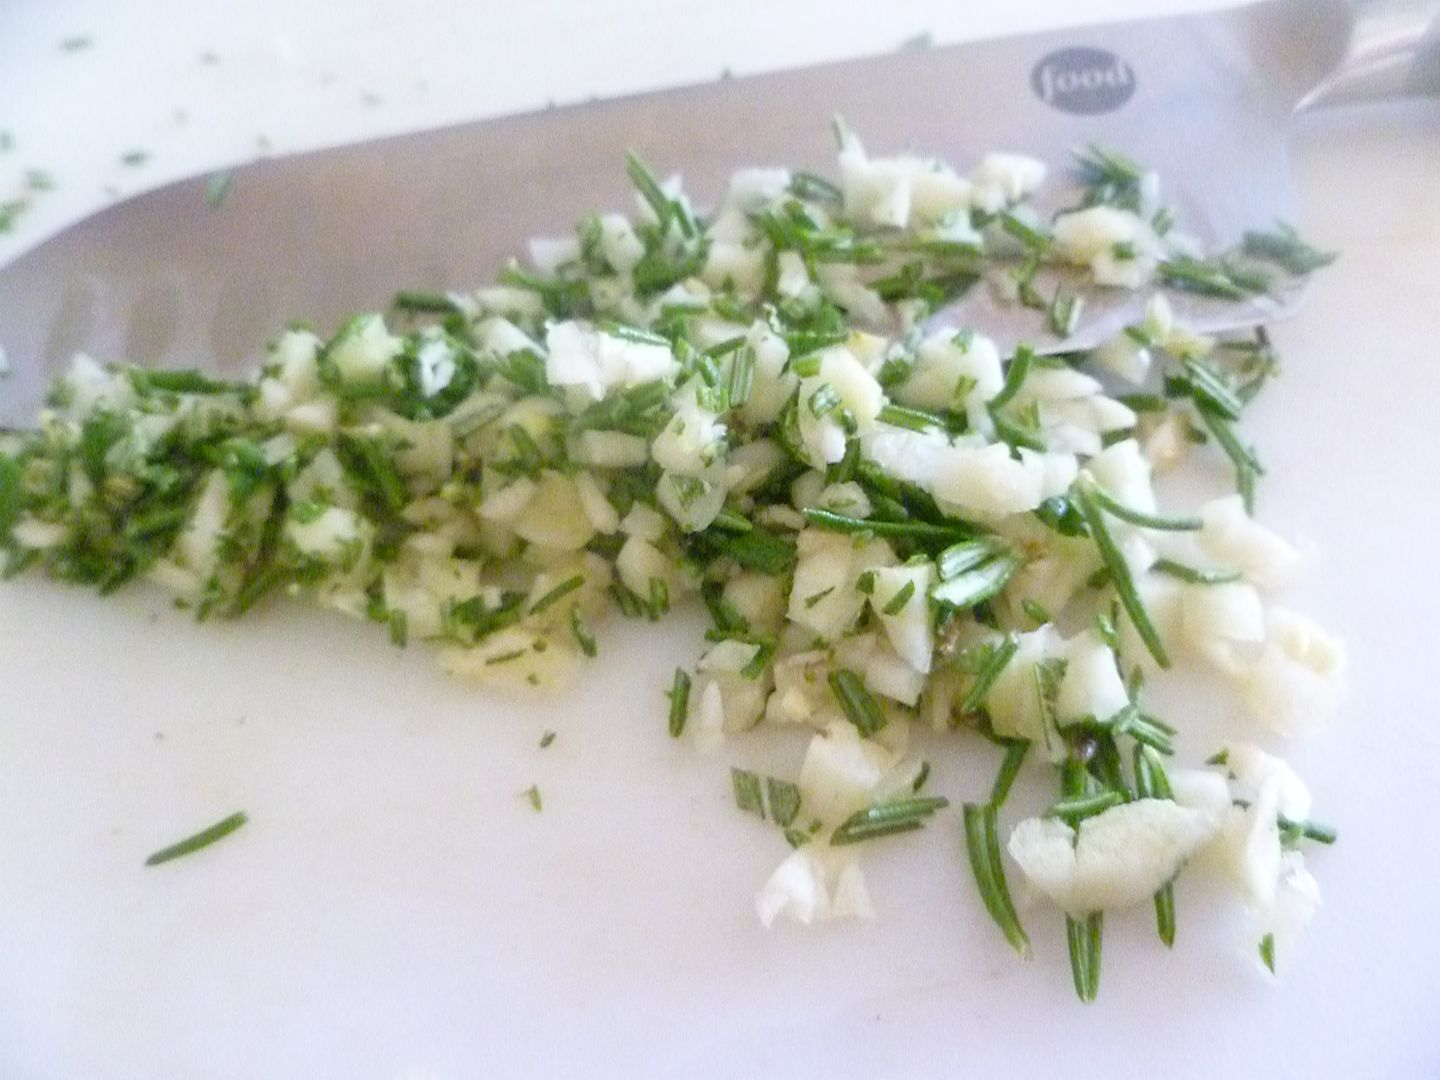
Chop the garlic and the rosemary together. The moisture in the garlic will help the rosemary not fly all over the place, and the rosemary oil will infuse into the garlic bits.

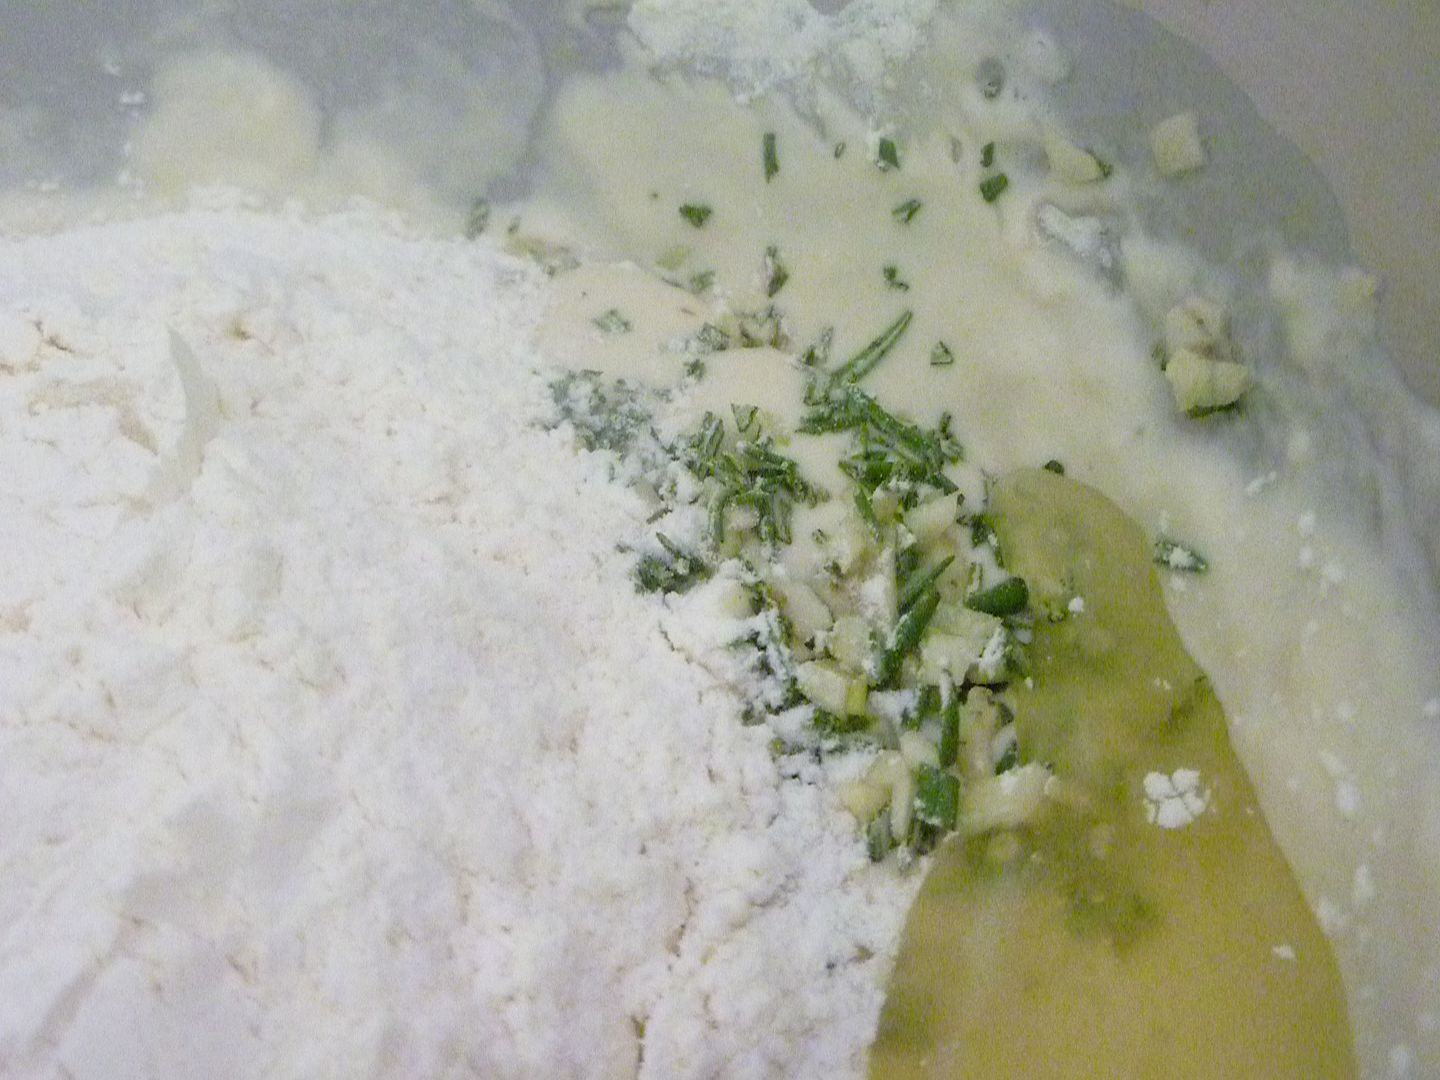
Pour in the rest of the flour, the herbs and garlic, and some olive oil.

The kitchen smells so good right now.

Mix together. And add some salt.

Beat the dough until it pulls away from the mixer in one big ball.

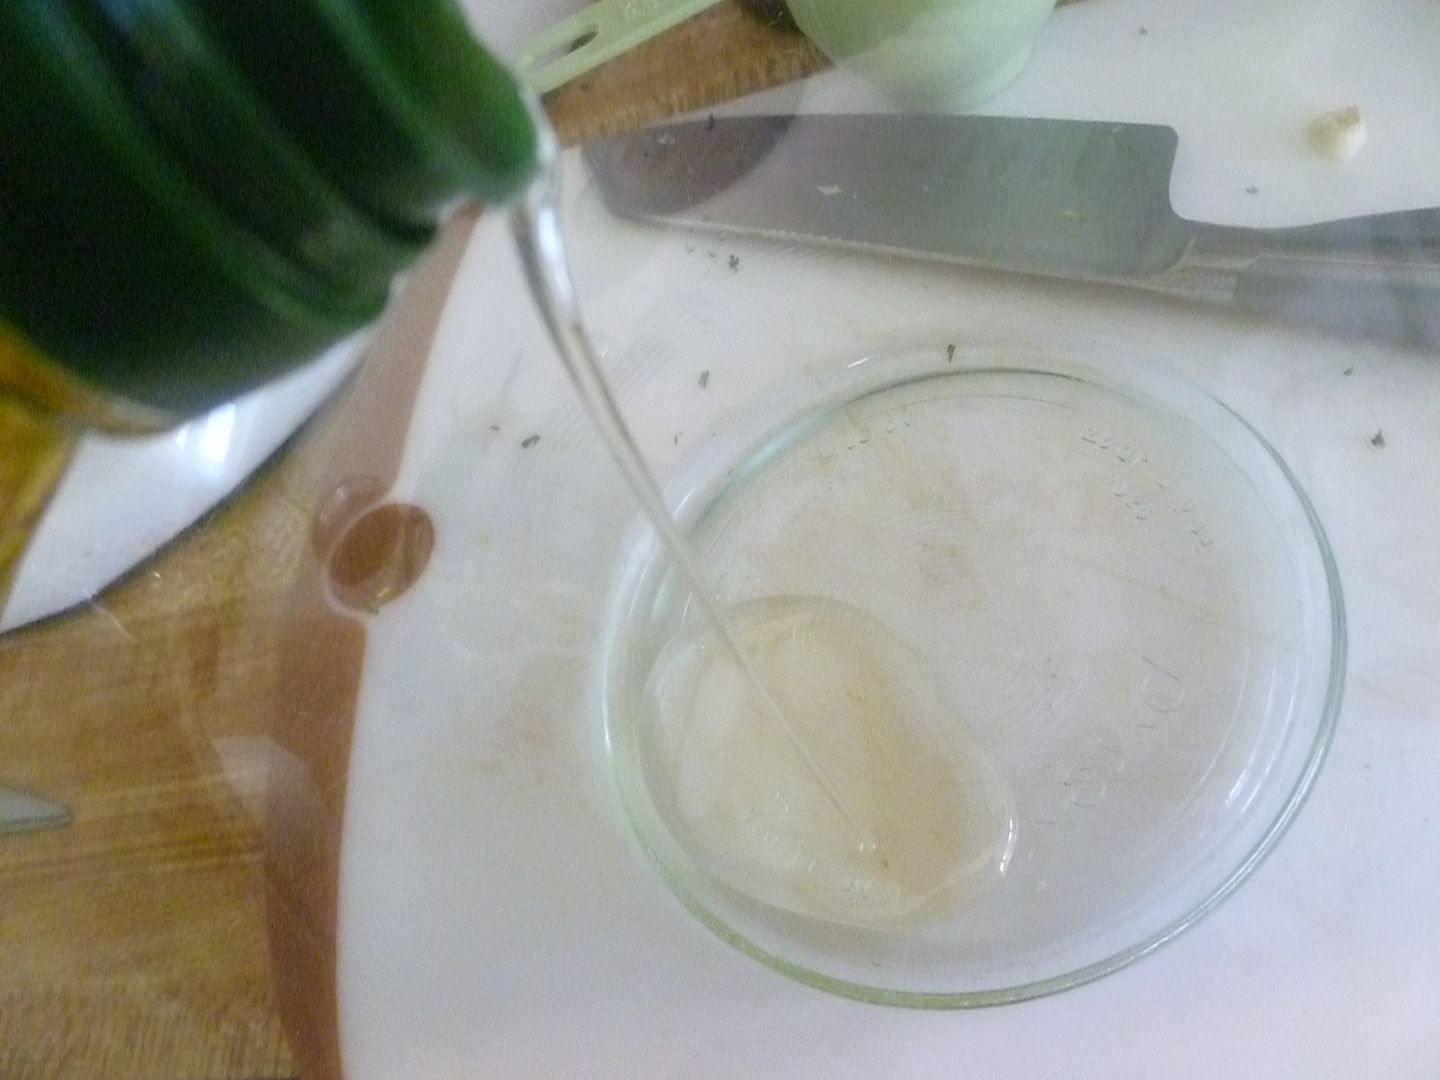
Grab a bowl and drizzle in some olive oil. This will help your dough rise and make it easier to remove it later.

Turn the dough out of the mixing bowl, and stretch it. Pinch the edges underneath, to make a ball.

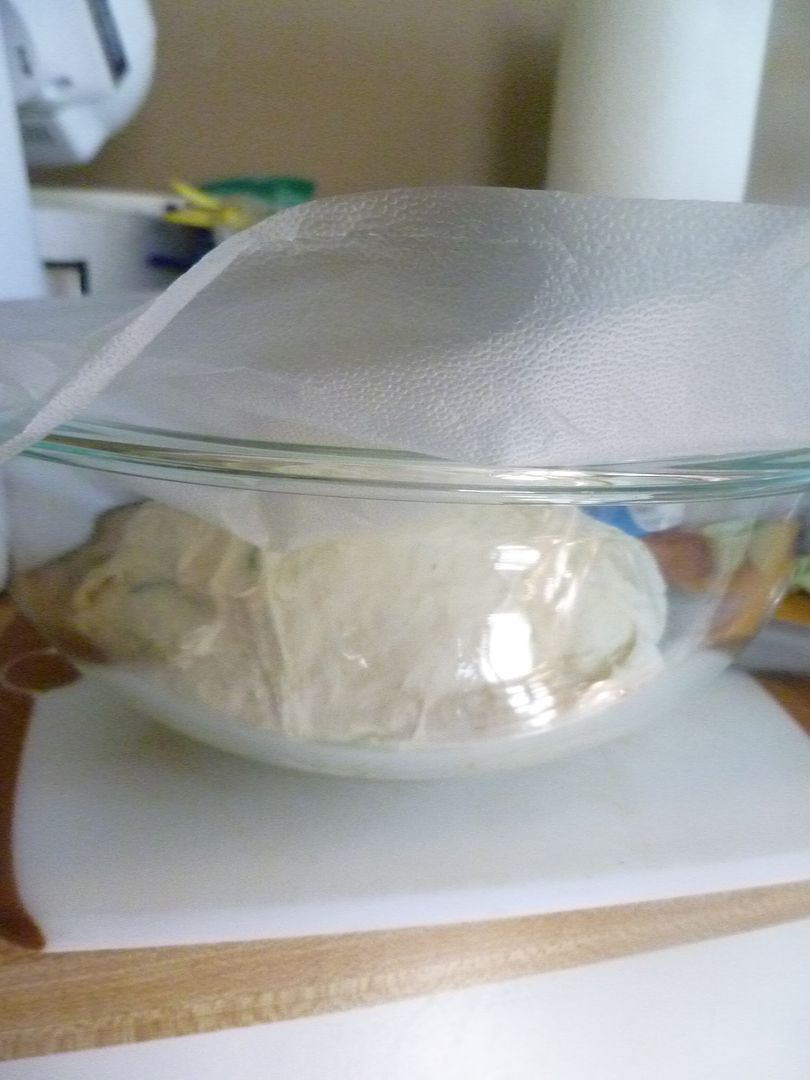
Move the dough to the bowl and cover with some plastic wrap. Let the dough rise for an hour (or more), until doubled in size.

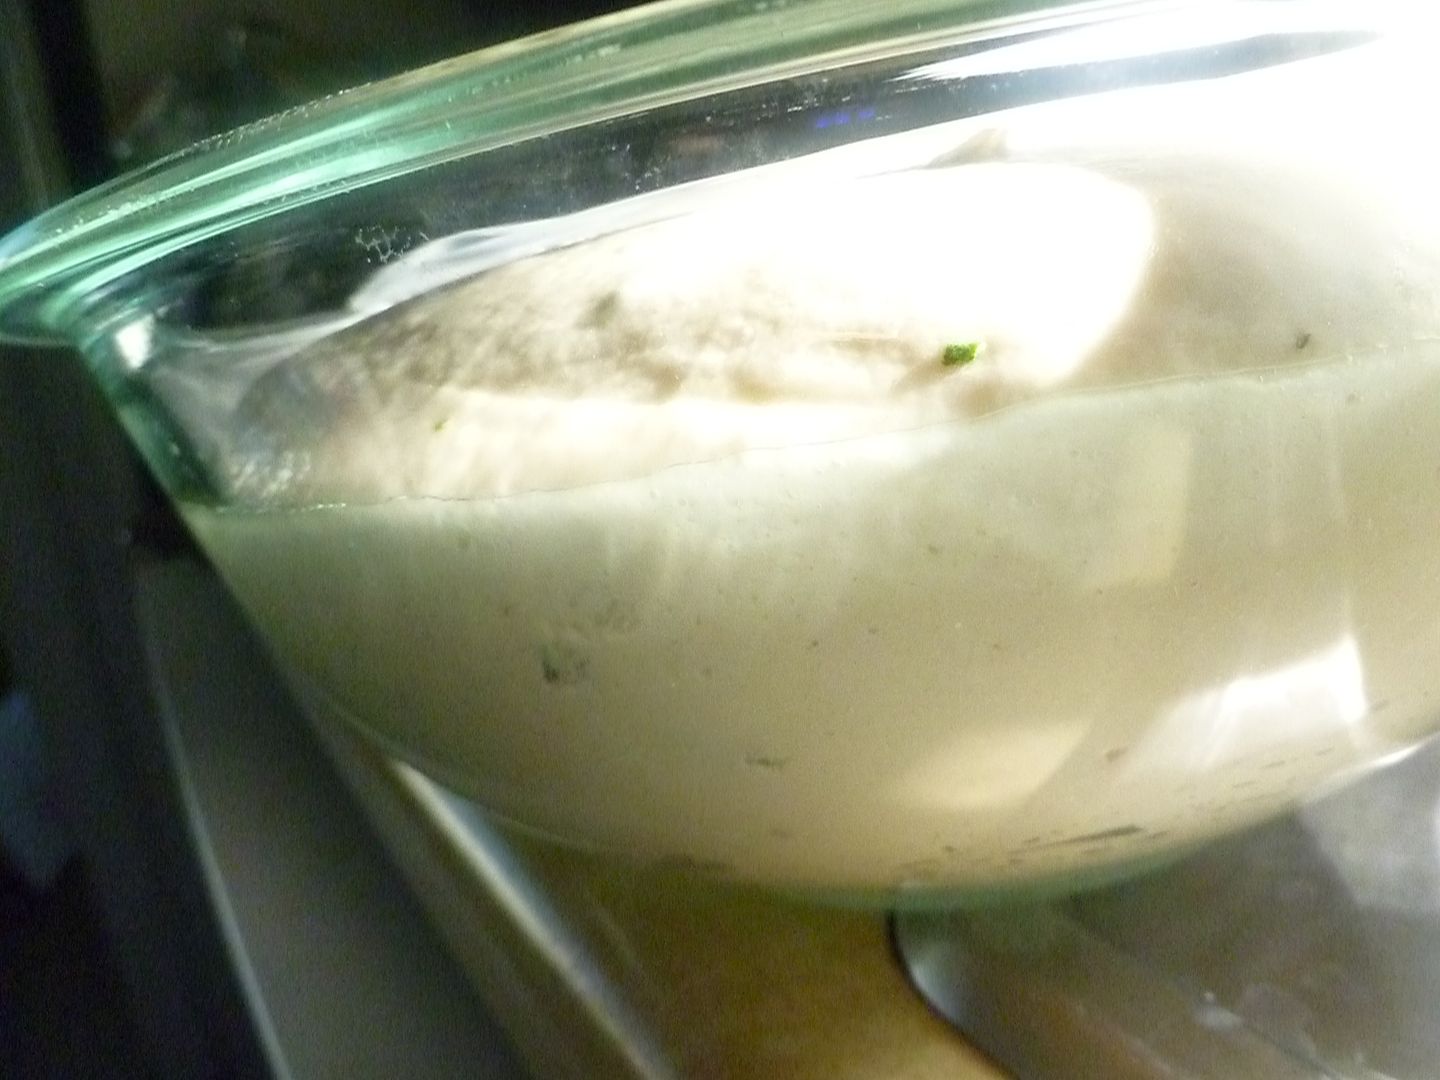
Like this.

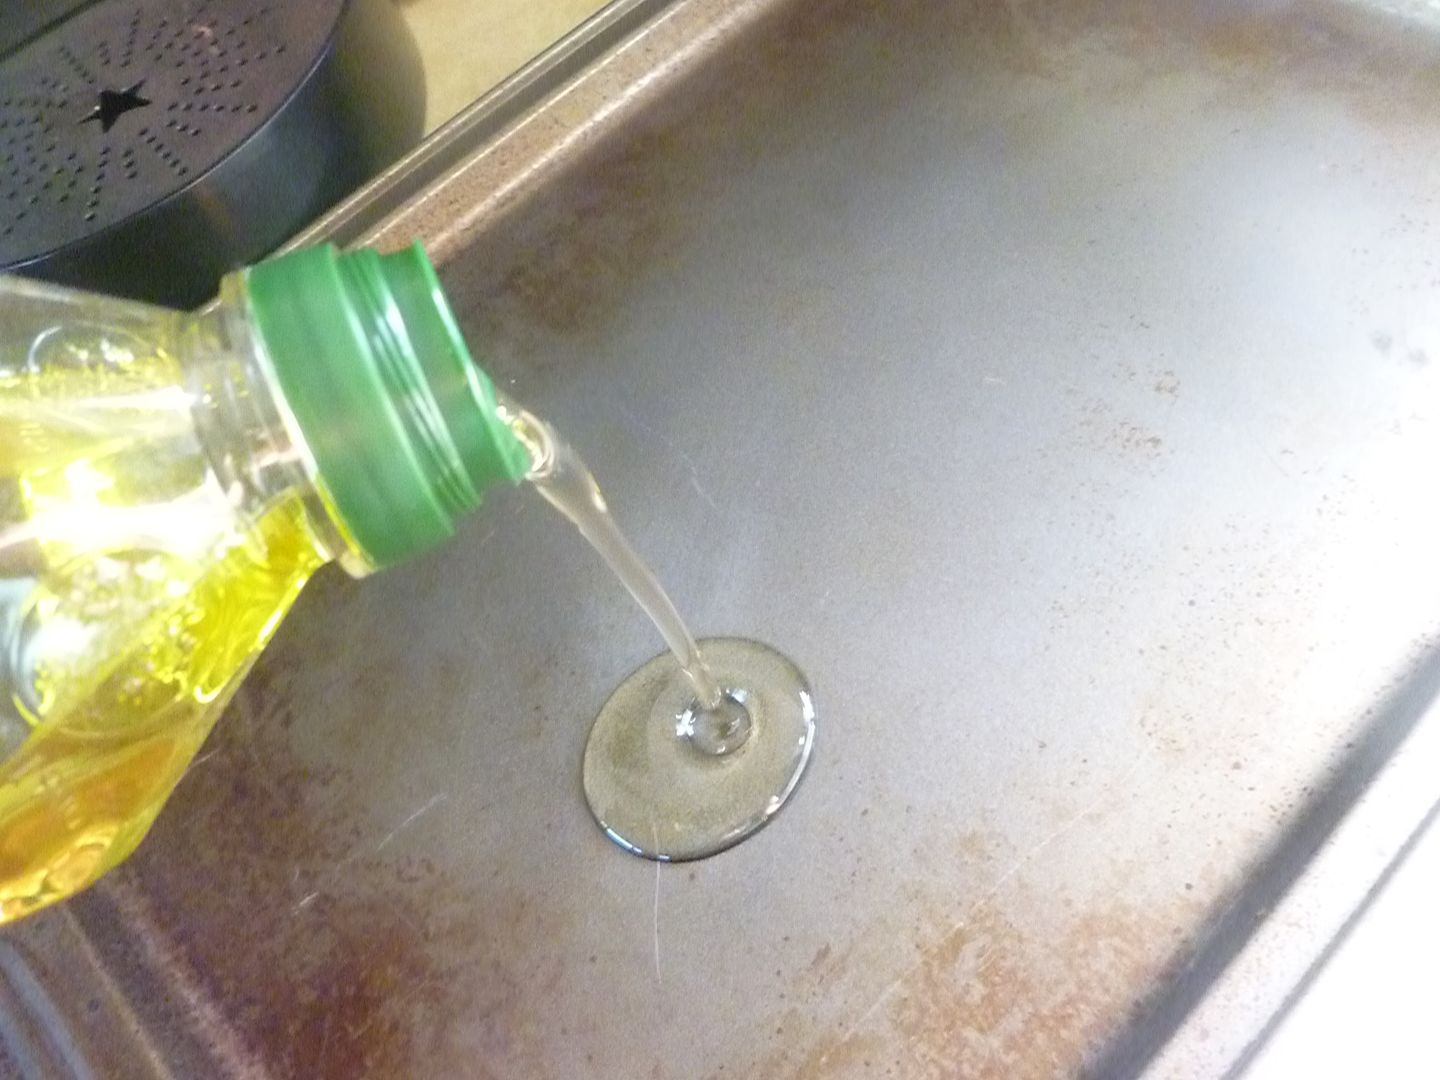
Pick out a nonstick baking sheet and pour on some olive oil. Make sure the oil is well distributed and that every nook and cranny of the sheet gets a coating of oil.

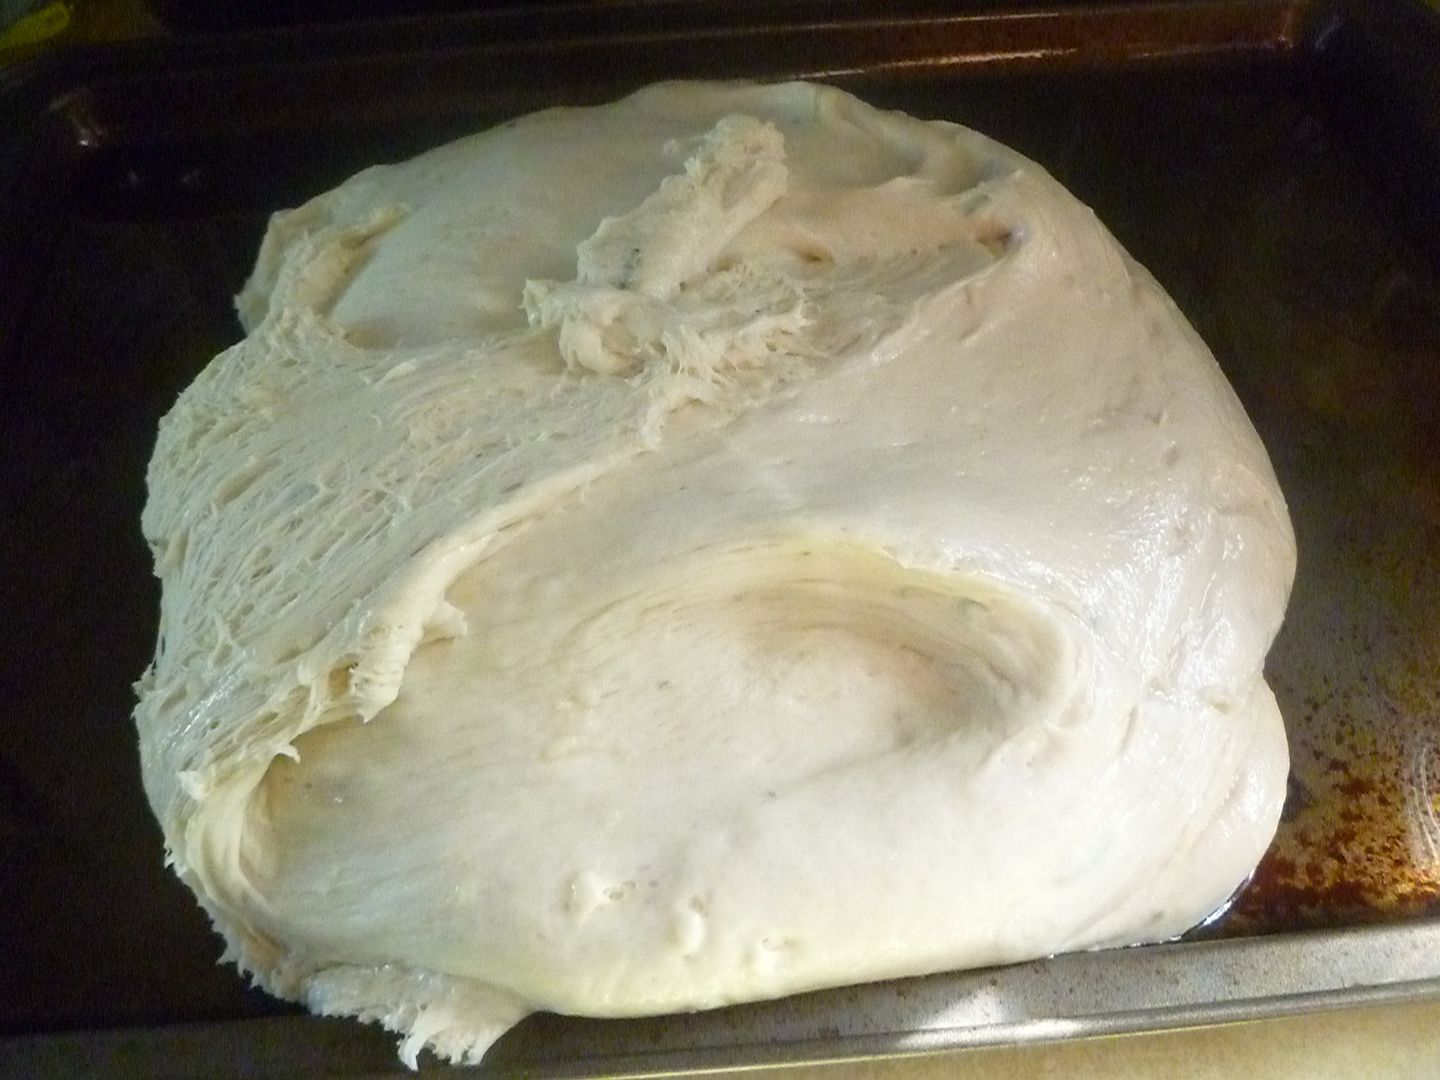
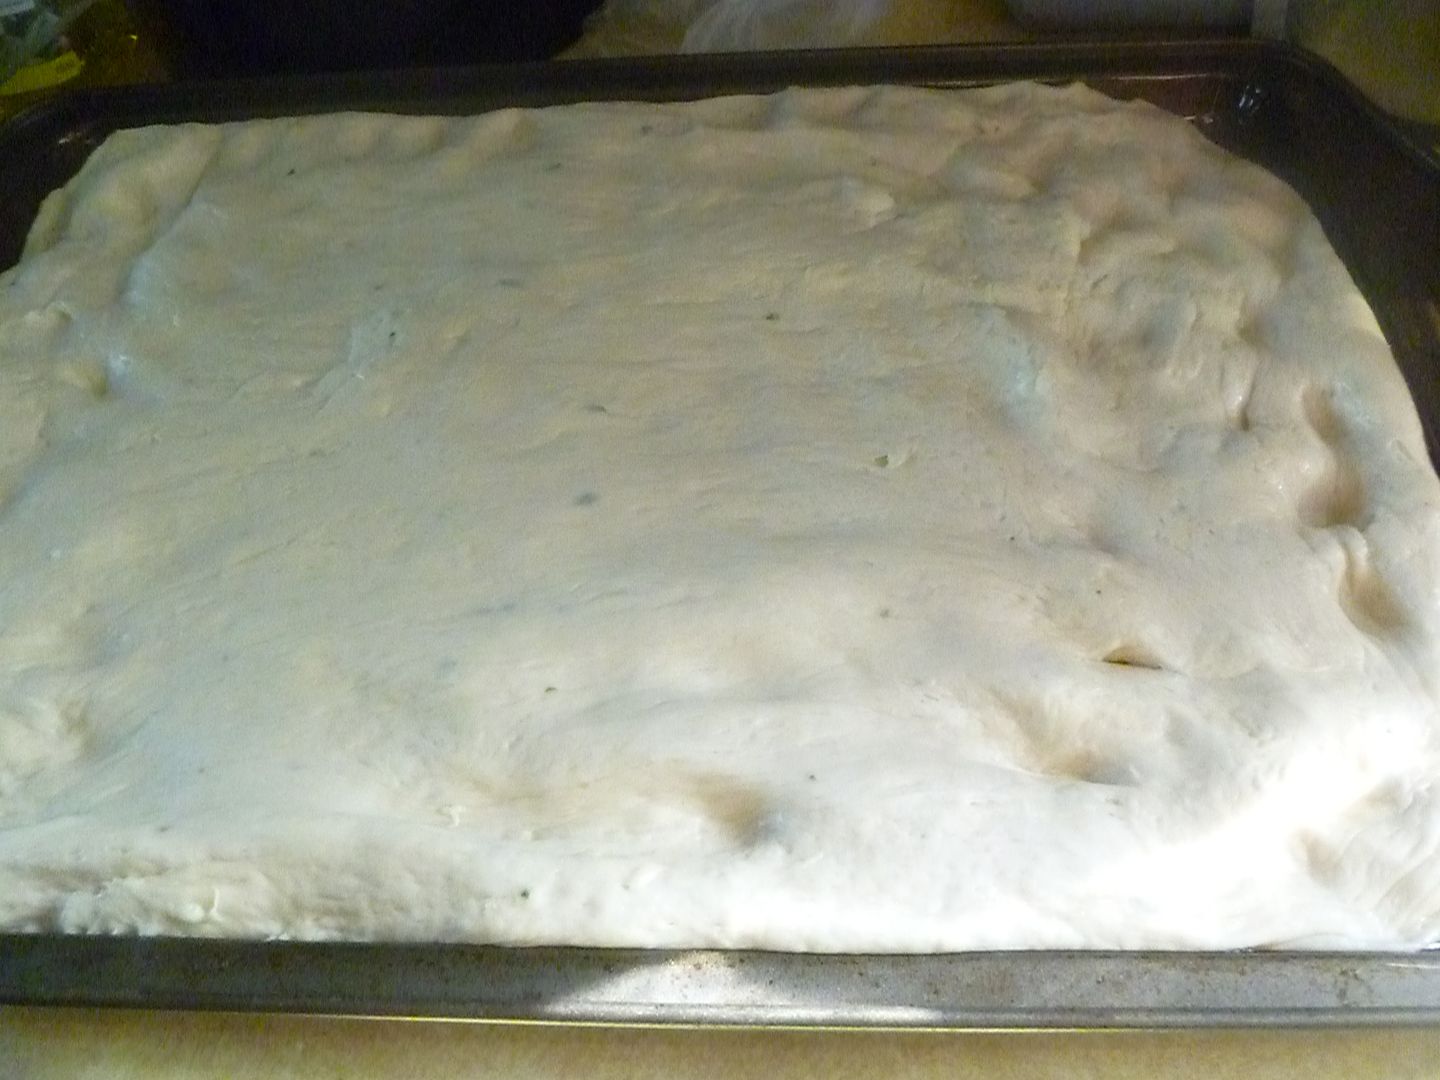
Turn your dough onto the baking sheet.

Use your fingers and do your best to spread the dough evenly around the pan.

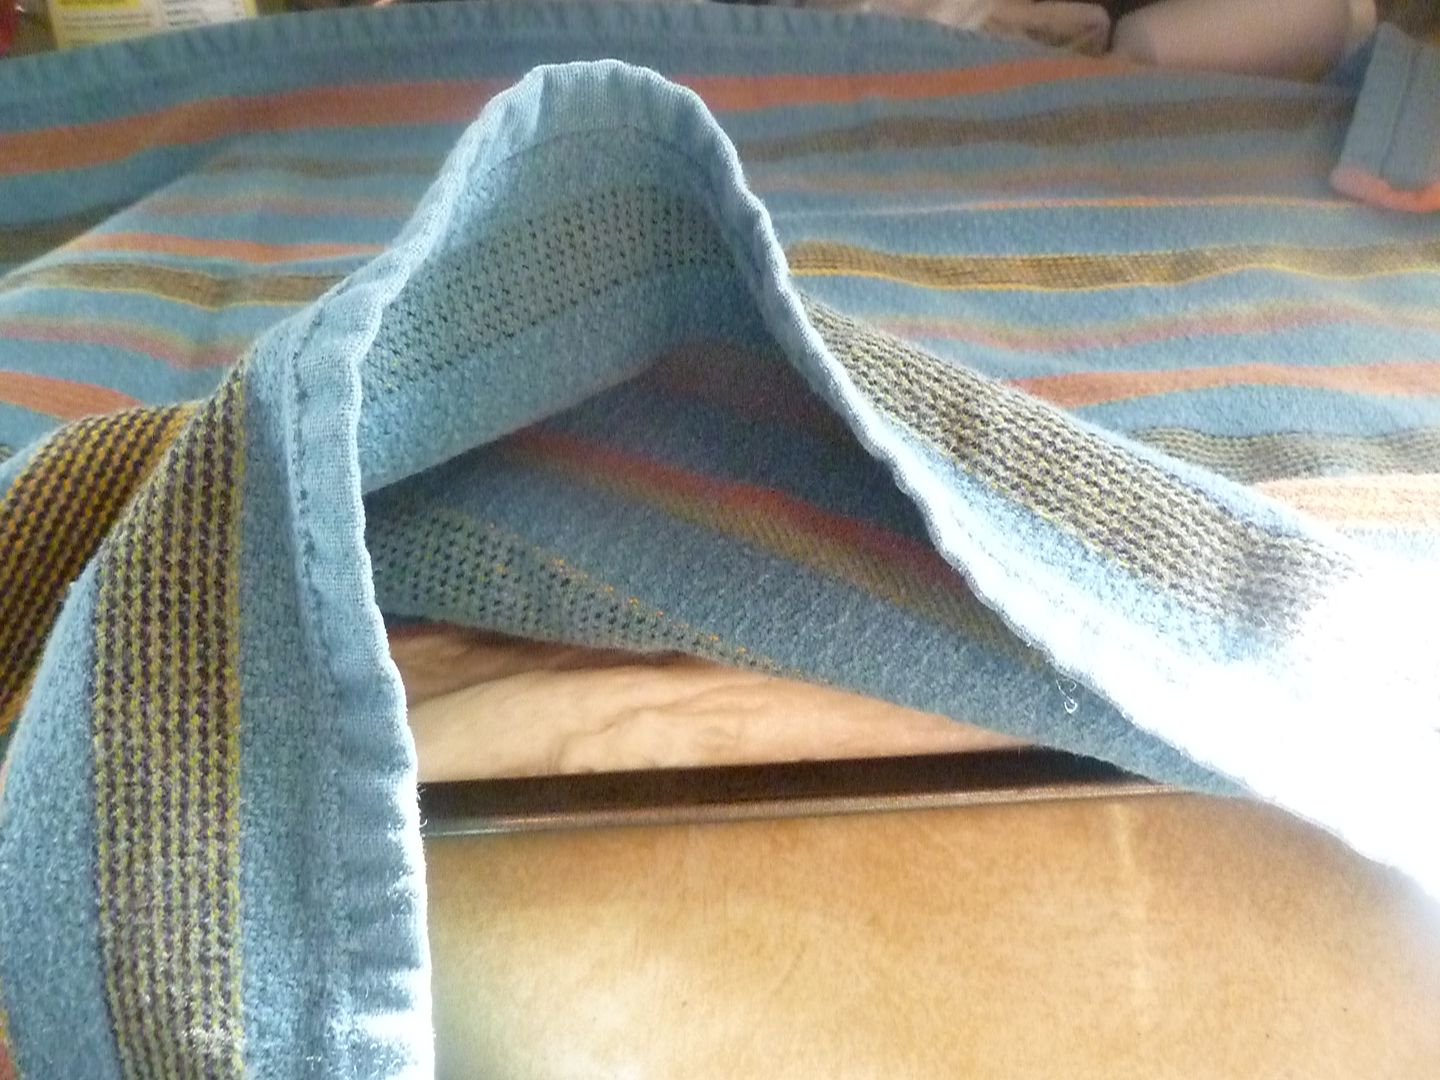
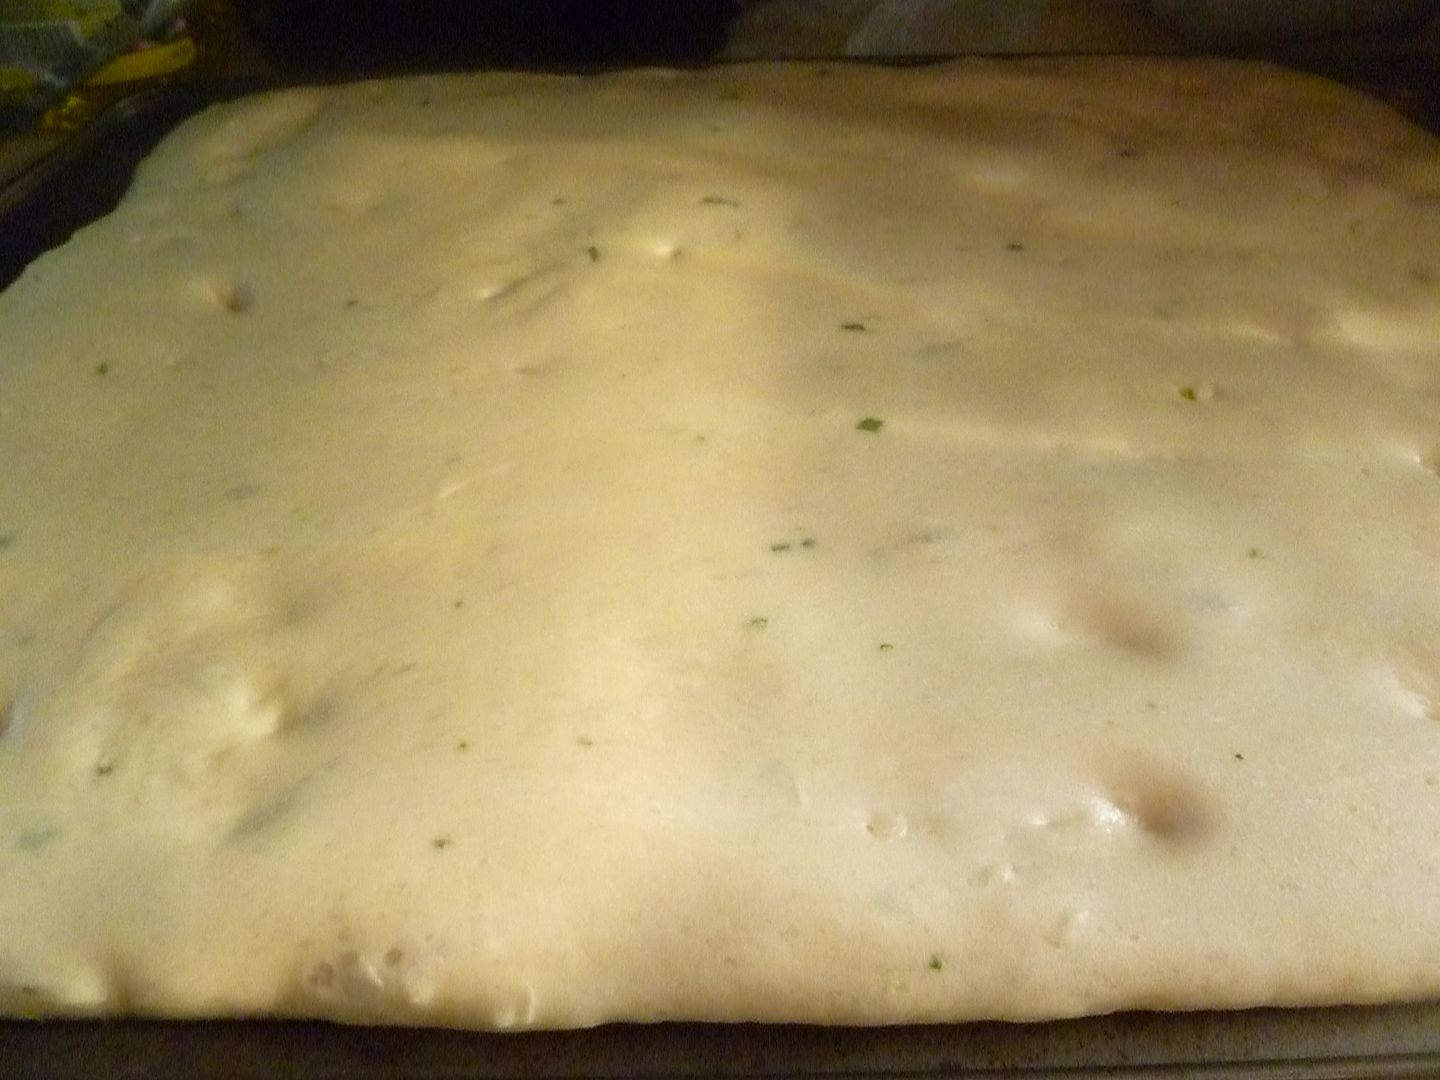
Cover the dough with a clean kitchen towel and let rise for another 20-30 minutes.

It'll really fill the pan!

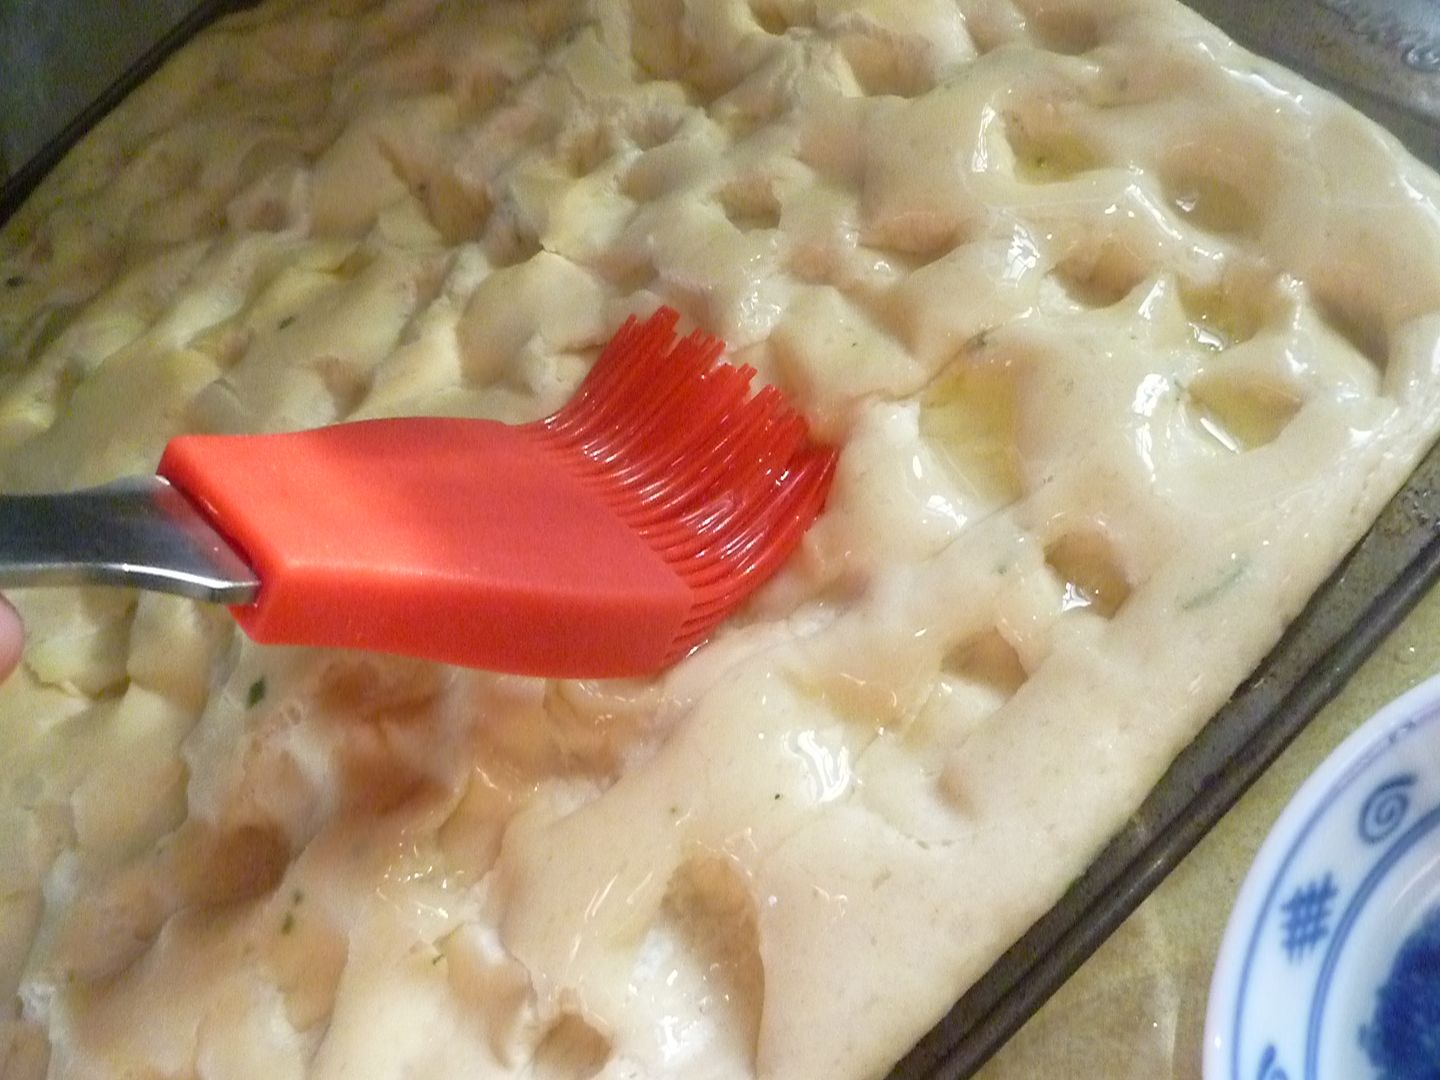
Use your fingertips to make little divots in the dough. Then brush some olive oil over the top of the dough.

Chop up more rosemary and garlic.

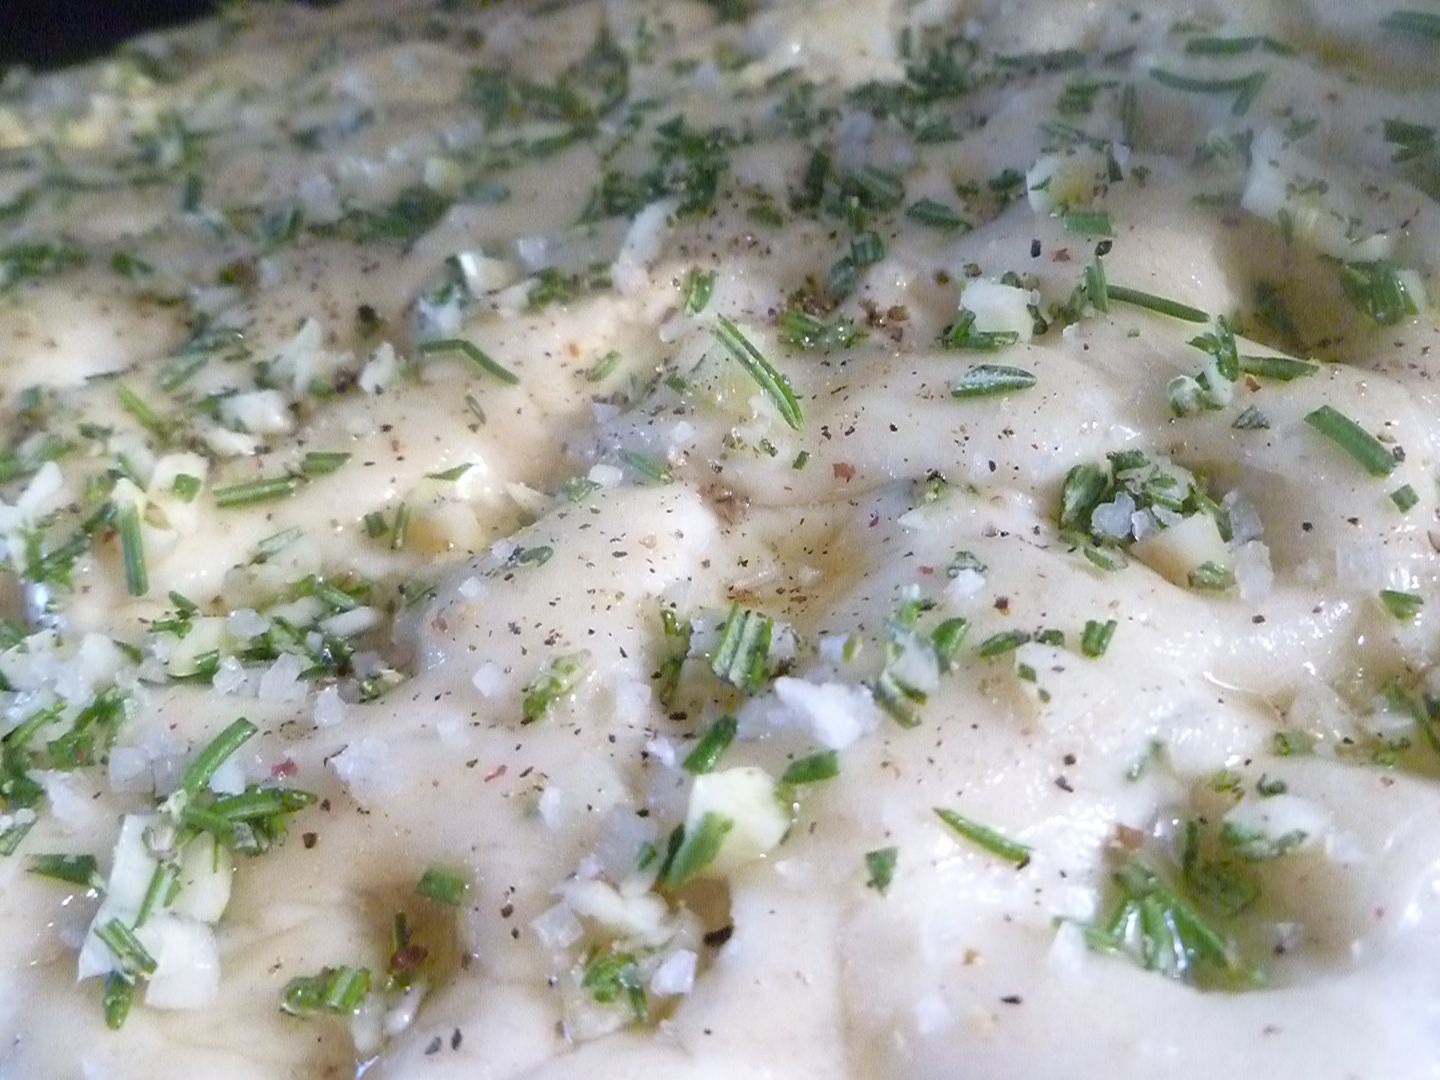
Sprinkle it over the top of the dough. Sprinkle on some coarse salt, too. I used a coarse gray sea salt, but kosher salt is okay too.


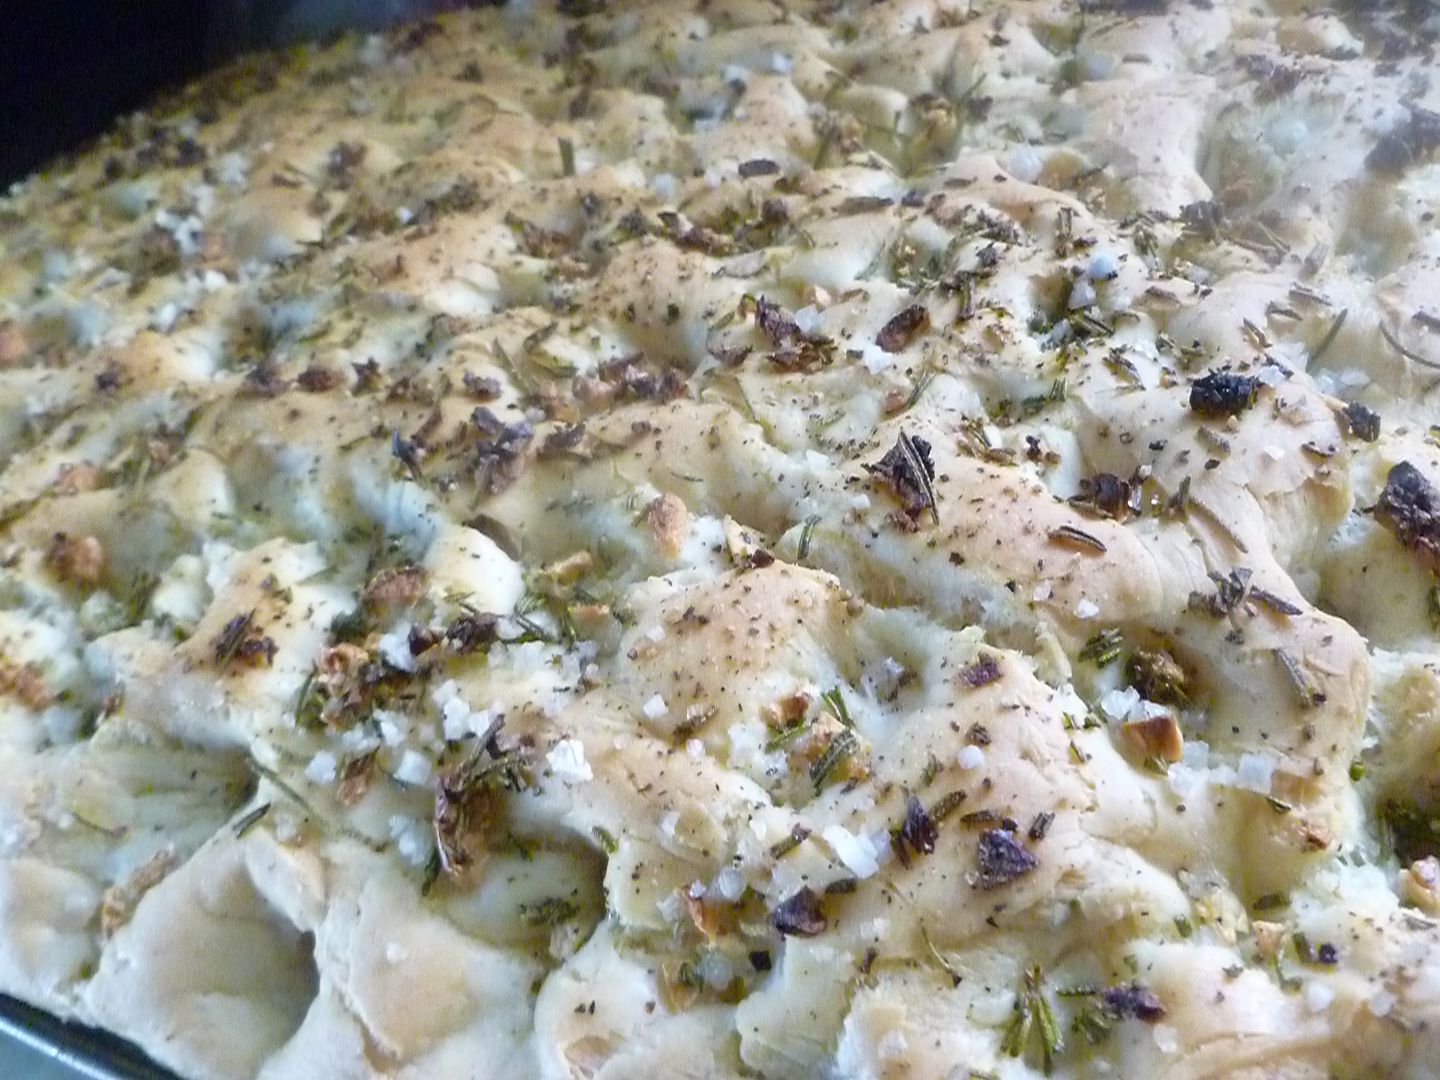
Bake at 425F for 25-30 minutes until the top of the bread is golden brown on top and cooked through on the bottom. Let it cool slightly before cutting and serving!

Recipe: Rosemary-Garlic Foccacia

1 package yeast
1 2/3 c. warm water
4 3/4 c. flour
1 tbsp. fresh rosemary, minced
2 garlic cloves, minced
1/4 c. olive oil
1 tsp. salt

2 tbsp. olive oil
2 tbsp. fresh rosemary, minced
3 garlic cloves, minced
1 tsp. coarse salt

In a large bowl, combine yeast and water. Add half the flour; beat on high for a minute. Add rosemary and garlic; beat until combined. Add the rest of the flour, the olive oil, and the salt. Beat until dough is soft and elastic and pulls away from the side of the bowl.

Turn dough out and place in a oiled bowl. Cover with plastic wrap and let rise until doubled in size, at least an hour.

Oil a baking sheet very, very well, Turn dough onto sheet and use your fingers to evenly distribute the dough in the pan. Cover with a clean kitchen towel and let rise for about 30 minutes.

Use your fingertips to press small indents all over the top of the dough. Brush dough with olive oil, and sprinkle rosemary, garlic, and salt over the top.

Bake in a 425F pan for 30-35 minutes, until dough is golden on the top and crisp on the bottom. Cool for 5-10 minutes. If possible, turn out bread from the pan after cooling; if not possible, cut bread into serving-size squares and remove from pan (to prevent the bottom of the brad getting moist.)

Monday, September 19, 2011

Pesto and Pepperoni Pizza


Every year, I think to myself, "I should make pesto." And every year, I look at recipes and realize that you need a lot of basil. So every year I'd give up, thinking I'd never have that much basil.

This year, I planted my own basil. And I had a basil explosion. I could finally make pesto! Hooray!

But pesto's a pretty simple recipe by itself. And I wanted to taste it right away. I had some refrigerated store-bought pizza crust that needed to get used up--so why not use it on pizza? It was like the pizza and pesto gods were giving me a sign.

Like I said before, pesto requires quite a bit of basil. A couple cups' worth. And not loose, sort-of cups, either--nice, packed-down cups.

This recipe's just the right size for my little food processor!

Next are pine nuts. You could use any kind of nut you wanted--walnuts are a pretty popular alternative. But pine nuts make it more authentic.

Then some grated cheese. I used a 3-cheese blend, which is what I had available (I think it's Parmesan, Asiago, and Romano cheeses) but any firm, aged cheese like that works.

And because I love garlic, I added garlic.

A squeeze of lemon (from what looks like the biggest lemon in existence, being squeezed by a giant hand) will bring out the bright, fresh basil flavor.

Some oil will help the pesto blend, as well as preserve the basil.

Now whirr everything together.

Be sure to scrape the sides down. It may look completely blended from the outside, but when I took the lid off, there was a whole leaf that hadn't been chopped. So scrape, and chop again.

Yummy.

Now onto the pizza. I bought a ready-made crust from Trader Joe's. It's okay. I'm really not a huge fan of making my own pizza, to tell you the truth. It seems like it takes the crust forever to bake. I usually use those already-cooked ones that they sell in the Italian/pizza aisle. But I did want to give this a try. It worked okay.

Whatever crust you use, be sure to follow the directions on the package.

Anyway, flatten the pizza onto a lightly-oiled pan (or, if you're planning on cooking this on a pizza stone, be sure to preheat your stone well in advance, and have a good coat of flour or cornmeal on the bottom of your pizza crust, to make sure it slides off smoothly.) The instructions on my dough said to roll it out to a 12" circle--I used a rectangular pan. That might have added to my baking time.

Smear a nice coating of your pesto onto the crust. Not too much, but enough to remind you that it's there.

In retrospect, I wish I'd added a little more than this. So if you make this at home, keep that in mind.

I put the rest of the pesto into an ice cube tray. When they're frozen, I'll pop them out and stick 'em in a plastic Ziploc freezer bag to keep for later. They're the perfect addition to simple Parmesan-butter pasta, or added to a tomato sauce or soup.

I had some diced pepperonis that I sprinkled across the pesto-d pizza crust.

I had some cute little grape tomatoes.

I cut 'em all in half and scattered them over the crust too.

Finally, I cut some fresh mozzarella into thin slices and layered it over the top of everything.

Yum again.

Sprinkle with salt and pepper. I drizzled mine with olive oil, too, but I would recommend you not do that--between the oil on the pan and the oil in the pesto, things got a bit...well...oily.

Bake according to the directions on the pizza crust, or until the cheese is melty and the crust is cooked all the way through.

Mine took quite a long time--the instructions said 8-10 minutes, but in reality it took closer to 25-30 minutes. The middle took forever to get cooked. Luckily I like my cheese on the darker side. Someday I'll buy myself a pizza paddle so I can make pizza on my pizza stone. Ah well. It got done eventually.

Here's after 10 minutes. It does look good--but the crust was still doughy in the middle. I just kept setting the timer for a few minutes at a time, and checking back. After about 25 minutes, the crust was finally crisp and golden brown.

Whenever your pizza happens to get done, take it out of the oven. Then cut yourself a nice slice.


Then dig in!


Recipe: Pesto

2 c. packed basil leaves
1/4 c. pine nuts
1/4-1/3 c. Parmesan (or other hard, aged cheese)
3 garlic cloves
juice from half a lemon
1/3 c. olive oil

Combine all ingredients in a food processor; blend until you have a nice, green paste.


Pizza:

premade pizza crust
diced pepperonis
grape tomatoes, halved
fresh mozzarella cheese
olive oil
salt and pepper


Roll out pizza crust as per package directions. Spread pesto over the top of crust. Spread pepperonis and tomatoes over the top. Cover with mozzarella cheese. Drizzle with olive oil and sprinkle with salt and pepper. Bake according to directions on pizza crust package.

Friday, September 16, 2011

Rosemary-Garlic Crusted Pork with Quick Applesauce

I bought a rosemary plant earlier this year, and it has done nothing but thrive. It smells lovely, and I thought it was about time I use it to its full potential.

I just love rosemary. It's one of my favorite herbs. If I could make my house rosemary scented, I would probably do it.

As you can see, the stems are pretty thick and woody. I stripped the rosemary leaves off and discarded the stems.

The leaves went in the food processor, along with some garlic.

I also bought a thyme plant. So I threw in some fresh thyme, too.

You could use dried herbs. Just be sure to use 1/3 the amount, because the flavor gets more concentrated.

I poured in some olive oil, to help the processor chop up the herbs and to make a nice paste.

I added some salt and pepper at some point, too.

Let the food processor go until the herbs and garlic are nice and chopped. You'll have a pretty green paste.

This is what the herb paste is going to coat. It's a nice bone-in pork rib roast. I've also seen them called a center-cut pork loin, rack of pork, or pork crown roast.

Because I'm lazy (and don't like wasting meat whenever possible), I left the meat on the ribs. Some people french the rib part (remove the meat from the ends of the bones) to make it look fancier.

Here's what a frenched rib roast looks like.

If you don't have a rib roast, you could use a regular pork roast, a pork tenderloin, or even pork chops.

Coat the outside of the rib roast with the herb mixture. Be sure to do both sides of the meat.

Get out a roasting pan, and cover the bottom with olive oil.

Roughly chop an onion and scatter the pieces on the bottom of the pan.

Throw on a bay leaf or two, and a little more fresh thyme.

Some apple cider will give your meat even more flavor to draw from.

Set the meat fat-side-up on top of the onions. I tried to push most of the onions underneath the pork.

Roast in a 425F oven for 20-25 minutes, or until the outside crust starts to get brown.

Then decrease your oven's temp to 325.

While the pork continues to roast, you can make the applesauce. This is just a quick and easy applesauce to serve alongside--I love how pork and apples taste together.

Grab your apples. I used a firmer eating apple, because I wanted chunks that would hold up to the pork.

These were some I bought from the farmer's market. They were really little. The Kid loved them--they were just her size! I used 7 of them. If you're using regular-sized apples, 3 or 4 should be fine.

Peel your apples, if you so desire. You don't have to. The skins would give your applesauce a pretty rosey color.

Now core the apples. I quarter the apples, then cut the core part at an angle.

Dice the apples and toss 'em in a pot.

Pour in some apple cider. This will tie the pork and the applesauce flavors together (and also use up some more of the cider, if you're not a heavy cider drinker.)

The cider will also help the apples cook down.

For sweetness, add some brown sugar. Taste your apples first--they might need more or less sugar, depending on how tart they are.

A sprinkle of cinnamon, just because cinnamon and apples are a great pair.

A pinch of salt will bring out the maximum flavor of the apples.

Turn up the heat and bring your pot of apples to a boil.

Once the apples are boiling, decrease the heat and let them simmer.

How long the applesauce cooks is up to you. 15-20 minutes should be enough time to cook the apples through; just be sure to stir occasionally. For a saucier applesauce, just let them simmer while the pork cooks. That's what I did.

And here's what it looked like.

I still had some nice chunks of apple, but they were soft and easy on the palate. If you like more pureed applesauce, take a potato masher to them and crush those big pieces down.

When your pork is done, take it out of the oven and let it rest for 10-15 minutes. Then cut yourself a thick slice.


And don't forget to serve it with your applesauce!


 Recipe: Rosemary-Garlic Crusted Pork

1 4-5 lb. pork rib roast (also called center-cut pork loin, rack of pork, or pork crown roast)
3 tbsp. fresh rosemary
3 garlic cloves
1 tsp. fresh thyme
salt and pepper, to taste
1/4 c. olive oil

1 onion, roughly chopped
2-3 tbsp. olive oil
1-2 tbsp. fresh thyme
1 bay leaf
3/4 c. apple cider

Preheat oven to 425.

Using a food processor or a knife, chop rosemary, garlic, and thyme together. Add olive oil to make a paste. Smear paste all over the outside of the roast. Salt and pepper all over. Let the pork sit while you prepare the rest of the recipe.

Drizzle the bottom of a roasting pan with olive oil. Scatter onion around the bottom of the pan. Add thyme, bay leaf, and cider. Set pork roast on top of the onion, fat side up.

Roast pork for 20-25 minutes, until crust starts to brown. Reduce oven temperature to 325; roast for an additional 30-35 minutes until pork reaches 140F. Remove from oven and let rest 5-10 minutes before carving.


Recipe: Quick Applesauce

3-4 large apples (or 7-8 small), peeled, cored, and roughly chopped
3/4 c. apple cider
1/4 c. brown sugar
1/2 tsp. cinnamon
pinch of salt

Place apples in a medium-sized pot. Add cider, brown sugar, cinnamon, and salt. Heat to a boil; reduce heat to a simmer. Let simmer for at least 15 minutes, or until apple pieces are thoroughly cooked and soft. For a more saucy applesauce, let apples simmer until pork is cooked through.