Monday, October 17, 2011

The Ultimate PB&J Bars

Don't forget to enter the Kim Chee Casserole/ Decadent Desserts Cupcake Giveaway! Just follow the link under "Current Giveaways" on the left side of the page!

We've instituted a new policy with The Kid, who is reaching that stage of life known as food pickiness. She can either eat her dinner, or she can make her own. At almost-4, the only thing she can really "make" is a PB&J. And say what you like about this classic, but there's something great about the peanut butter and jelly combination.

But I wanted to go a step above, so I created the Ultimate PB&J bars. Creamy peanut butter, homemade jam, a squeeze of honey, and a sprinkling of mini peanut butter cups will make these stand apart from the classic staple.

First, grab some softened butter. And don't photograph it.

Spray a measuring cup with cooking spray.

Then fill it with peanut butter (crunchy or smooth, your choice.) The cooking spray will make it easy to get the peanut butter out of the measuring cup.

Put the butter and peanut butter in a bowl and mix 'em together.
A little brown sugar and honey will sweeten the deal.

Add an egg, to bind the dough.

Flour and baking soda will add substance to the bars.

Sorry about the light here. Every other surface in the kitchen was full, and the sun was shining oddly here.

And don't ever forget to add vanilla.

Press about 2/3 of the dough into a greased 8x8 square pan.

Make sure it's pressed down evenly.

Now for the jam. If you want to go classic, choose strawberry or grape jams. I'm using a jar of 4-Berry Jam from my Etsy site. It's got strawberries, raspberries, blackberries, and blueberries.

Spread the jam over the pressed-down dough. I used a whole half-pint jar. For extra jammy goodness, use a jar and a half.

Use your fingers to break up the remaining dough and scatter it over the top of the jam. If you find the dough to be really soft and unworkable, toss it in the fridge or freezer for a few minutes. The cold will help the butter and peanut butter set, which will make crumbling it a bit easier.

I could have stopped there. But then I remembered that I had some mini peanut butter cup chips that I bought a few months ago.

I sprinkled a few on top of the bars. Not too many--just enough to enhance the already-great peanut butter flavor.

Chopped peanuts, chopped candy bars (mmm...Snickers...), or chocolate or peanut butter chips would be delicious too.

About 40 minutes in the oven, and the bars are ready!

By the way--if you miscalculated and had too much leftover dough for the topping, just press it down into a cookie shape and bake it. Instant peanut butter cookies!


These bars are enhanced by just the right PB&J flavors. You get a bit of the jam, a bit of the chocolate, a hint of honey, and an intense peanut butter flavor. Kids and adults alike will love these, I guarantee!


Recipe: The Ultimate PB&J Bars

1/2 c. butter, softened
1 c. peanut butter
2/3 c. brown sugar
2 tbsp. honey
1 egg
1 1/2 c. flour
1/2 tsp. baking powder
1/2 tsp. salt
1 tsp. vanilla
1 half pint jar (1 c.) jelly
1/2 c. peanut butter chips, or mini peanut butter cups


In a large bowl, whip butter and peanut butter together until fluffy. Add brown sugar and honey, and mix again. Add egg; mix again.

Add flour, baking powder, and salt. Stir until just combined. Stir in vanilla.

Spread 2/3 of the dough into a greased 8x8 or 9x9 pan. Press mixture evenly in pan. Spread jelly over peanut butter dough. Break the rest of the dough into small pieces and scatter over the top. Sprinkle chips or cups over the dough.

Bake in a 350F oven for 40 minutes or until fully cooked. Let cool before serving.

Friday, October 14, 2011

A Sweet Giveaway!

I've touted Decadent Desserts before, back when Kim Chee Casserole used to have a Favorite Thing of the Week. The blog has changed a bit since then, but one thing hasn't--my cupcake love!

Cupcakes from Decadent Desserts come in full- and bite-sizes. There's even a giant cupcake cake! Choose from traditional flavors like Carrot, Chocolate, and Red Velvet, or more creative flavors like Mint Chocolate Chip, Salty Caramel, or Cookies n Creme.


Tripe Chocolate Decadence
Triple Chocolate Decadence and Chocolate Peanut Butter Surprise are my favorites!

The cupcakes can also be filled with delightful flavored centers, including traditional buttercream, strawberry, lemon, marshmallow, or chocolate mousse.

(Doesn't a chocolate cupcake filled with marshmallow or hazelnut and topped with buttercream or caramel frosting sound heavenly?)

Look at these super cute cupcake push pops.

And, of course, they make regular cakes too.


Cake pops can be made in a variety of shapes,  colors, and flavors. They are planted in beautiful bases and packaged to protect them until delivery.

Their cake pops have been used as centerpieces, gifts, and favors for all occasions.

I had a bouquet delivered to Mr. Kim Chee last Valentine's Day. He was pretty popular at the office that day!


Turtle Pumpkin
Cheesecakes come in full-sized, mini, bite-sized, and in pop form. Some of the many flavors include Blueberry Creme, Caramel Brownie, Mocha, and Turtle. There are also seasonal flavors, including Candy Cane and several varieties of pumpkin.

By the way, there were blueberry cheesecake pops in that V-day bouquet I mentioned. Oh. My. Gosh. I want a whole bouquet for myself!

And don't forget the cookies! The cutout cookies are both beautiful to look at and really, really delicious to eat!

These are the cookies we ordered for The Kid's 2nd birthday.

And guess what--there are cookie pops too!


Hungry yet? :D Well, keep reading to find out how you can score some treats for yourself!

Buy It:
Visit Decadent Dessert's Facebook page to drool over pictures of cakes, cupcakes, cake pops, and cookies. Then visit their Web site to place an order. Local pickup or delivery can be arranged. Cookies and pops can also be shipped around the country!

Win It:
One lucky Kim Chee Casserole reader is going to win themselves a dozen cupcakes or cake pops, compliments of Decadent Desserts! Repeat KCC contest winners are eligible for this giveaway!

How to Enter:
Visit the Rafflecopter form below and do the mandatory entry. Then do as many additional entries as you want for more chances to win! Don't forget, there's a daily entry, so come back every day for an extra chance to win!


Wednesday, October 12, 2011

Pork Tacos with Pico and Avocado Cream

I love my recipe for Pulled Pork. A lot. If I ate nothing else for the rest of my life, I would eat this dish. But other people, while fans, don't have that same devotion to slow-cooked meat slathered in BBQ. So when I make it, I've got to get a little creative. And there's no better way to use up leftover meat than with tacos.

To avoid showing you a recipe where I just stuff some taco shells with meat, I decided to make my own taco toppers. Some fresh salsa, also known as pico de gallo, and avocado cream.

Let's do the pico first. I picked up some pretty looking roma tomatoes at the store. First, you cut them in half. Then you cut them into planks (but not cutting the very root part of the tomato.)

Then you turn the tomato 90 degrees and cut the planks into cubes.

Do the same with an onion. I used something like 1/4 of an onion.

Messily mince a clove of garlic and add it to the onion and tomato.

Or just try to do a better job than I did.Wipe your board clean first if tomato water everywhere bothers you.

Squeeze in the juice of half a lime.

Track down a jalapeno. In an attempt to limit the contact my hands have with the inside of the pepper (the hottest part), I cut jalapenos from the bottom up, and mince them that way.

Or you could wear gloves. I just hate how they feel on my hands.

Anyway, mince it up and add it to the bowl of tomatoes.

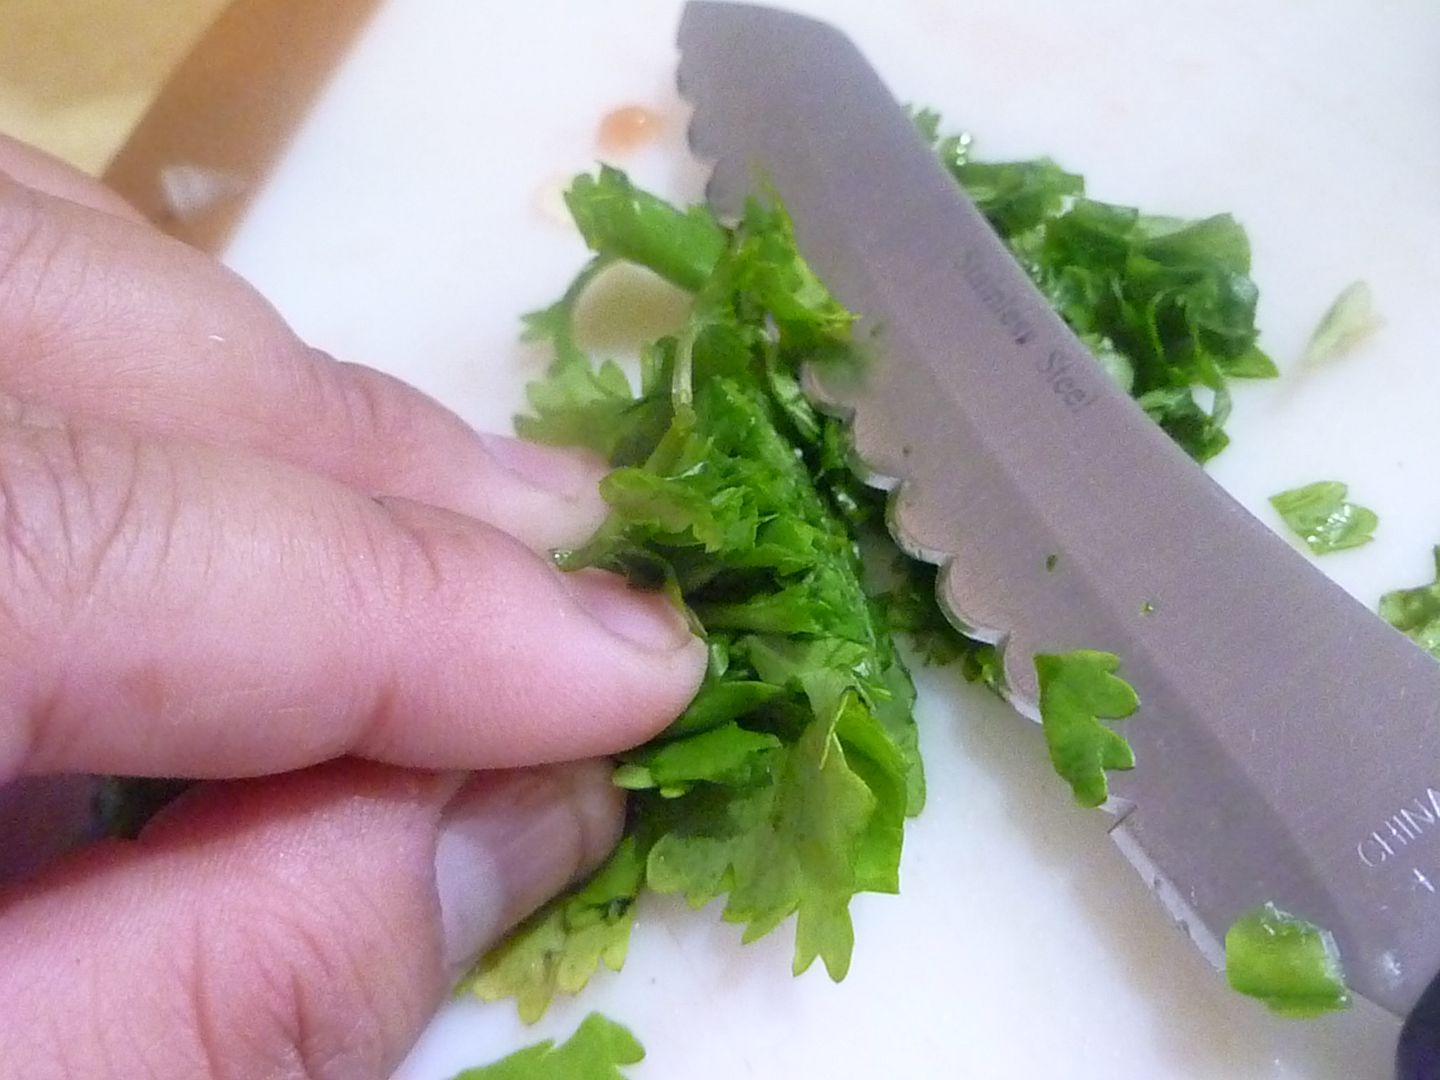
Grab a handful of lovely fresh cilantro.

Gather it up to make a tight bundle, for easier cutting.

See?
Add the cilantro the bowl, along with some salt and pepper.
Stir it up and let it sit. For optimum pico-ness, you can make this a day in advance and let the flavors meld overnight.

Now that the pico is done, you make the avocado cream.

Pick a nice, ripe avocado. I like to buy mine while they're still firm, and let them ripen at home. There's less chance that they'll get overly bruised that way.

Scoop the avocado meat out of the peel and mash it around in a bowl until it's as smooth or chunky as you like it.

To keep it from turning brown, use the rest of your lime's juice.

Avocado cream is pretty much exactly what it sounds like--avocados and cream. So add the cream. In this case, sour cream.
Be sure to add salt and pepper!

So pretty and green and creamy.

Now that your taco condiments are ready, you can start assembling. First the meat.
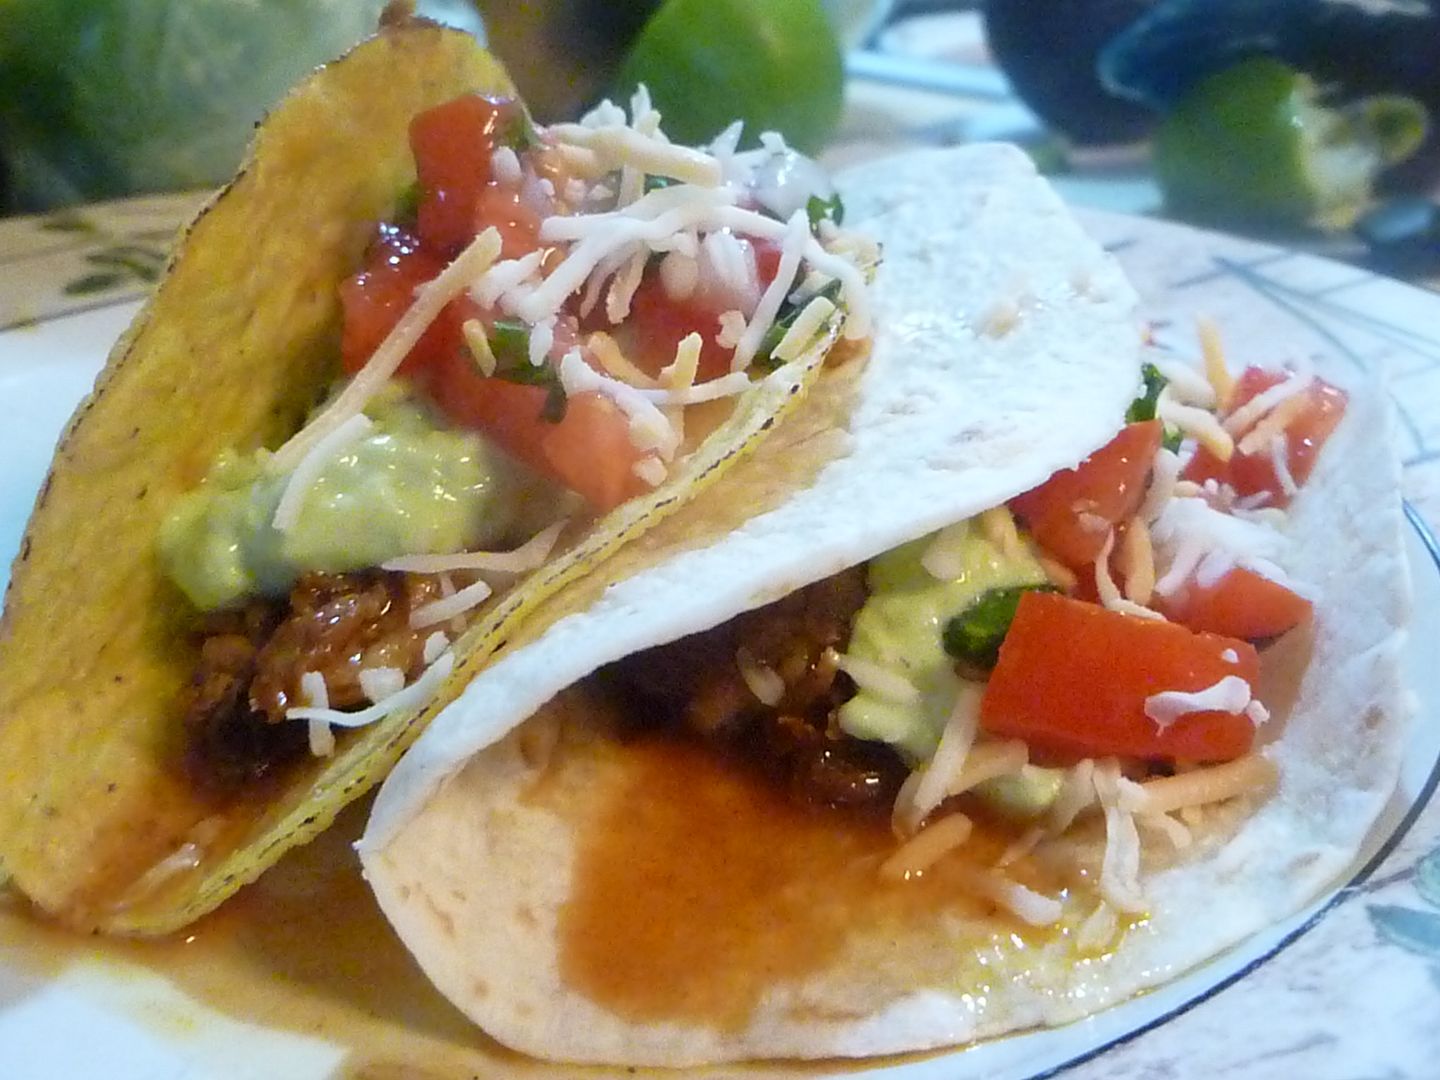
Then the avocado cream.

Now the pico.

Have I mentioned how much I love tacos?


A  sprinkle of cheese, and your tacos are ready! This is a great recipe for any leftover meat. Try using leftover Dry-Rubbed BBQ Chicken, Slow-Cooker Pot Roast, or Stout-Braised Short Ribs!


Recipe: Pork Tacos with Pico and Avocado Cream

leftover shredded meat
soft and hard taco shells

Pico:
3 Roma tomatoes
3 tbsp. onion, minced
2 tbsp. fresh cilantro
1 garlic clove, finely minced
1/4 jalapeno, finely minced
juice of half a lime
salt and pepper, to taste

Combine all ingredients and stir.


Avocado Cream:
1 avocado, mashed
juice of half a lime
1/4 c. sour cream
salt and pepper, to taste

Combine all ingredients and stir.


To assemble tacos: Spoon meat into shells. Top with avocado cream and pico. Serve!