Showing posts with label preserved food. Show all posts

Wednesday, November 2, 2011

White Chicken Chili


Sorry for the absent posts--I've been on vacation! But now that the vacay is over, it's back to the kitchen!

Because it's just going to get colder and colder, I decided to make some White Chicken Chili.

Here is a resource for people who love cooking and want to look into cooking classes.

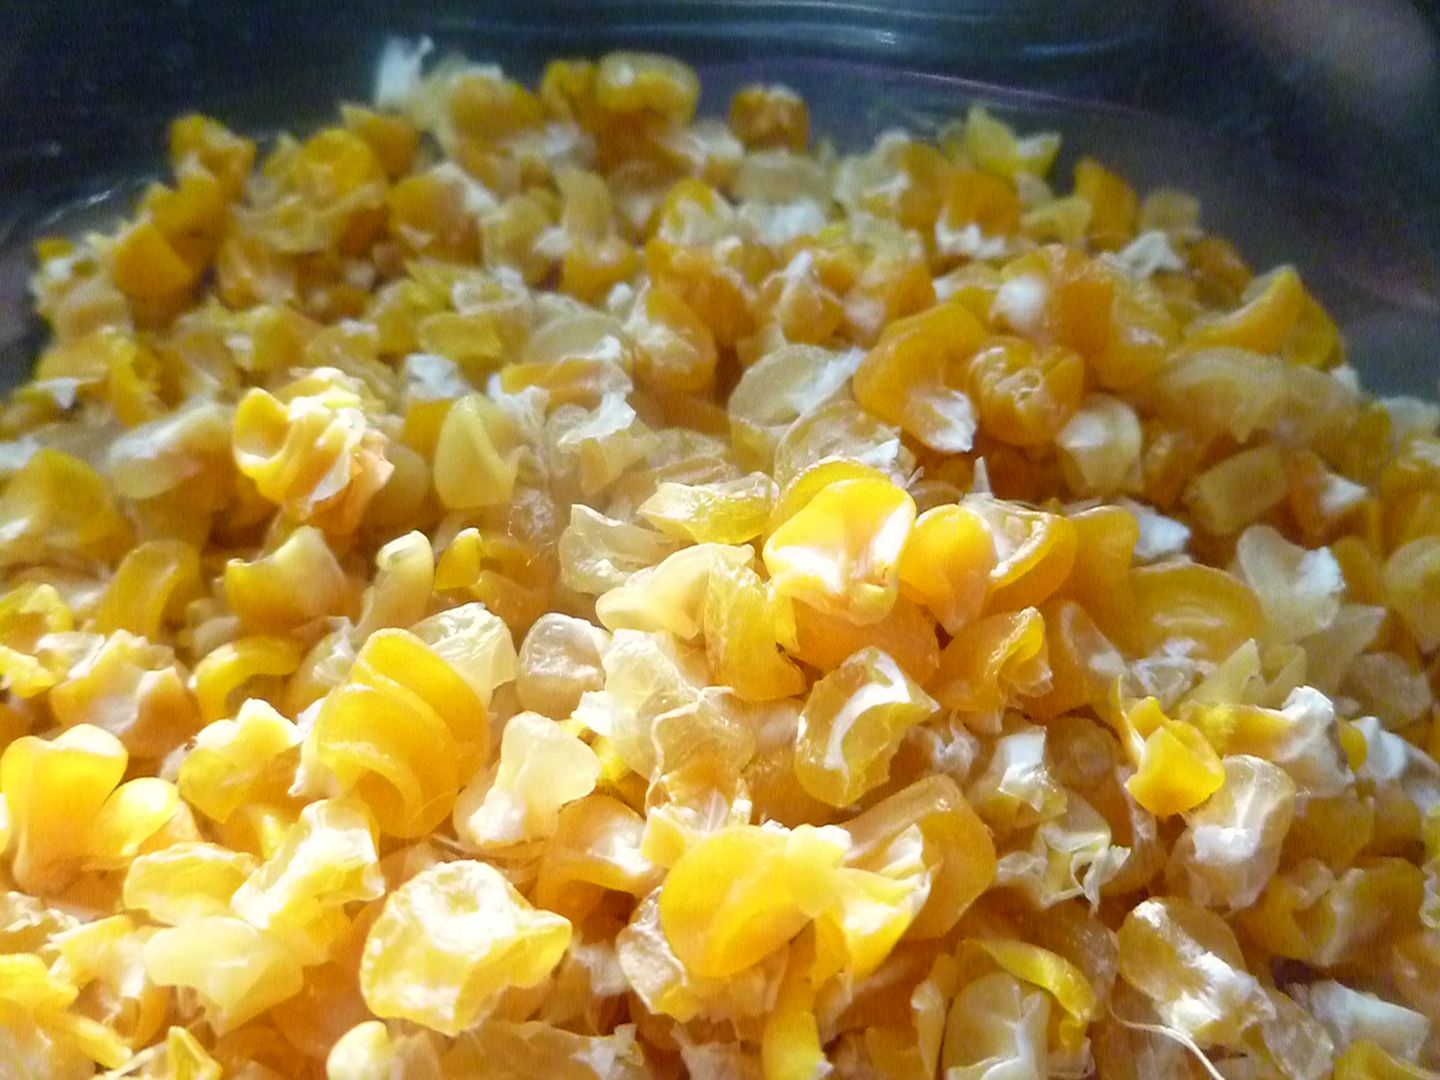
I'm completely obsessed with the Dried Corn I made earlier this year, and the fact that I could add it to the chili completely sold me on the idea.

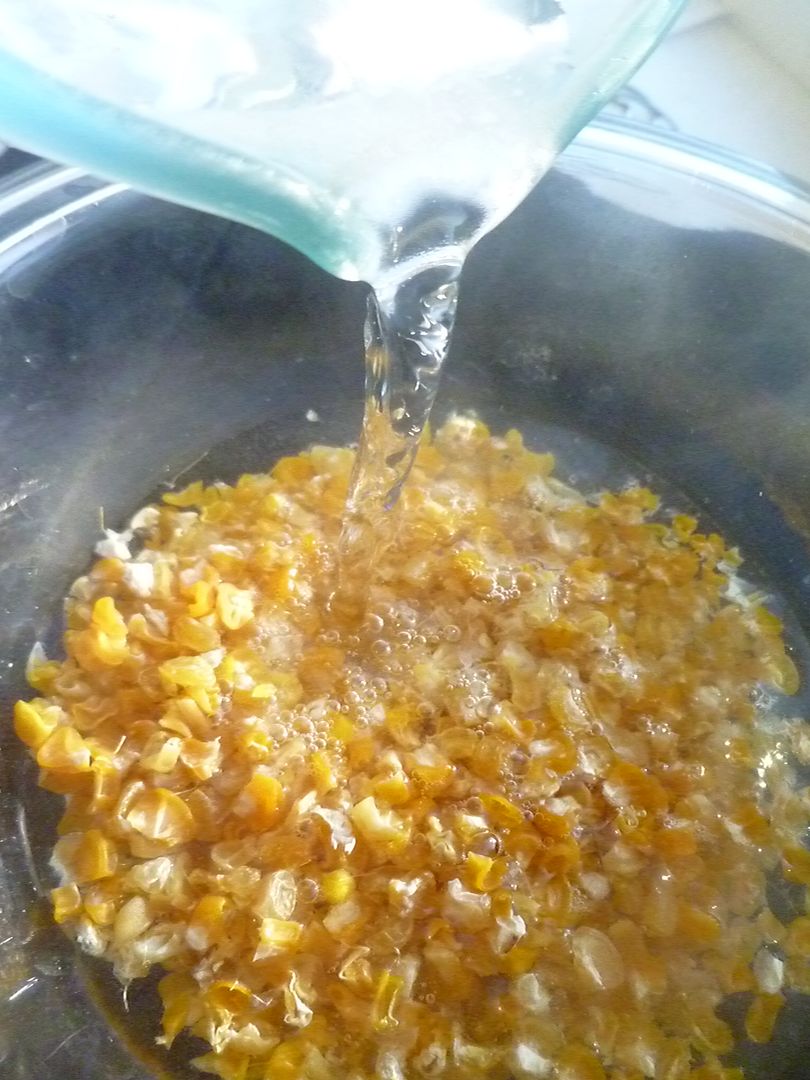
Because the corn has been dehydrated, it will need to soak for a bit. Pour double the amount of hot water over the top of the corn.

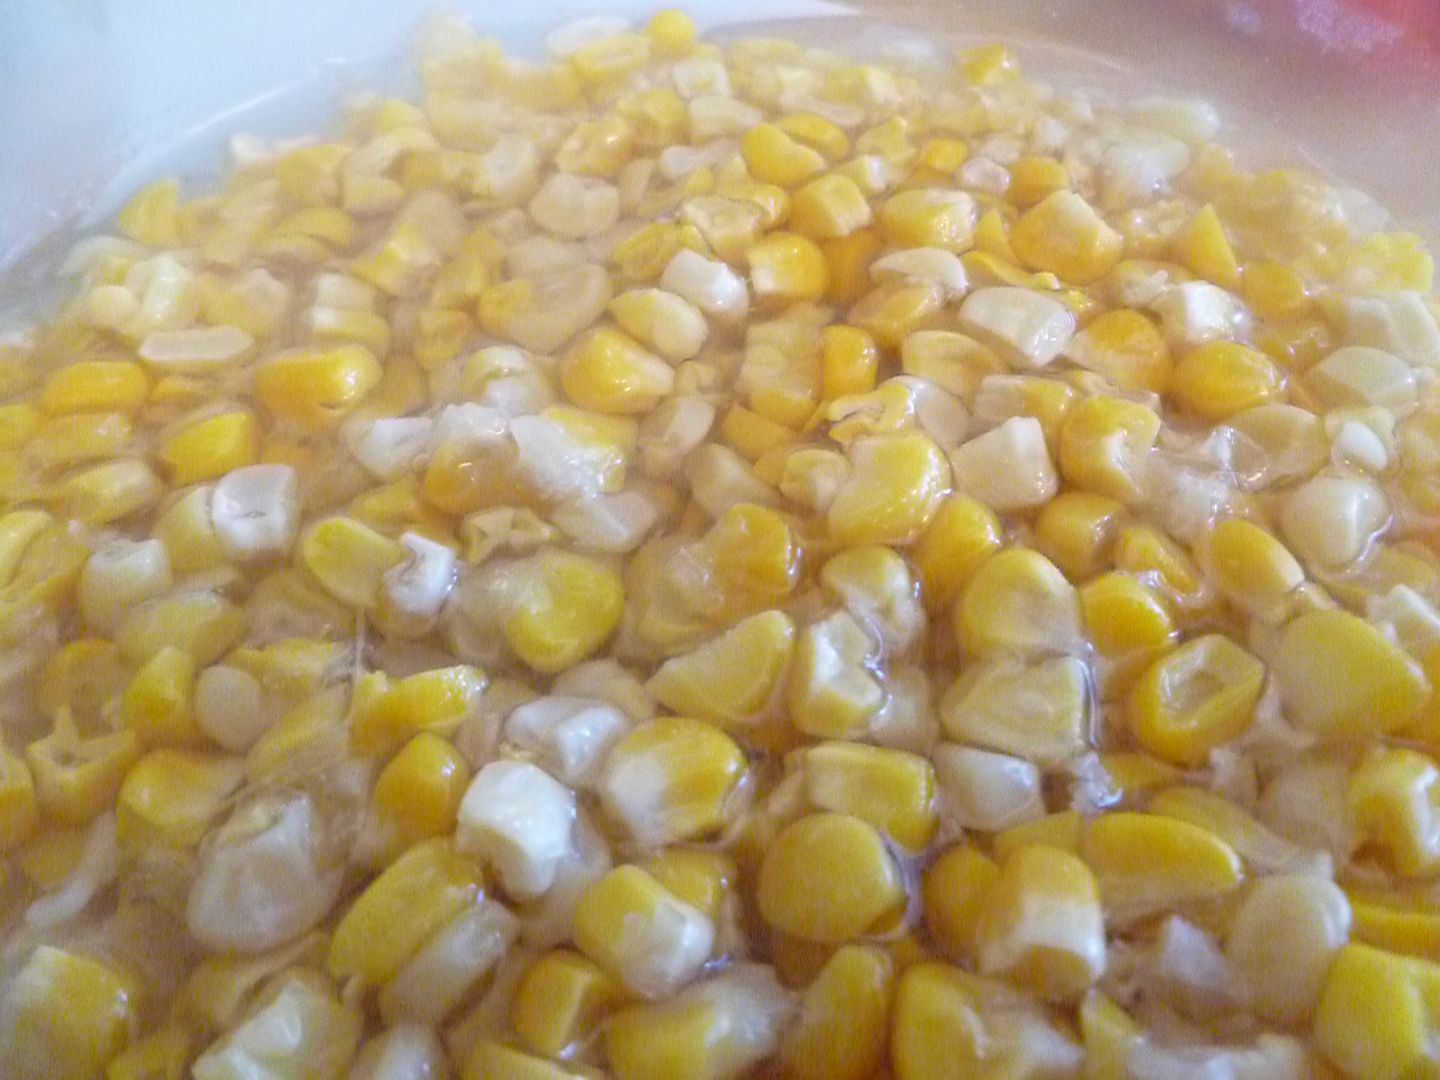
Let it soak in the water for at least an hour, or until completely rehydrated.

You can use fresh, frozen, or canned corn instead.

With the corn taken care of, you can bring out the rest of the ingredients.

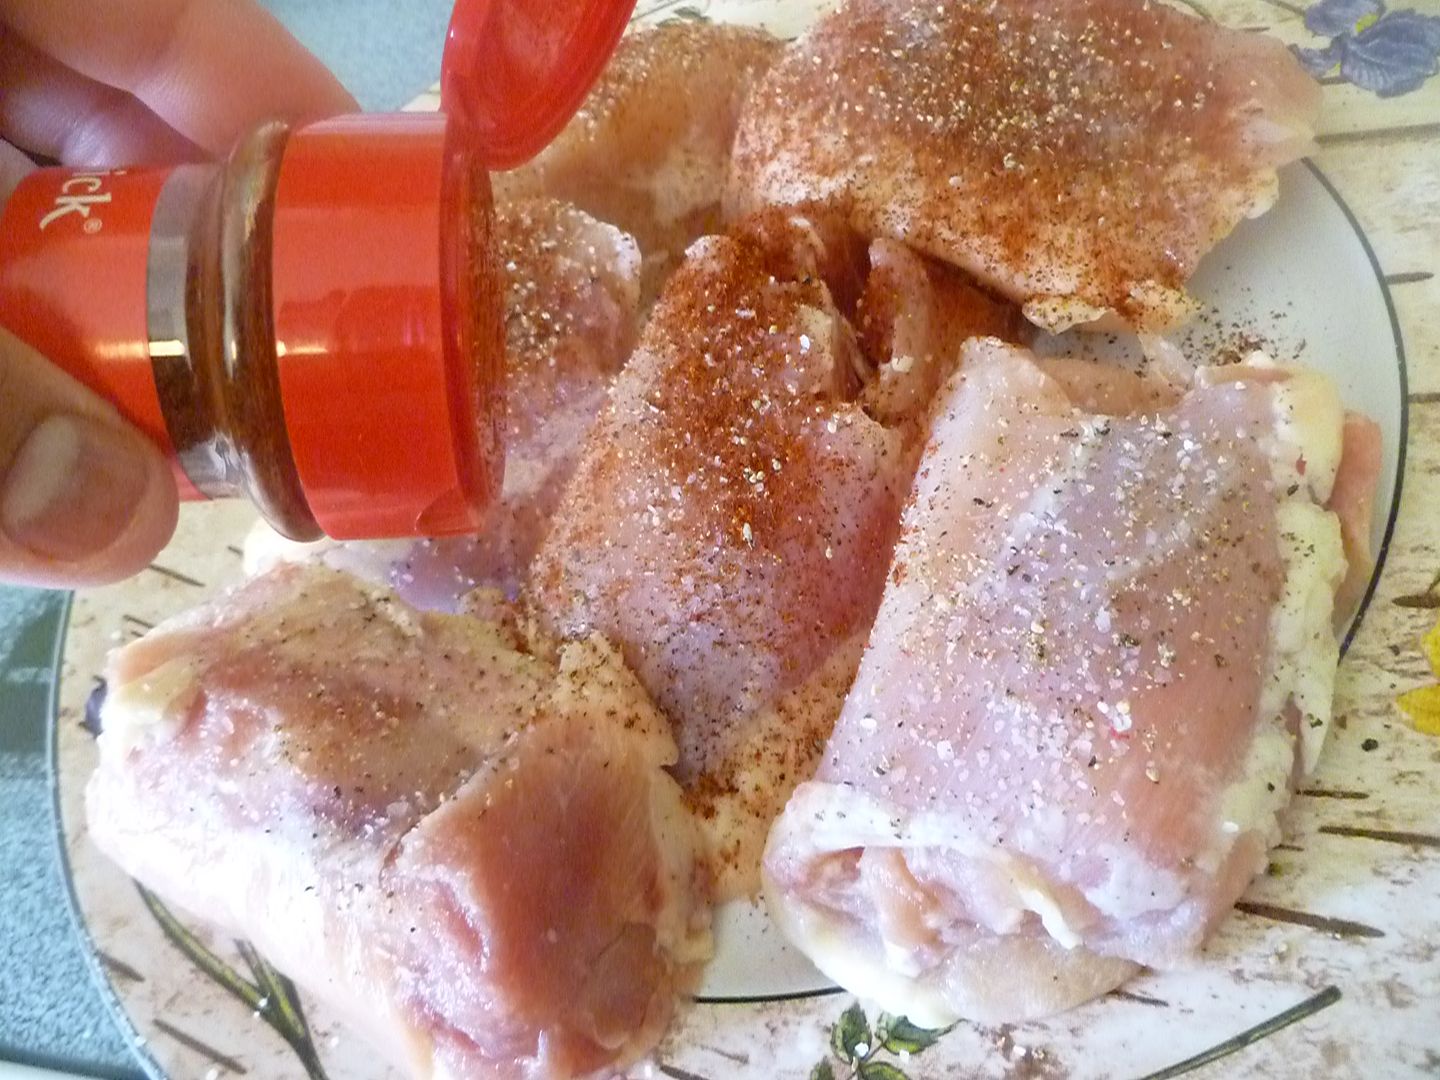
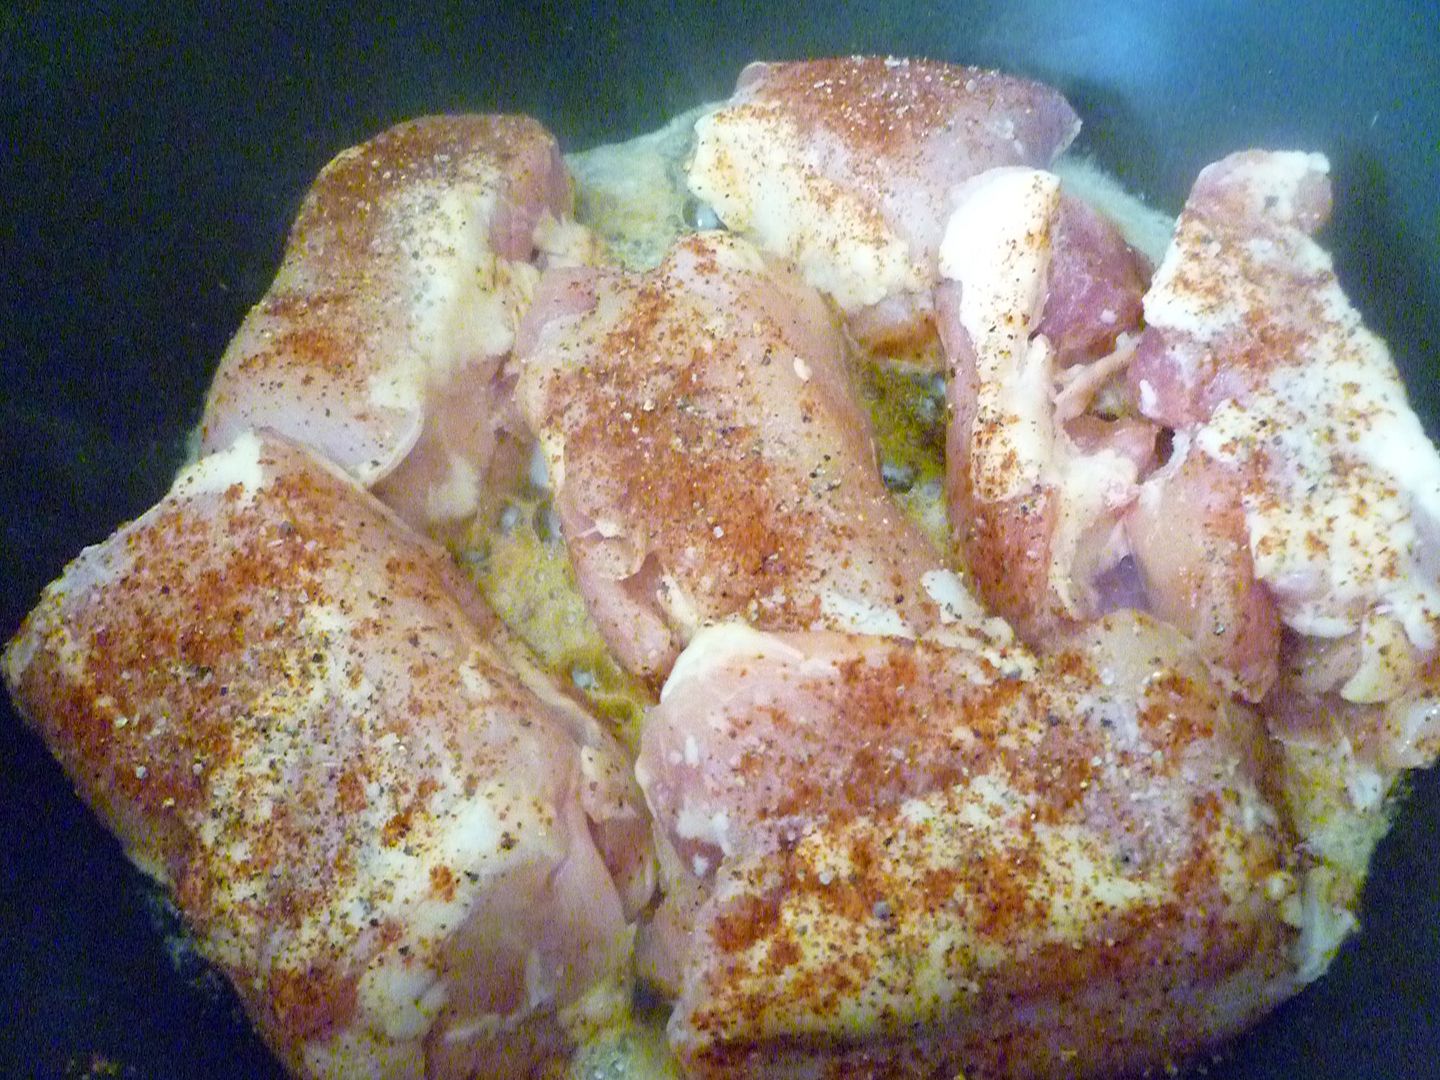
I used boneless chicken thighs. They got seasoned with cumin and salt and pepper.

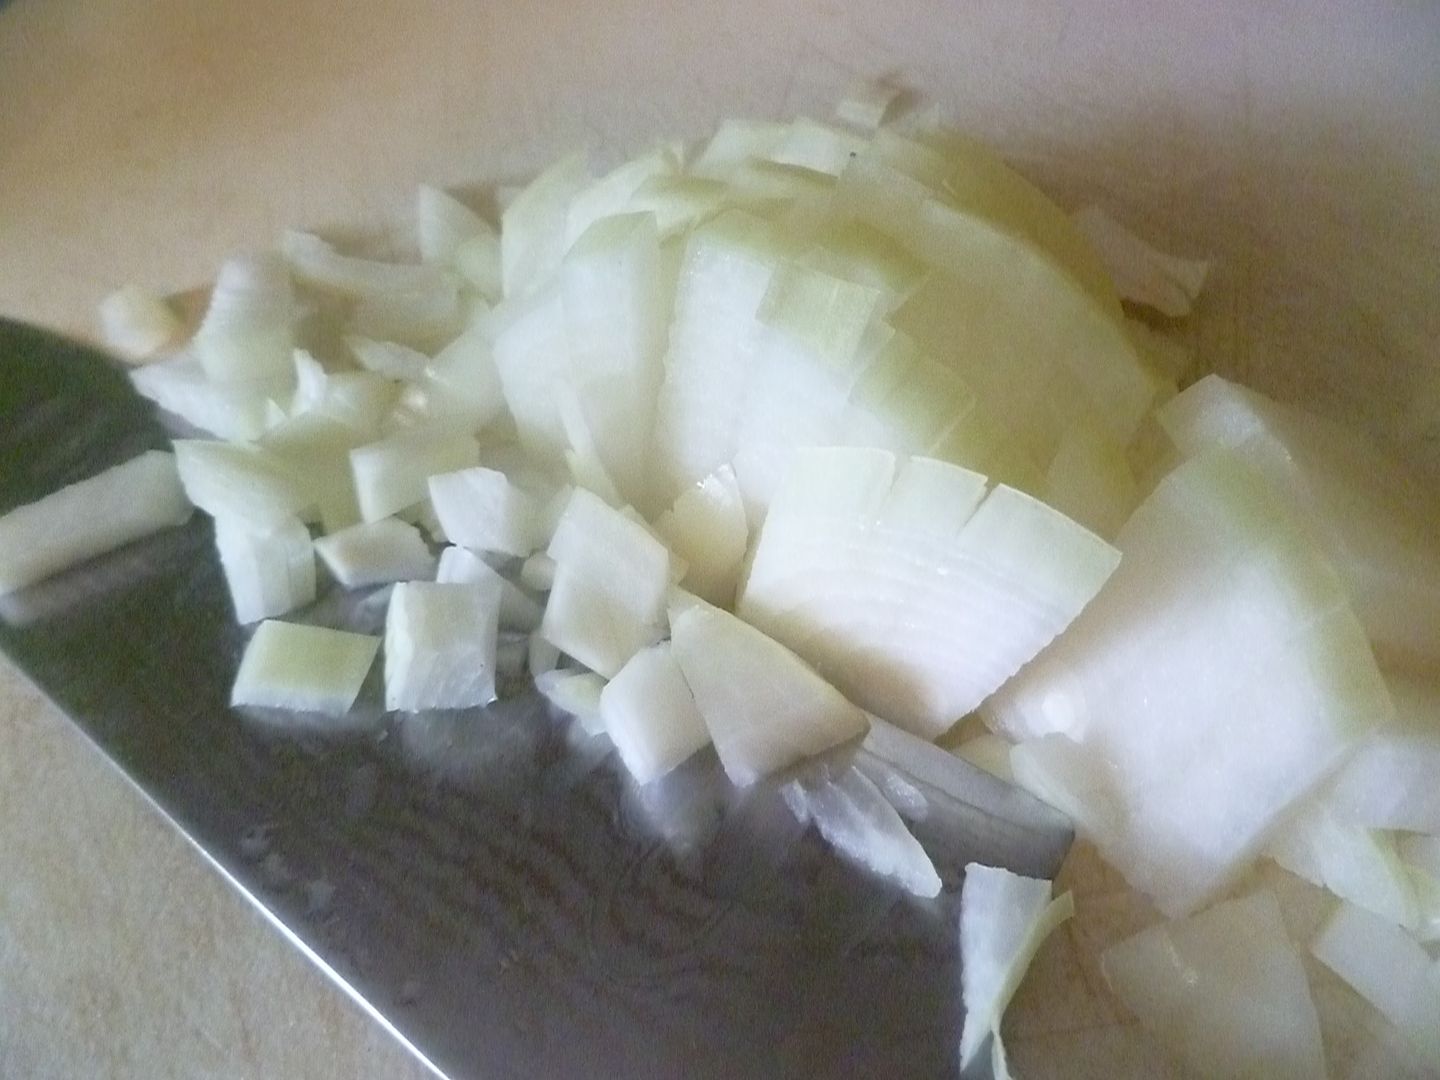
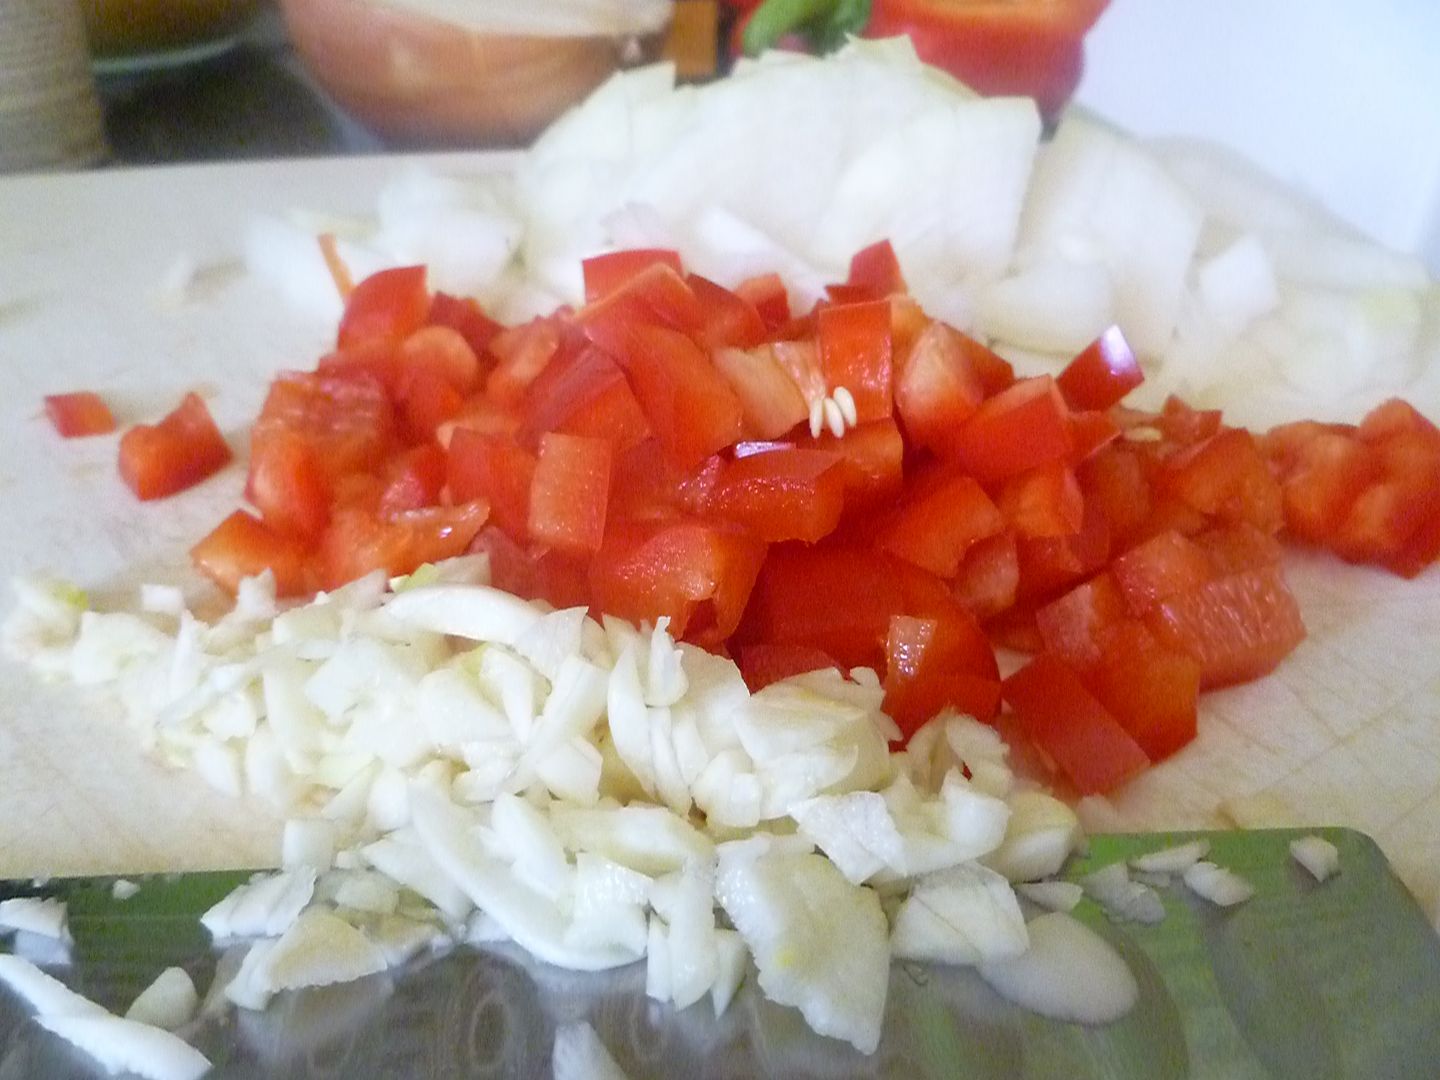
Let the spice flavor the meat while you dice half an onion.

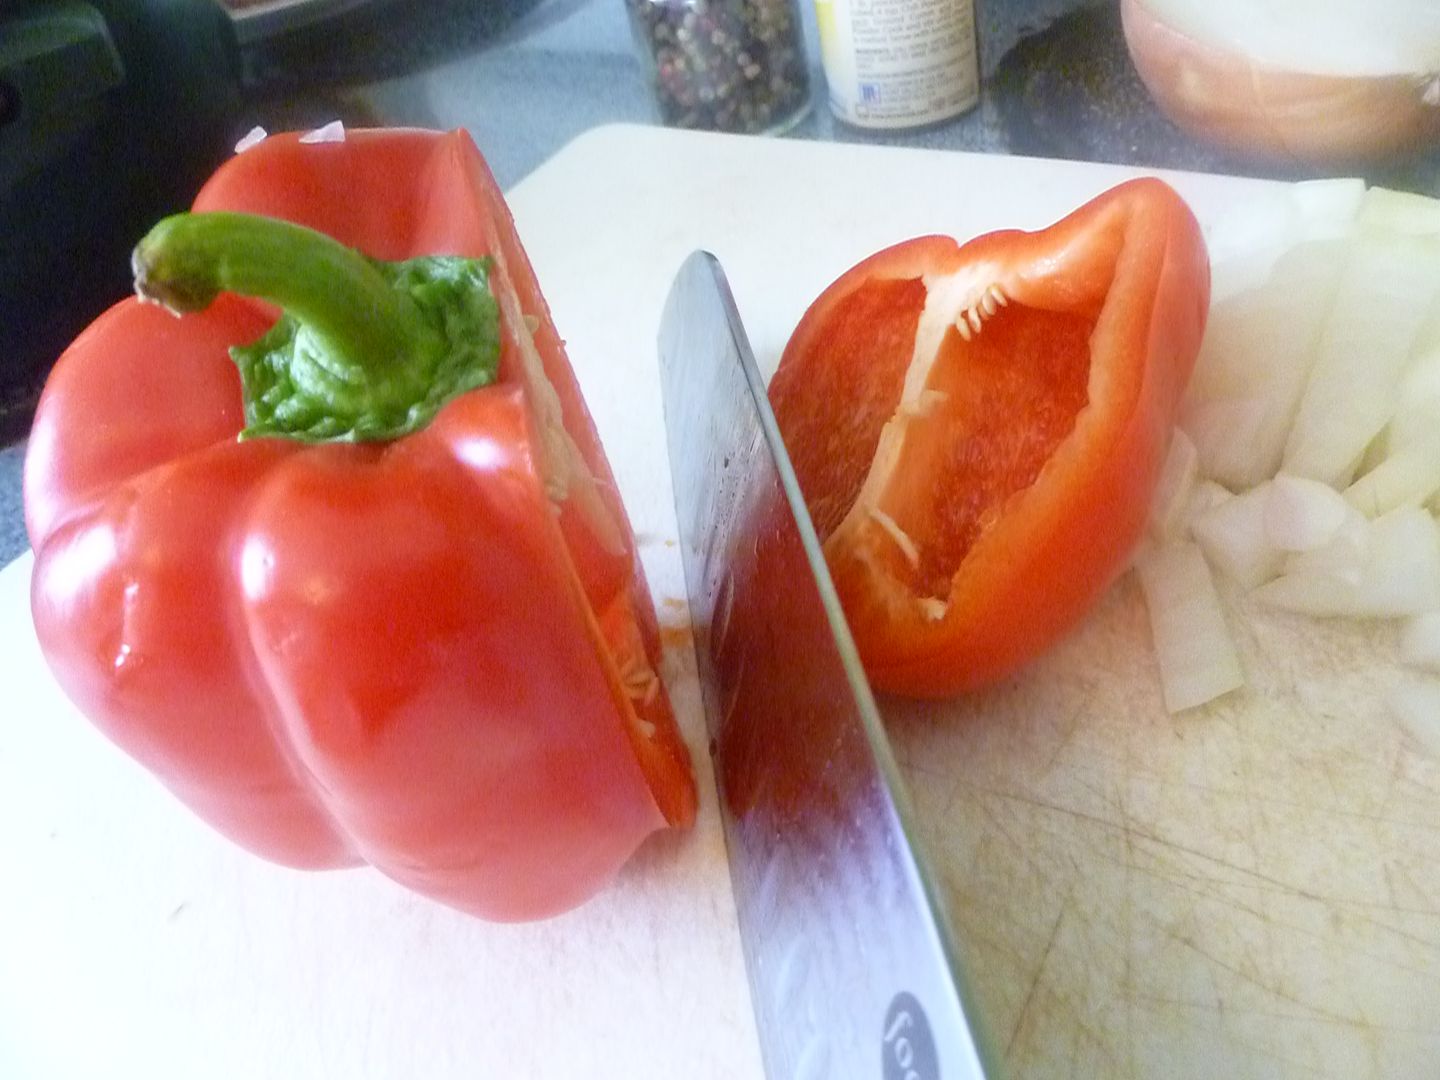
You'll need half a bell pepper, too.

I like to cut around the pepper's stem. That way, I don't have pepper seeds going everywhere.

The pepper chunk can be cut into strips. Then you can dice the strips.

Mince a couple cloves of garlic, too.

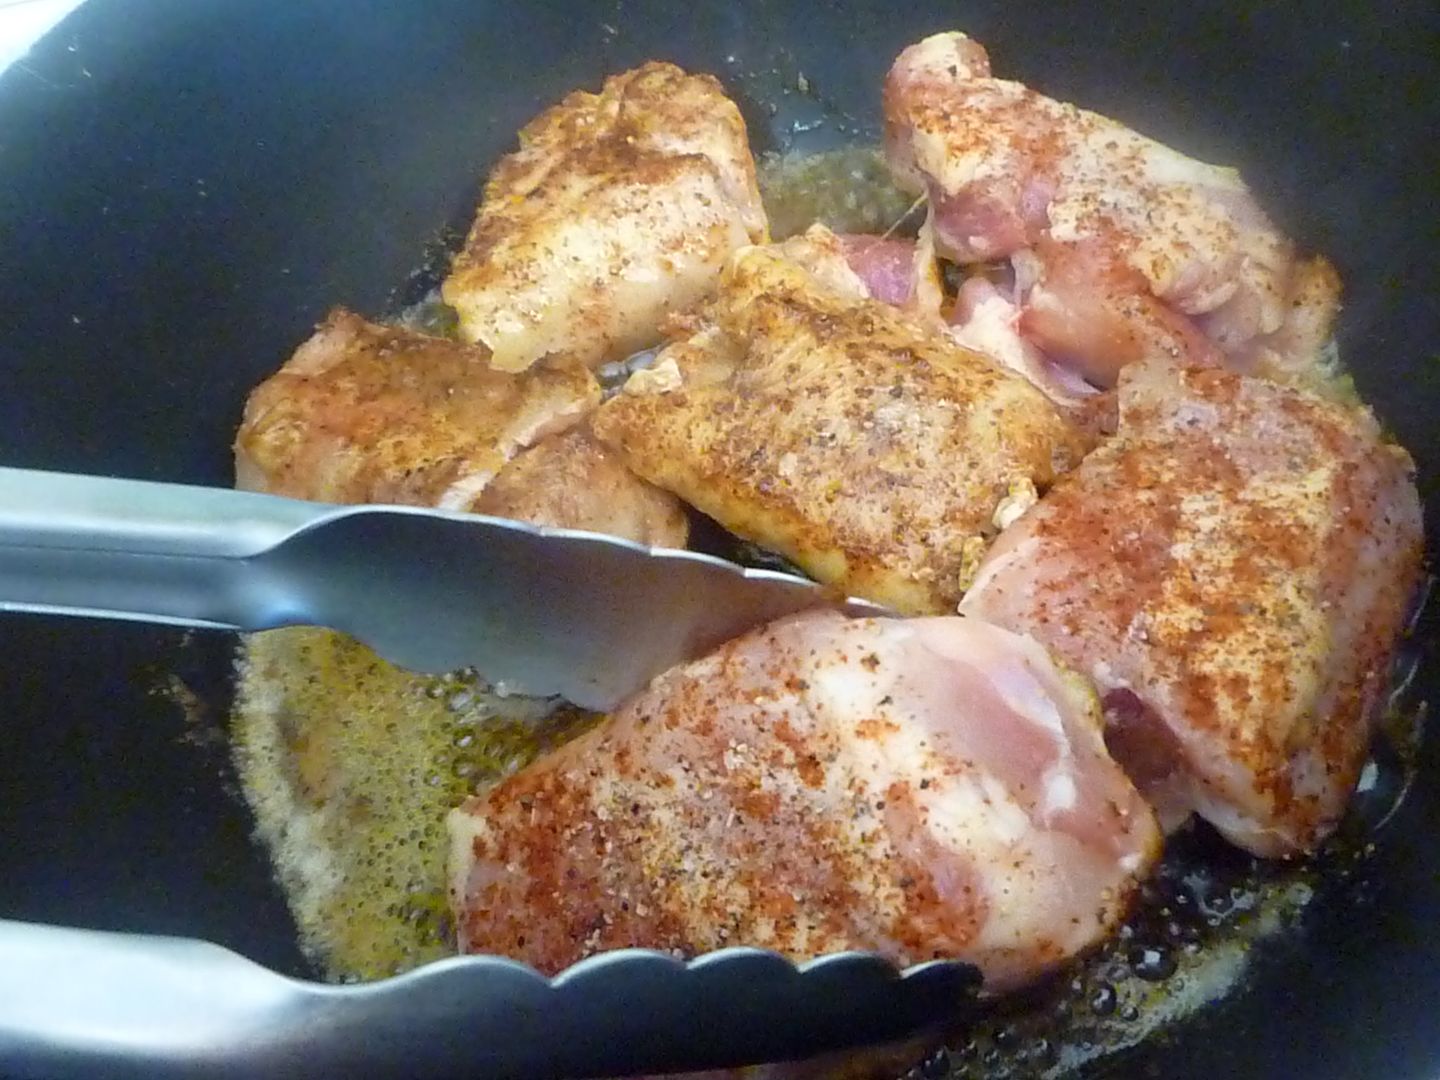
Grab a big pot and heat some olive oil over medium-high. When the oil is hot, add the chicken.

When one side is golden brown, flip it over. Don't worry about cooking it all the way through, this is just for flavor.

When both sides of the chicken are golden, take the chicken out of the pot and set it aside.

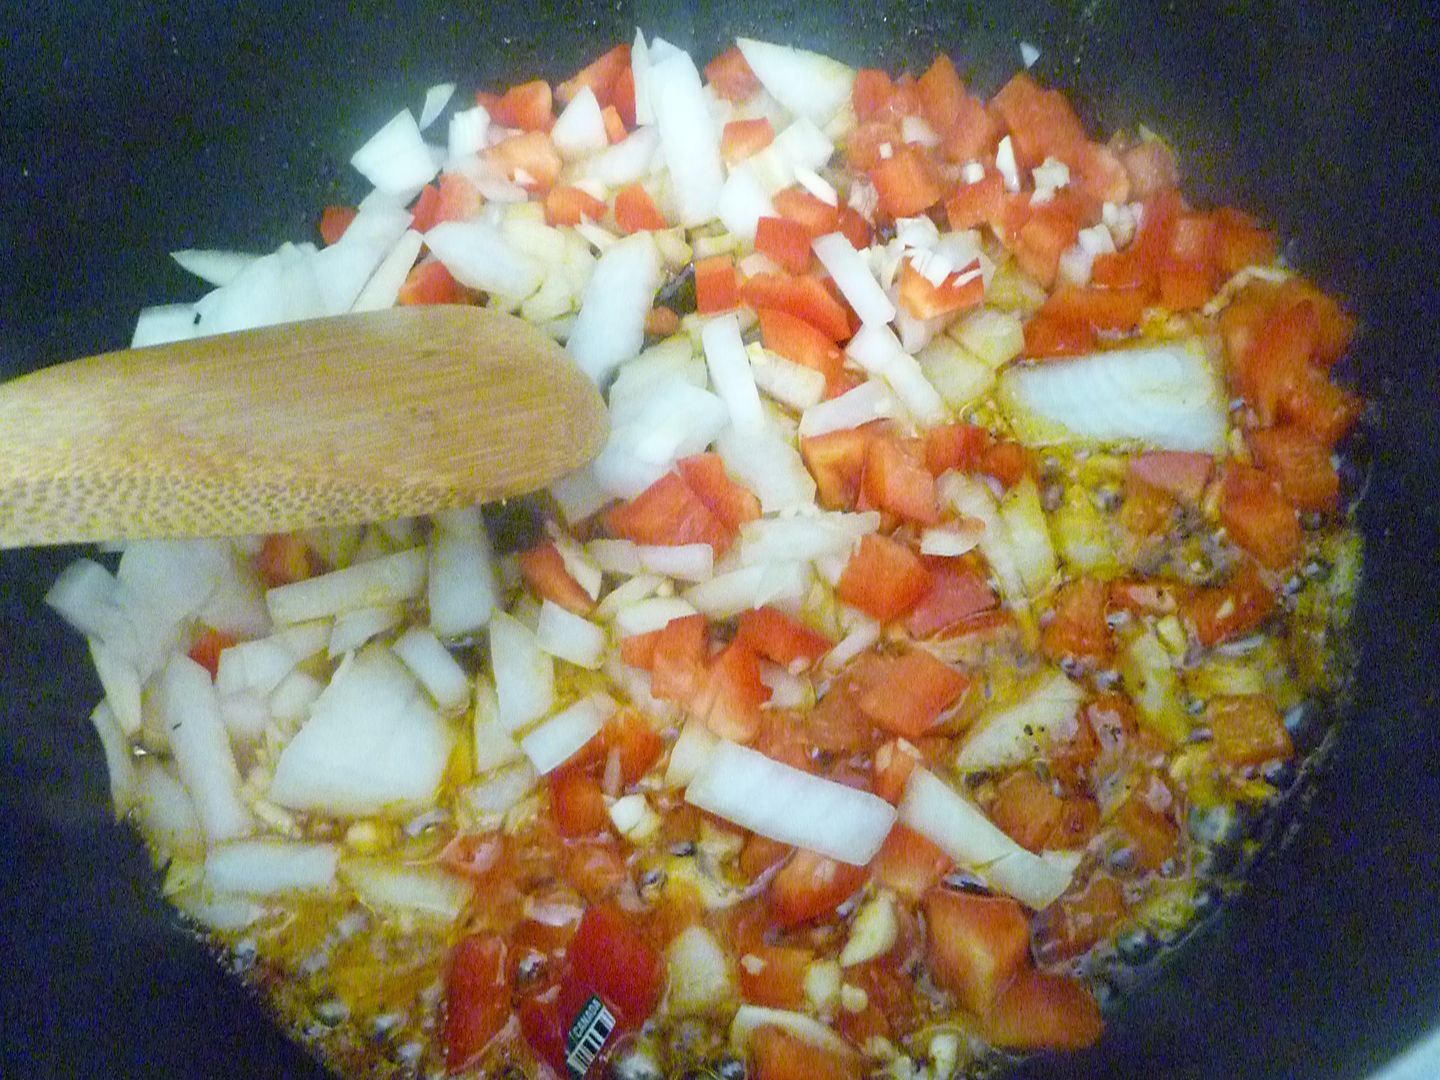
Now that the pot is empty, you can pour in the onion, pepper, and garlic.

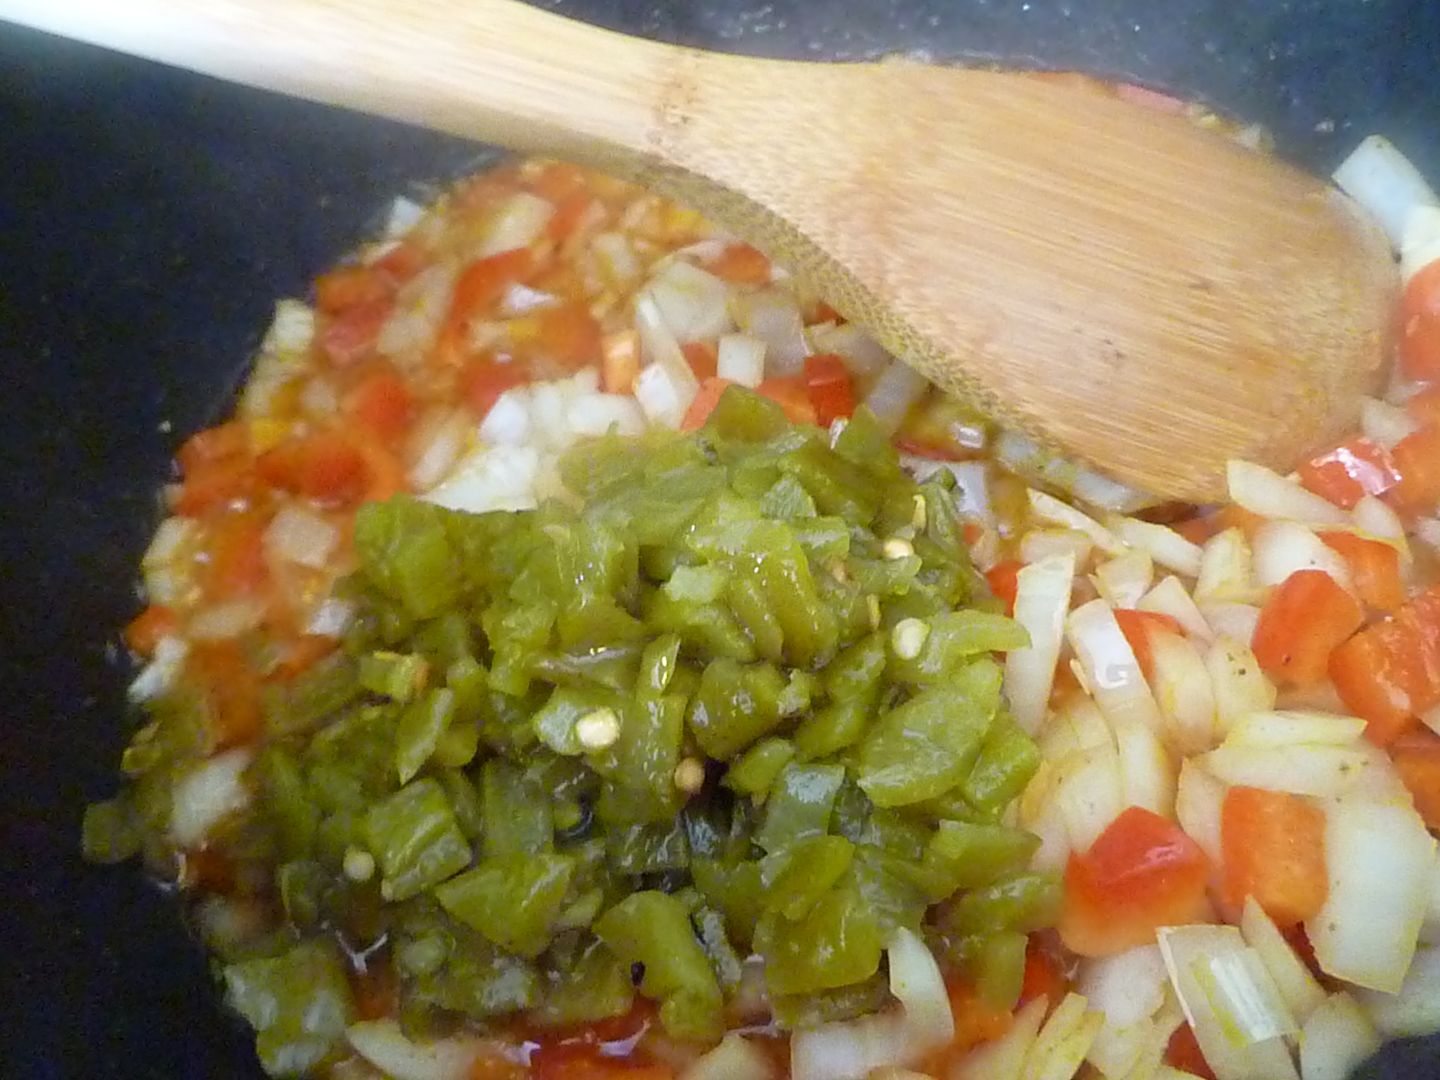
Add a can of diced fire-roasted jalapenos.

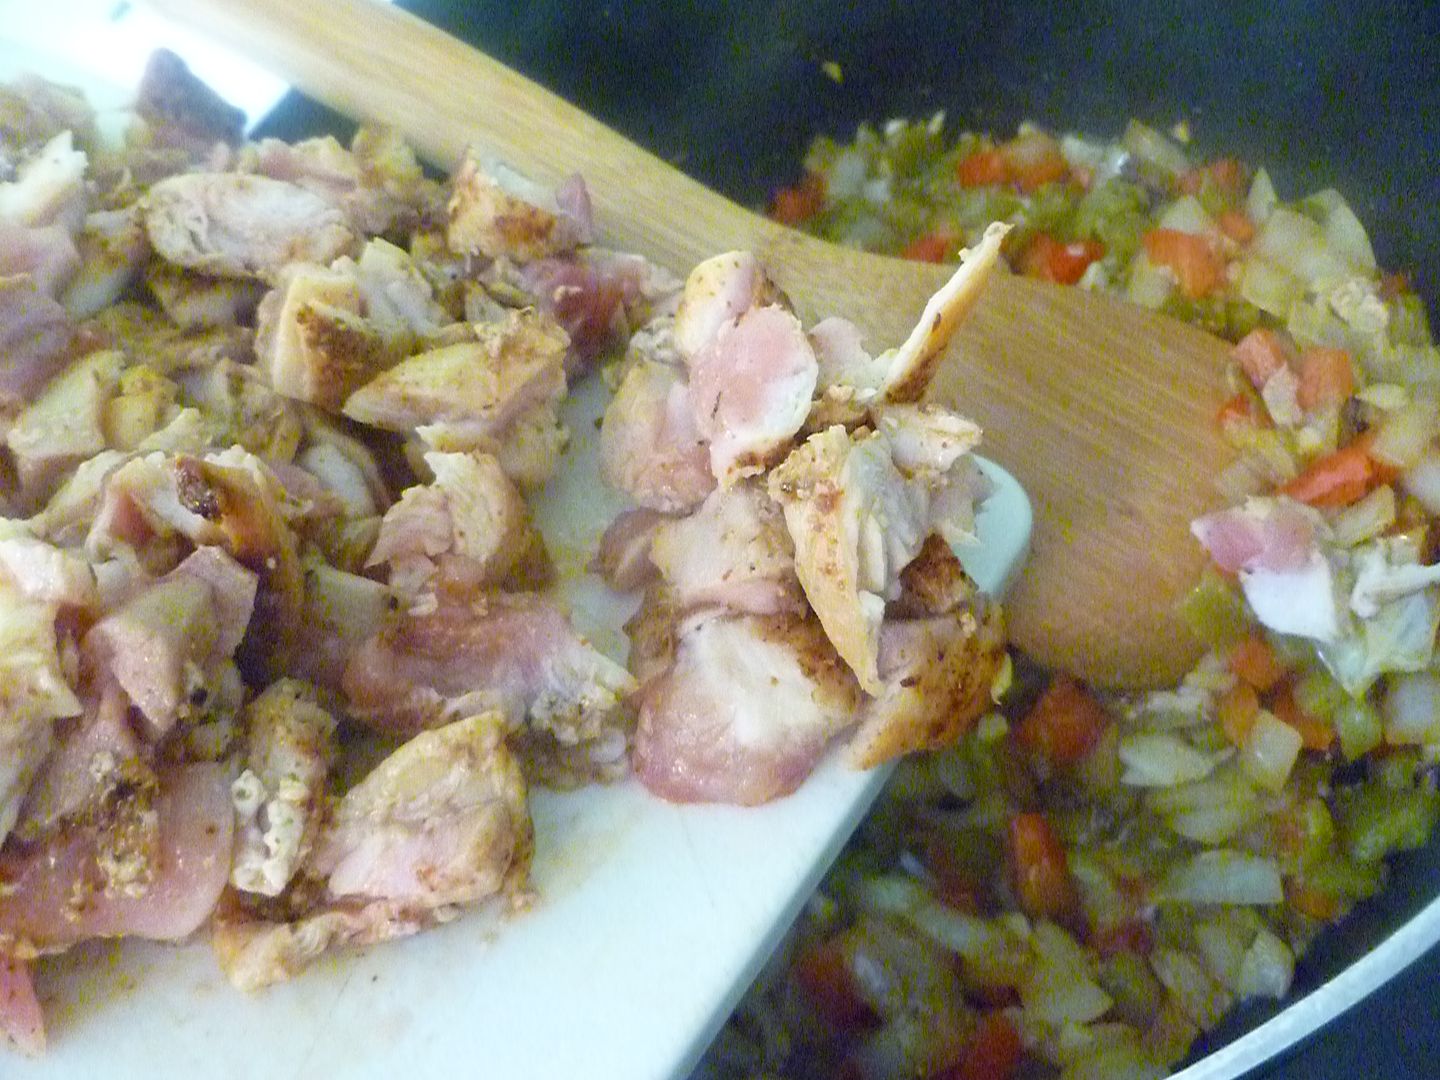
While the vegetables are sauteeing, chop up the chicken into bite-sized pieces. Then add it back into the pot.

Add the corn, too, liquid and all. Unless you're using canned corn--then drain it. You don't need all that salty liquid going in.

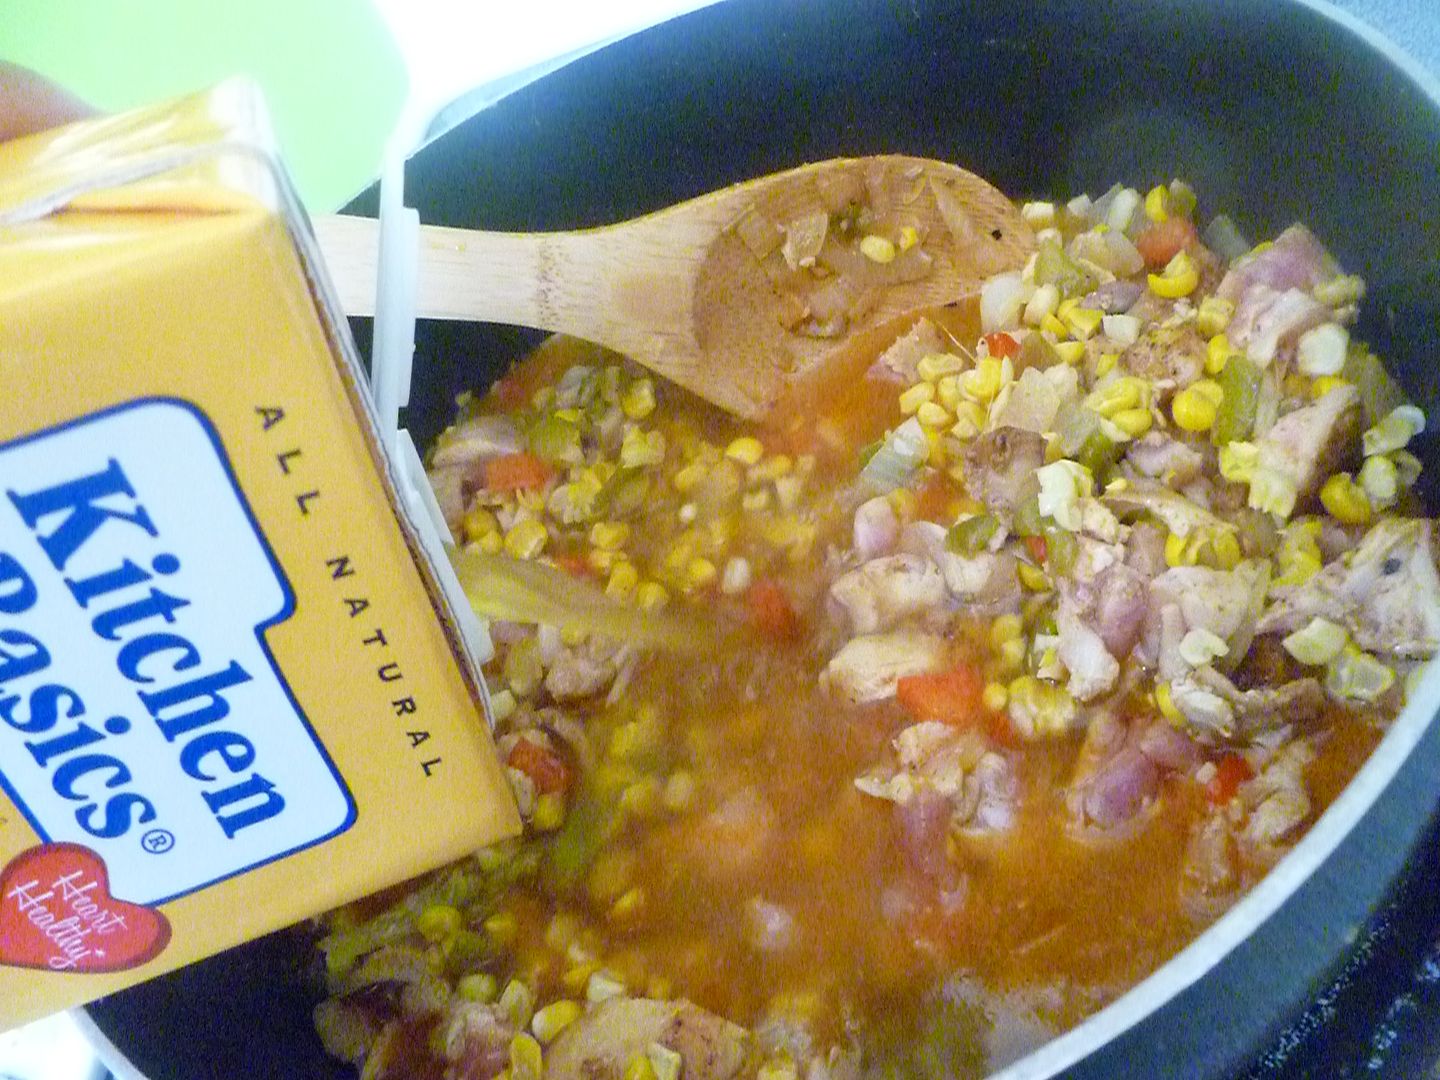
Pour in a box of chicken or vegetable broth.

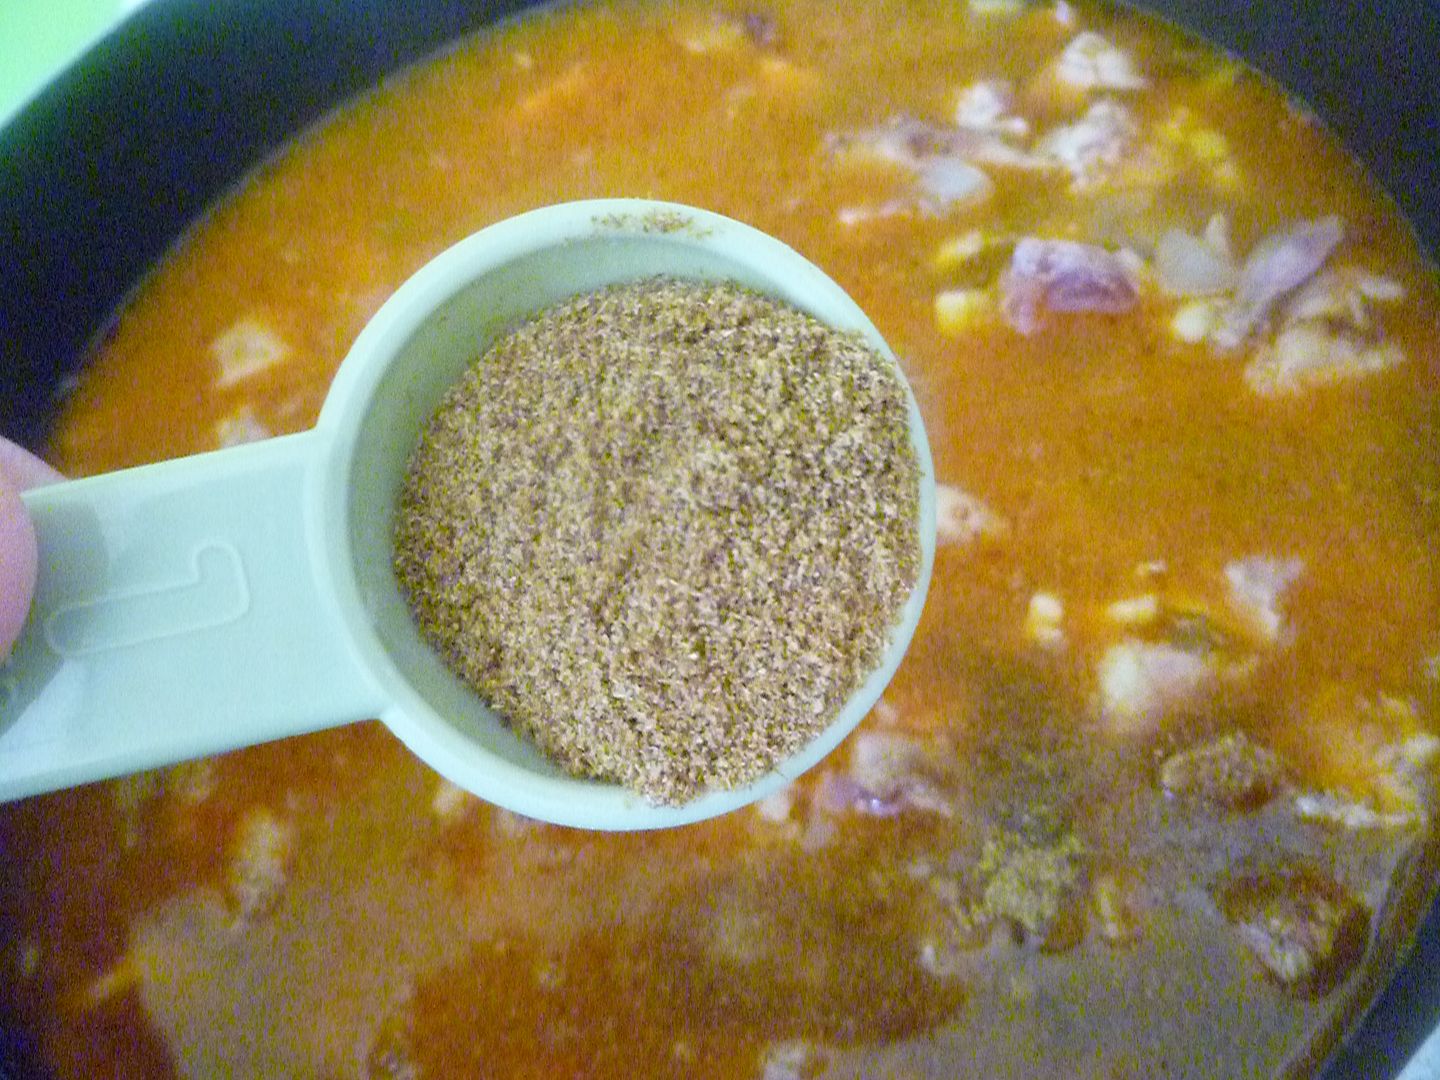
A tablespoon of cumin will flavor the chili even more.

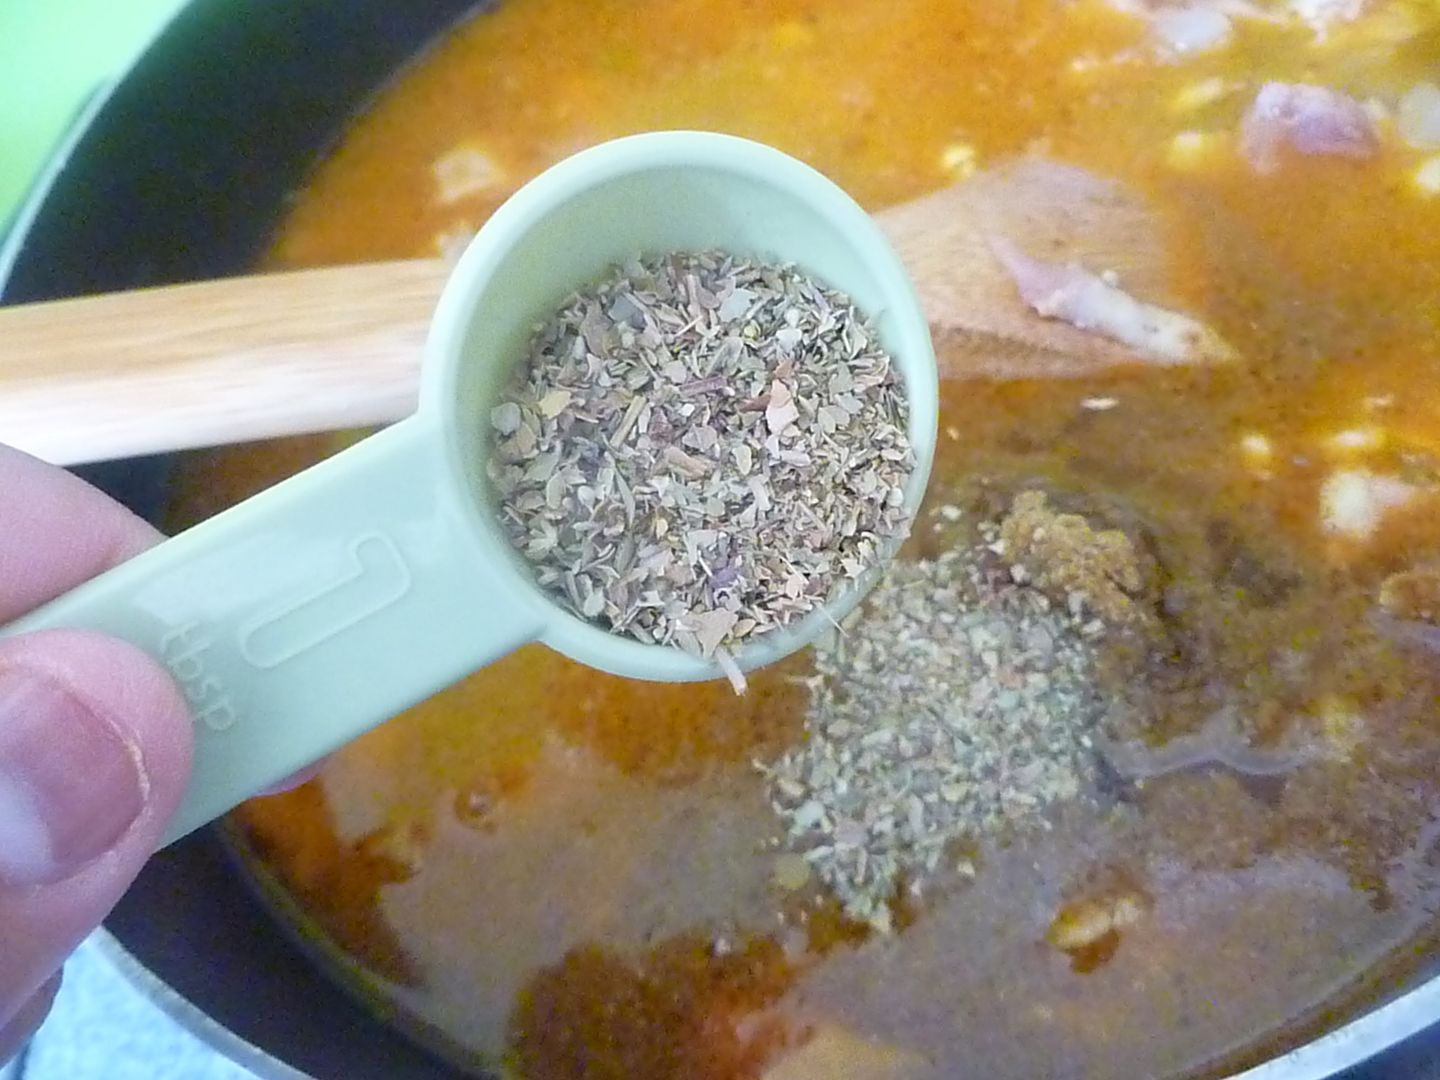
As will some oregano.

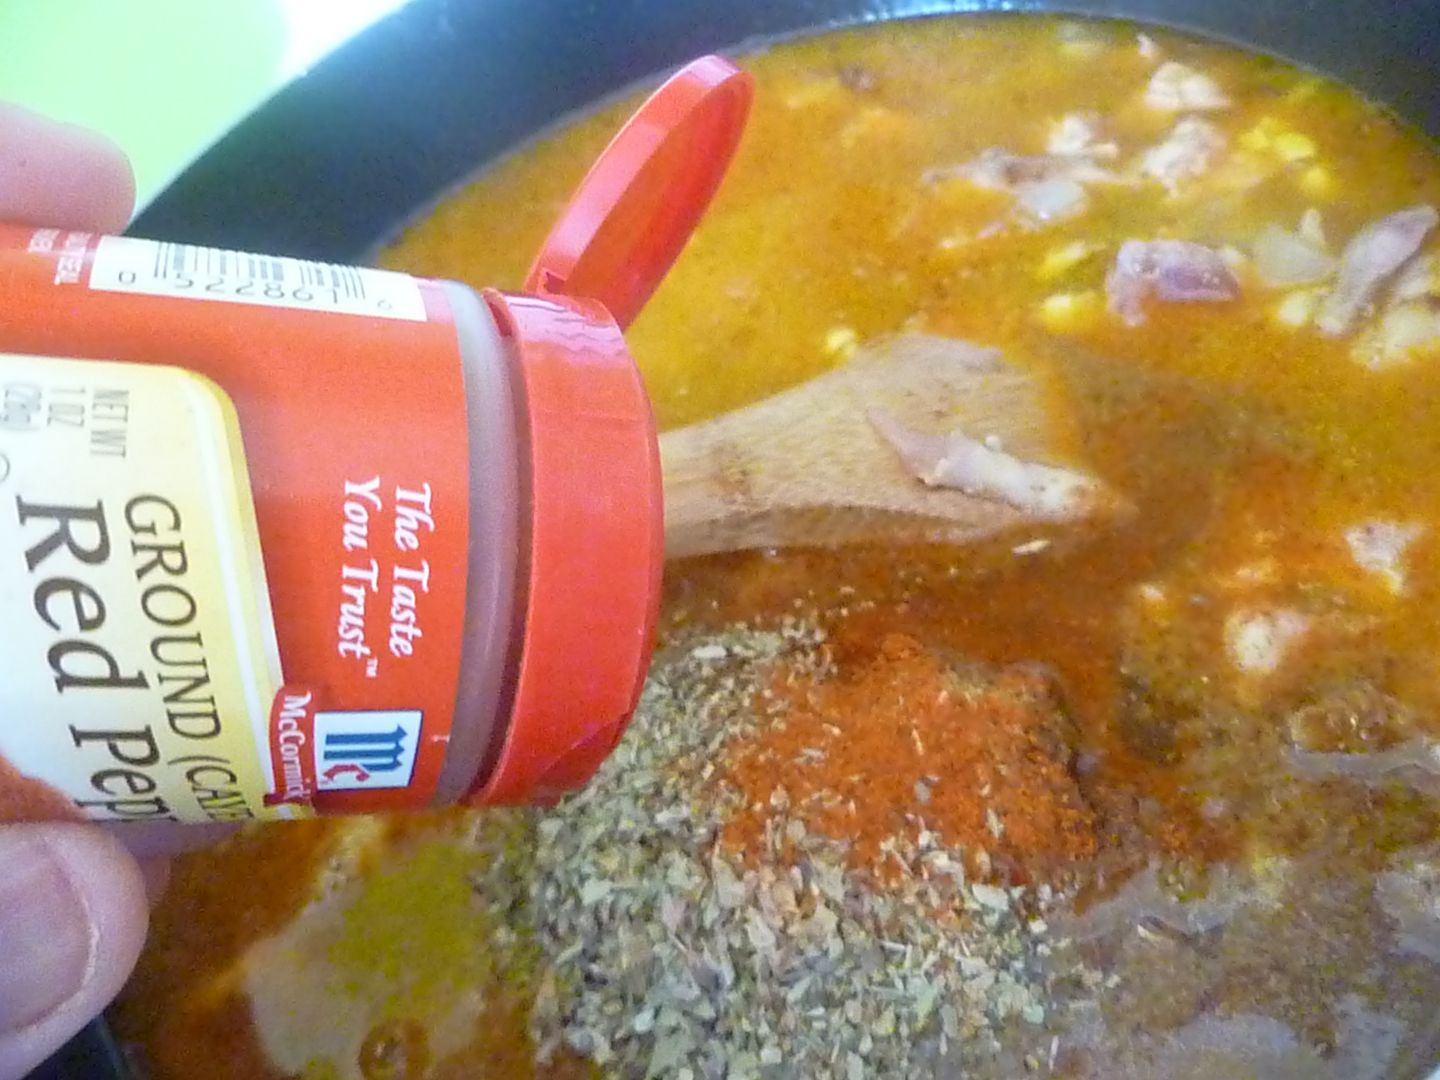
Cayenne pepper brings the heat.

Cornmeal is a traditional addition to chili; it both flavors and thickens it.

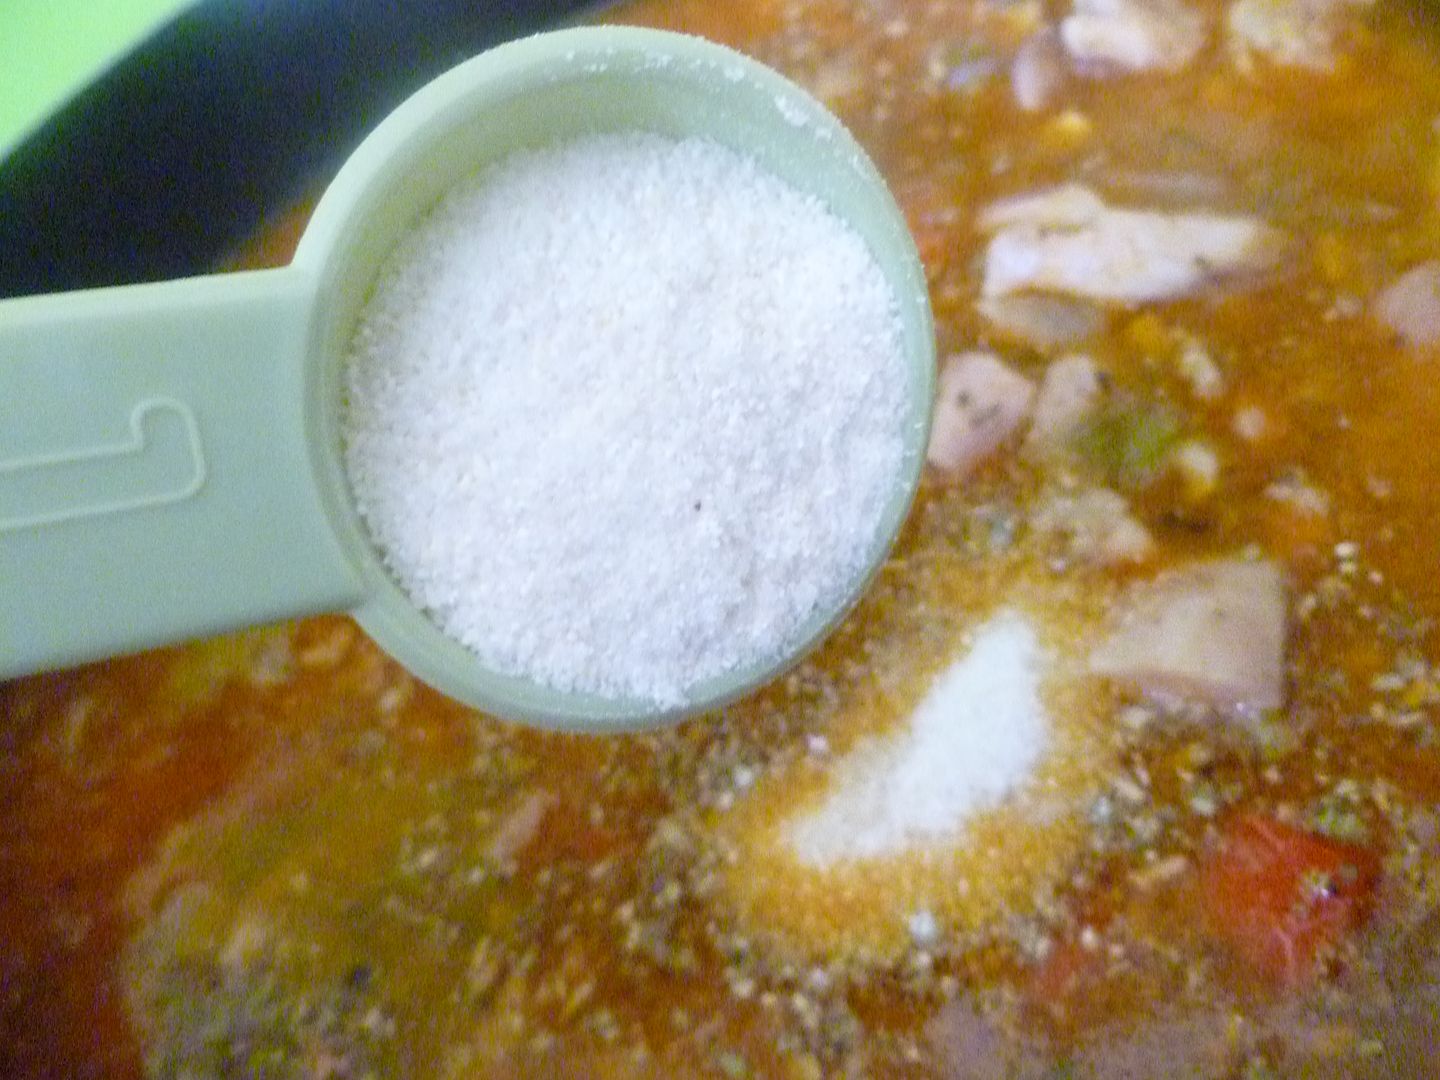
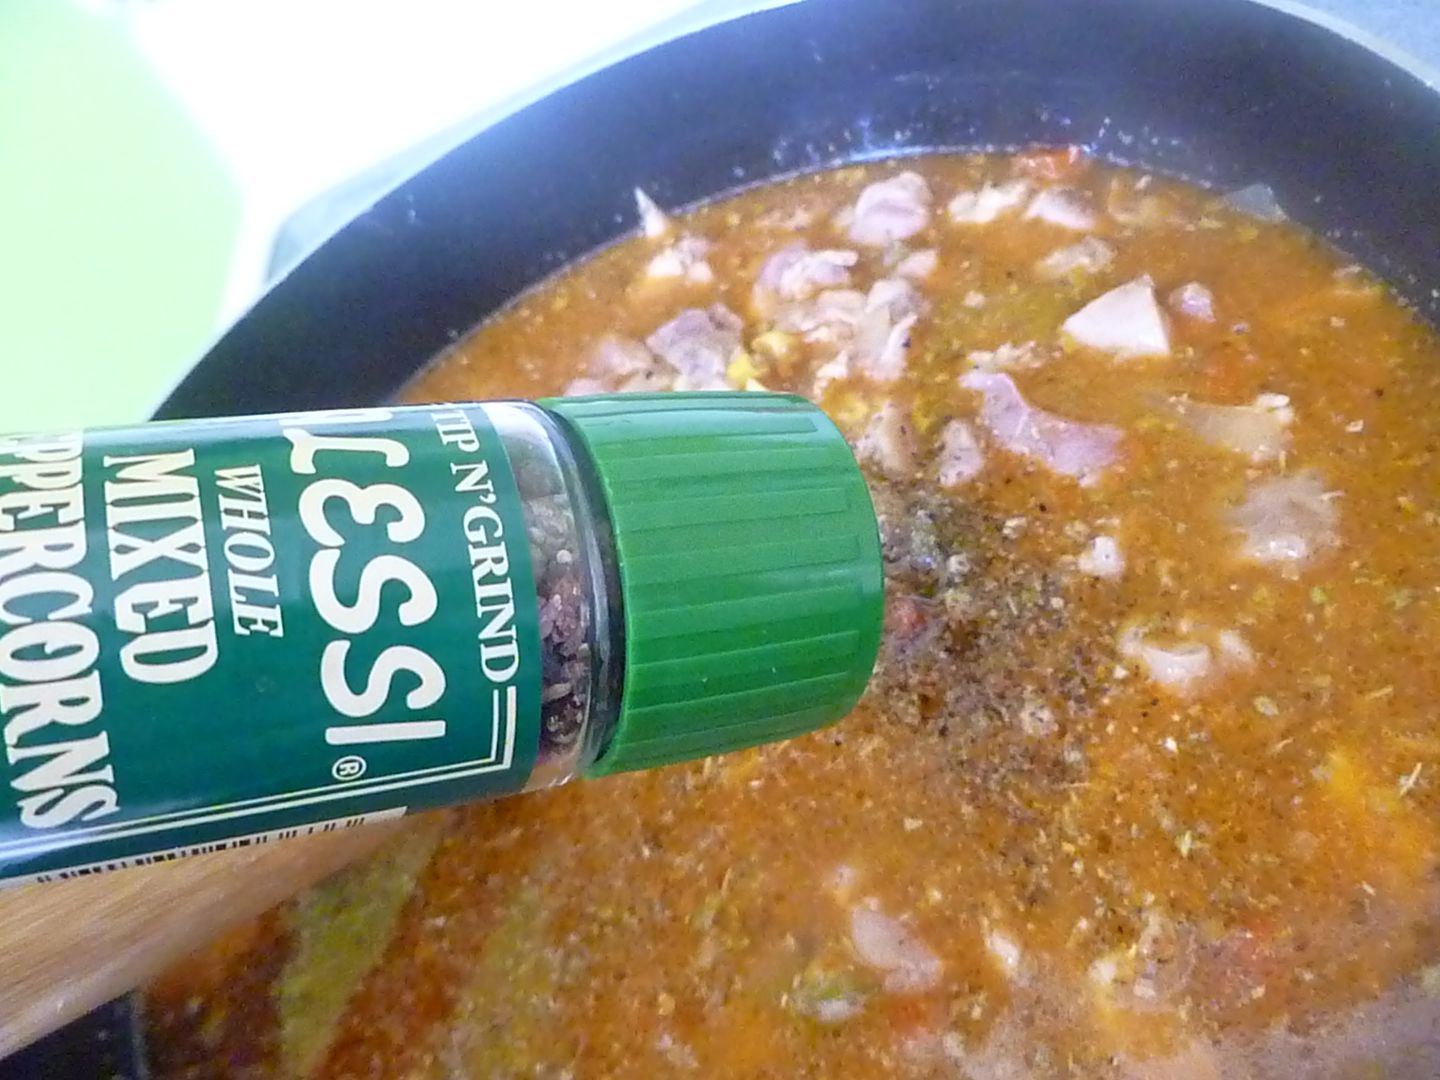
And, of course, you can't forget salt and pepper.

Let your pot of chili simmer for at least 15 minutes.

Finally, it's time for the beans. I used a can of white beans. Drain and rinse the beans well.

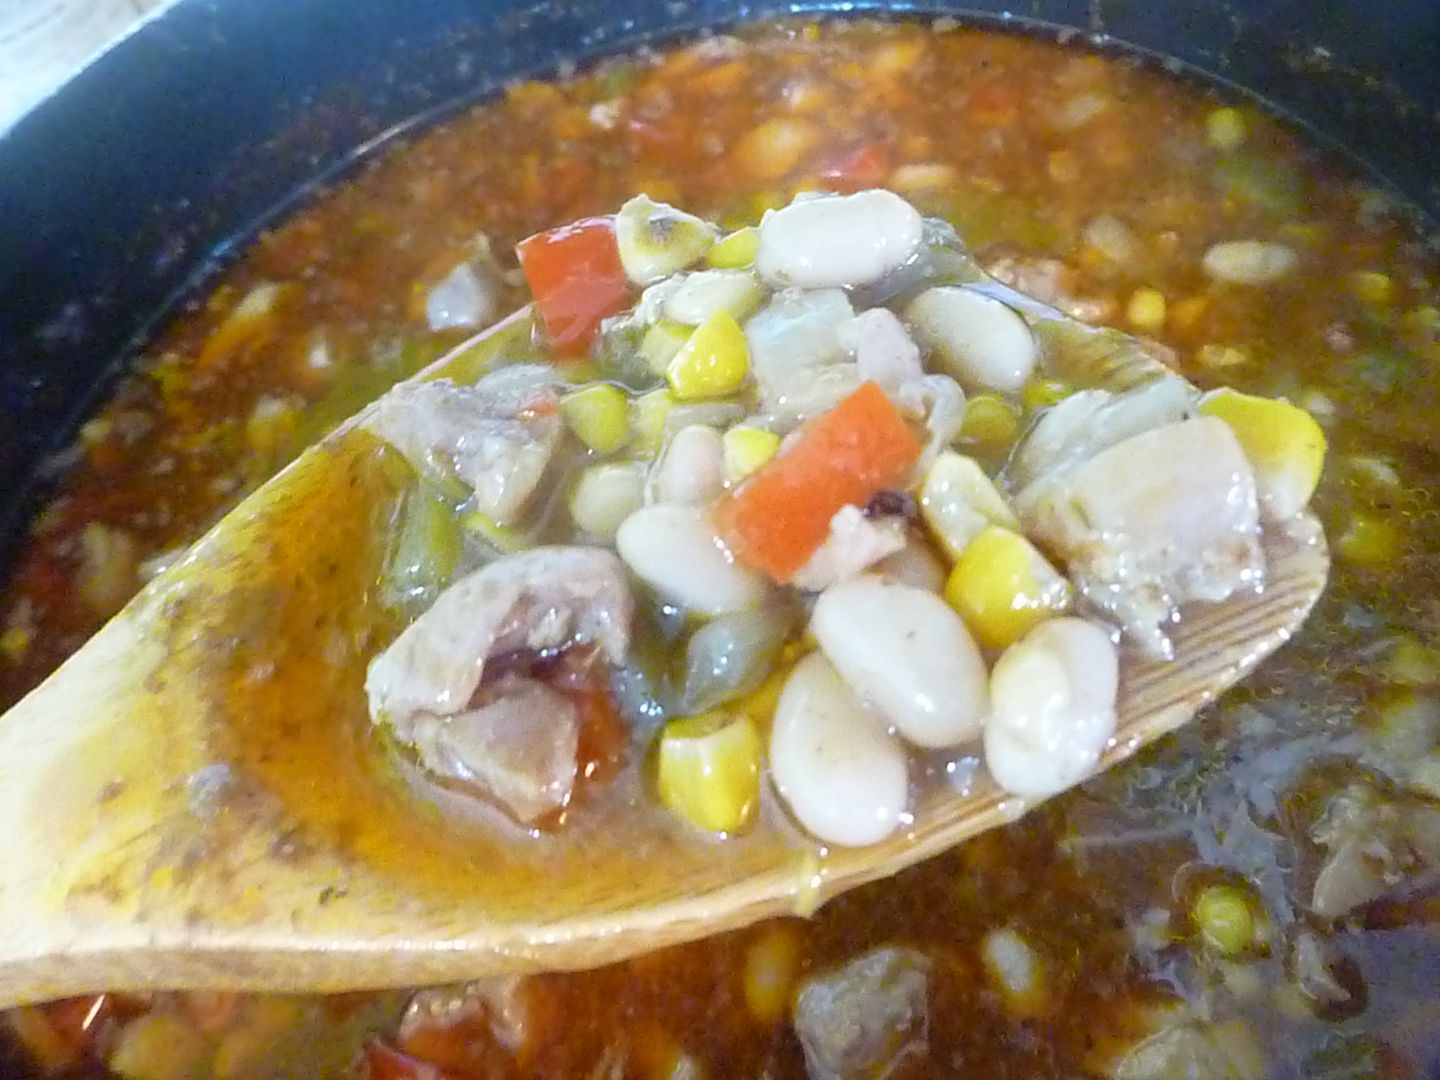
Stir them in.

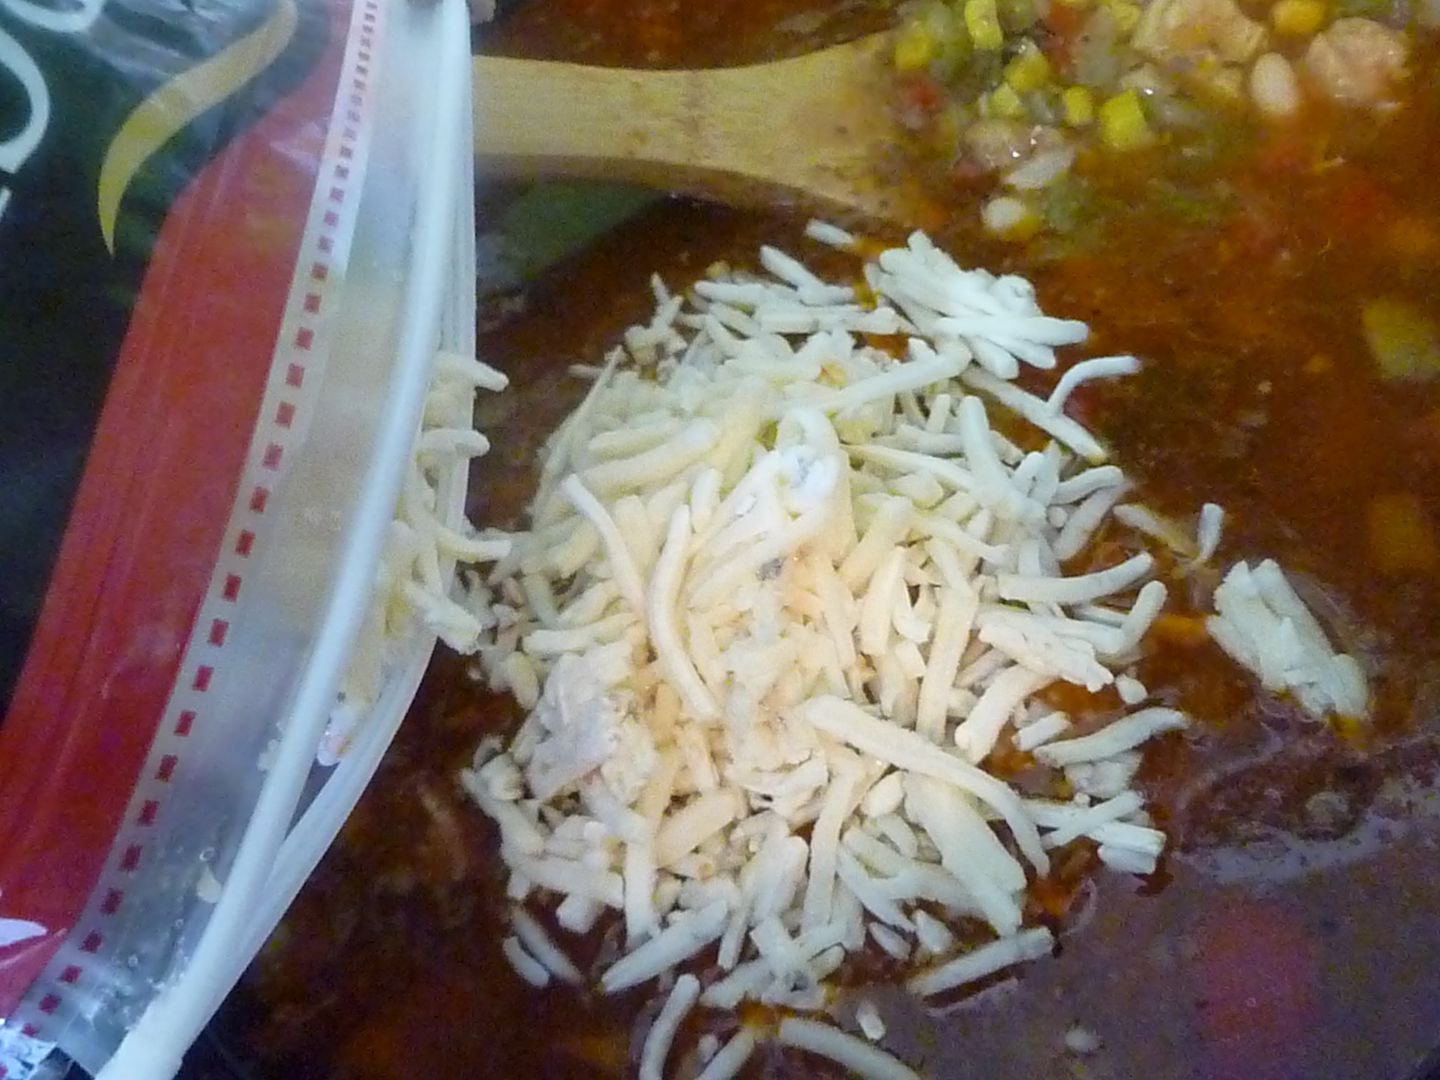
Half a cup or so of your favorite Mexican-ish cheese will perk up your chili.


A little more cheese on top, and your chili is ready to eat!


Recipe: White Chicken Chili

1/2 c. dried or dehydrated corn (or 1 c. fresh, canned, or frozen)

1 1/2-2 lbs. boneless chicken thighs (or other boneless chicken)
cumin, salt, and pepper, to taste

1/2 onion, diced
1/2 bell pepper, diced
2 cloves garlic, minced
1 can fire-roasted jalapenos

1 box chicken broth
1 1/2 tbsp. cumin
3/4 tbsp. oregano
dash Cayenne pepper
2 tbsp. cornmeal
1 can white beans
1/2 c. shredded Mexican cheese


Rehydrate corn by pouring double the amount of hot water over the top. Let rehydrate for at least an hour.

Season chicken with salt, pepper, and cumin. Sear both sides in olive oil over medium-high heat. Remove and set aside.

In the same pot, add onion, pepper, garlic, and jalapenos. Saute until vegetables are softened.

Dice chicken into bite-sized pieces and add back into pot with vegetables. Pour in chicken broth. Add cumin, oregano, Cayenne, and salt and pepper. Stir in cornmeal; let simmer for 15-20 minutes.

Drain and rinse beans; add to the pot. Add cheese; stir until combined. Serve when heated through.

Wednesday, September 28, 2011

Harvest Soup

I saw a recipe for chicken-apple stew online and wanted to make it. A few additions, and it became a harvest-themed crock pot stew that was quick to throw together and the most seasonal meal you'll eat outside of Thanksgiving. This is Thanksgiving in a crock pot.

Here are the base ingredients.

Everything will need to be chopped up. I peeled anything that needed peeling.

Naked fruits and vegetables!!

Here's everything chopped up and ready to go in the crock pot. It's apples, potatoes, sweet potatoes, carrots, onions, celery, garlic, and cranberries. It's a pretty rainbow.

And remember this?

It's my Dried Sweet Corn!

If you didn't make any dried corn, you can add fresh, frozen, or canned corn. Just add it near the end of its cook time, not at the beginning.

I have to say, it was great. It plumped up perfectly and tasted exactly like it did back in the summer, at its peak of freshness. My only regret is that I should have made more. 

I was going to use a turkey breast. But this time of year, it's on the expensive side. I found these nice, cheap turkey legs instead.

I stuck 'em in the crock pot and sprinkled salt and pepper over the top of it all.

Then I added some dried sage and thyme.

And some caraway seeds.

I drizzled some olive oil over the top. Vegetable oil would be okay too.

Butter and oil oil will give the soup a little richness.

How could this get more harvest-y, you ask? There's already fall fruits and vegetables, seasonings, and turkey legs! Here's how--apple cider!

A splash of cider vinegar will bring out your fall flavors.

And a can of chicken broth will ensure there's enough liquid to go around.

Or use some of the Chicken Stock that I'm sure you rushed home to make.

You did, didn't you?

Some dried parsley and a bay leaf should have gone in with the thyme and sage. They're being added now.

Turn the crock pot on high and go do something else. Read a book. Do some laundry. Take a nap. Just do something else for the next 5-6 hours.

Here's what it should look like after a few hours.

When the turkey has cooked and is pull-off-the-bone tender, then ... well ... pull it off the bone.

At this point, you could serve it immediately, or just turn the crock pot on warm and let it wait until you're ready.


When you're ready to eat it, it'll be waiting! And don't worry about leftovers--it reheats beautifully! Give it a try--it's sweet and healthy and ust a really nice fall soup.


Recipe: Harvest Soup

4 medium potatoes, peeled and cubed
1 sweet potato (or 1/2 large), peeled and cubed
3 medium carrots, peeled and chopped
1 onion, diced
1 stalk celery, chopped
2 large apples, peeled, cored, and cubed
1 large clove garlic, minced
1/2 c. fresh cranberries
1/4 c. dried corn

4 turkey legs (or one bone-in turkey breast)
salt and pepper, to taste
1 tsp. dried sage
3/4 tsp. dried thyme
1 bay leaf
1 tsp. dried parsley
1/4 tsp. caraway seeds

1 tbsp. olive oil
1 tbsp. butter
1 1/2 c. apple cider or juice
1 tbsp. apple cider vinegar
1 can chicken broth


Layer vegetables on the bottom of a large crock pot.

Lay turkey over the vegetables. Add seasonings.

Add oil, butter, cider, vinegar, and broth. Turn crock pot on high and let cook 5-6 hours. Remove turkey and pick meat. Return meat to crock pot and discard bones and skin. Serve.

Friday, August 19, 2011

Dried Sweet Corn

I'm slowly entering the world of food preservation. I've done a little canning so far. Then I found myself with some extra ears of sweet corn. Mr. Kim Chee doesn't love corn on the cob quite as much as I do, and it gets a little difficult to go through a dozen ears of corn. But I have a hard time not buying more--it's at the peak of its freshness now and corn never smells or tastes as good as it does this time of the year. So I decided that I would dry it and keep that summer sweet corn flavor and smell on hand for the darkest days of winter.

I'm stealing some images from Corn, Tomato, and Avocado Salad, since I prepped all my corn together for these two recipes.

So, like the salad, you want to husk your corn and boil it for 3 minutes. When the 3 minutes is up, dunk 'em in a cold water bath or run them under the faucet until they're cool to the touch.

Stand your ear of corn up on a kitchen towel (the towel will keep the corn kernels from bouncing everywhere.) Use a sharp knife to cut the kernels off the cobs. Cut as close to the base of the kernels as you can, but try not to take off any of the cob.

If you get any bit pieces of kernels that stick together, break them apart. They look neat but will take much longer to dry.

Spread the kernels out on a baking sheet, making sure that the corn is in a single layer. If you're doing a lot of corn, split it up into two or more sheets. This was quite a lot of corn for the sheet, which also added to the drying time.

Yup. Didn't break the big bits of corn apart here. Should have. Took much longer to dry.

Mmm. Corn.

So, here's what fresh-off-the-cob corn looks. Remember that. All juicy and fresh.

Pop your corn into a 175F oven. Grab a wooden spoon.

Use the spoon to prop open the oven door just a bit. This crack will allow steam to escape, making drying easier.

Hi, corn!

Now walk away and let the oven do all the work. Come back every hour or so and give the corn a stir, to make sure it dries evenly.

After 2-3 hours (or more, depending on how much corn you're drying and how humid it is outside), you'll have a sheet full of dried corn.

Give it a smell. It will smell sweet and summerlike! Just like concentrated summer sweet corn.

Make sure it's fully dried. Feel it all--it should feel dry. If you feel anything resembling moisture, throw it back into the oven until that feeling is gone. 


I store mine in a clean Mason jar, with the lid on tight. It should be good throughout the winter. I'm planning on adding mine to some Crab and Corn Chowder or Potato and Ham Chowder. And sometime this fall you'll likely be seeing some sort of creamed corn recipe. Keep the bounty of summer in your kitchen year-round with this simple and old-school recipe.


Recipe: Dried Sweet Corn

any amount of corn, fresh on the cob


Husk corn and trim any undesirable bits off.

Boil corn for 3-5 minutes until cooked through. Place in a water bath or run under cold water until cool to the touch.

Cut or scrape kernels from cob, being careful not to cut into the cob.

Place corn in a single layer on a baking sheet. Spread out for ideal drying time.

Place corn in a 175F oven. Use a wooden spoon to prop the oven door, to let out moisture. Let corn dry for at least 2 hours (or more, depending on humidity levels.) When corn is completely dry, store in a cool, dark place.