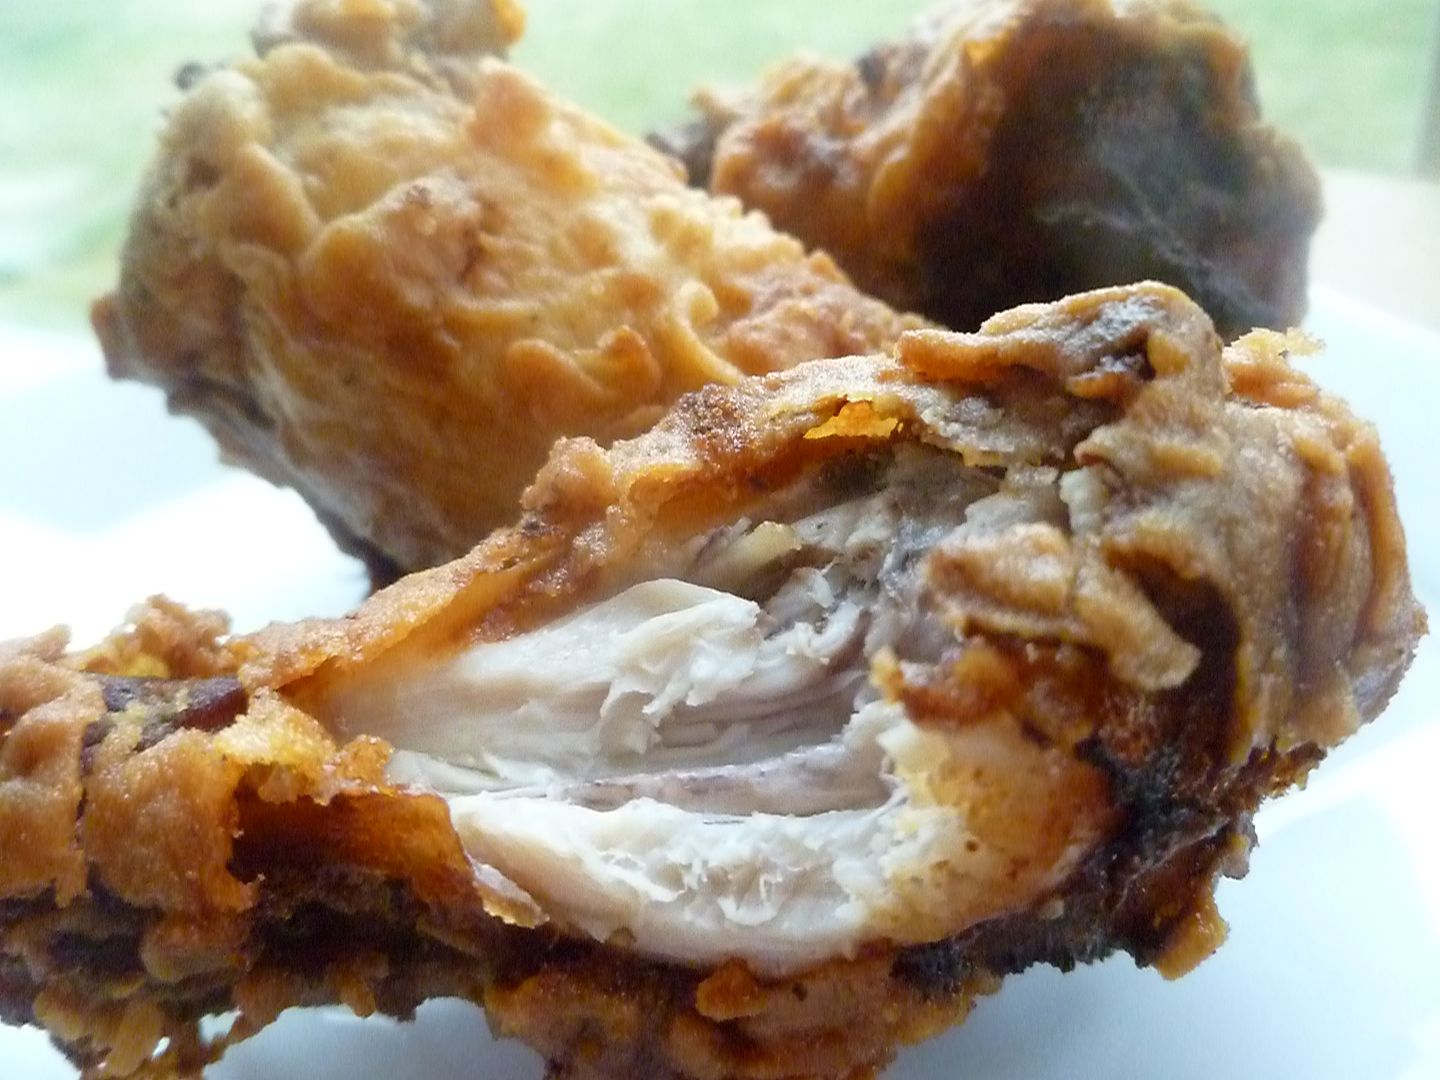
I love the hot wings from a certain famous chicken place. However, they're really easy to make at home, too! I was craving wings and decided to make some for dinner. These wings are just a bit spicy (although you can make them as spicy as you want) and incredibly crisp. Would you believe me if I told you that at one point I thought Mr. Kim Chee was eating an apple, not a chicken wing? True story.
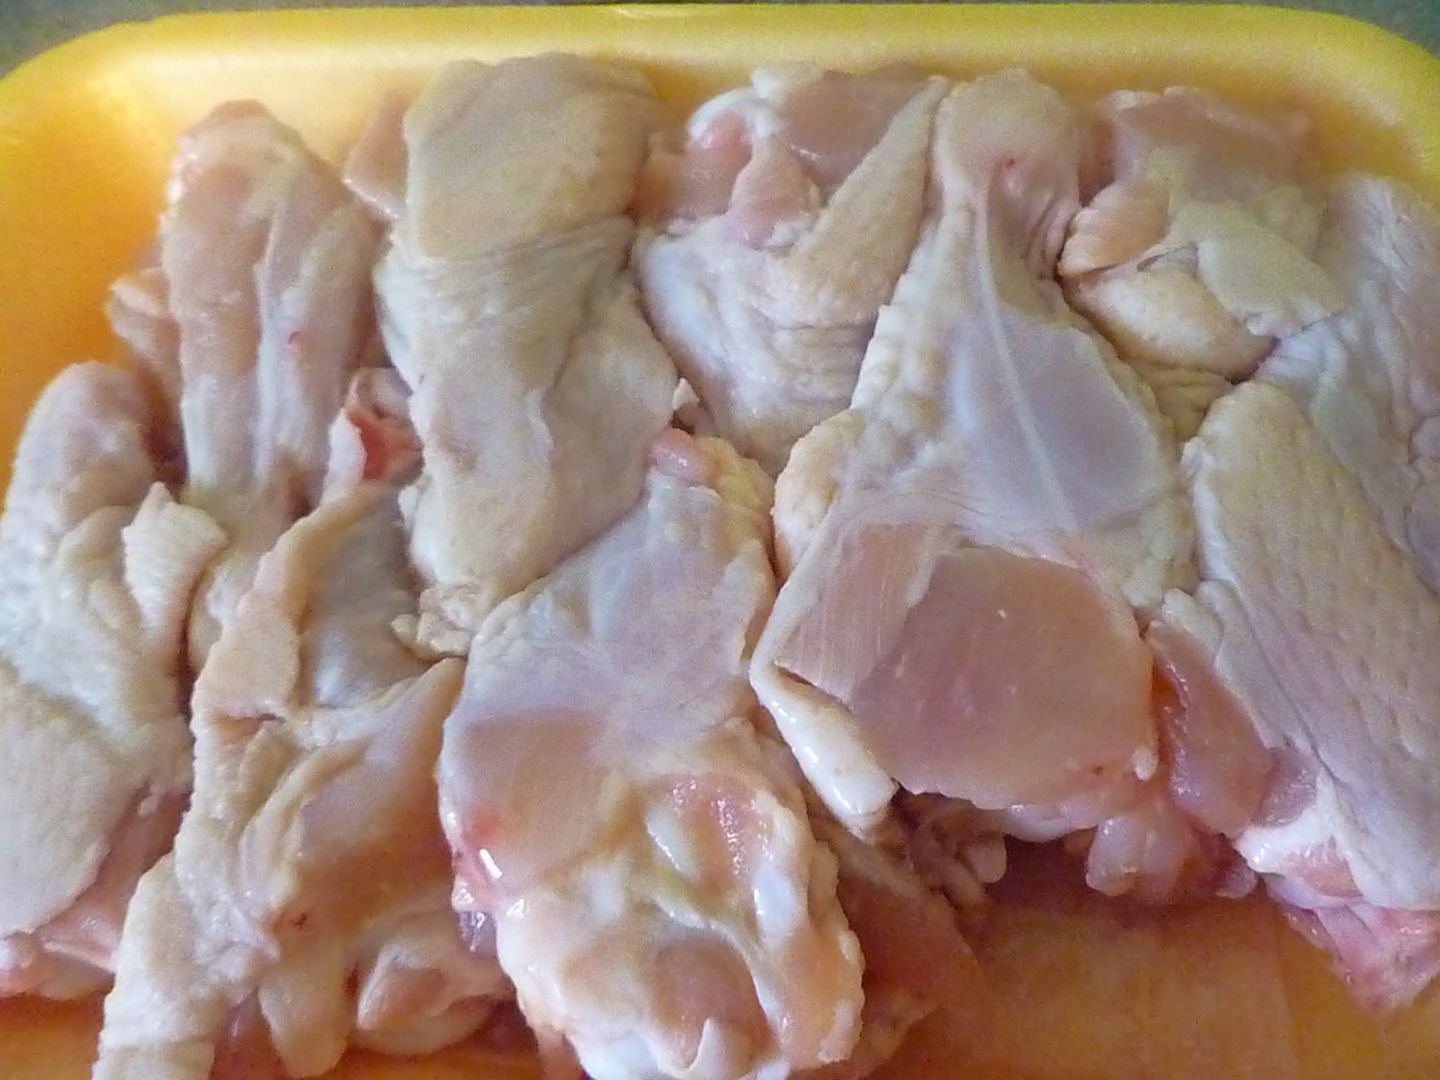
You'll need, of course, some chicken wings. I had all drummies in the package I bought (I prefer the flats, while the Mr. loves the drummies.) Wash them off and pat them dry. Then toss them into a big plastic bag.
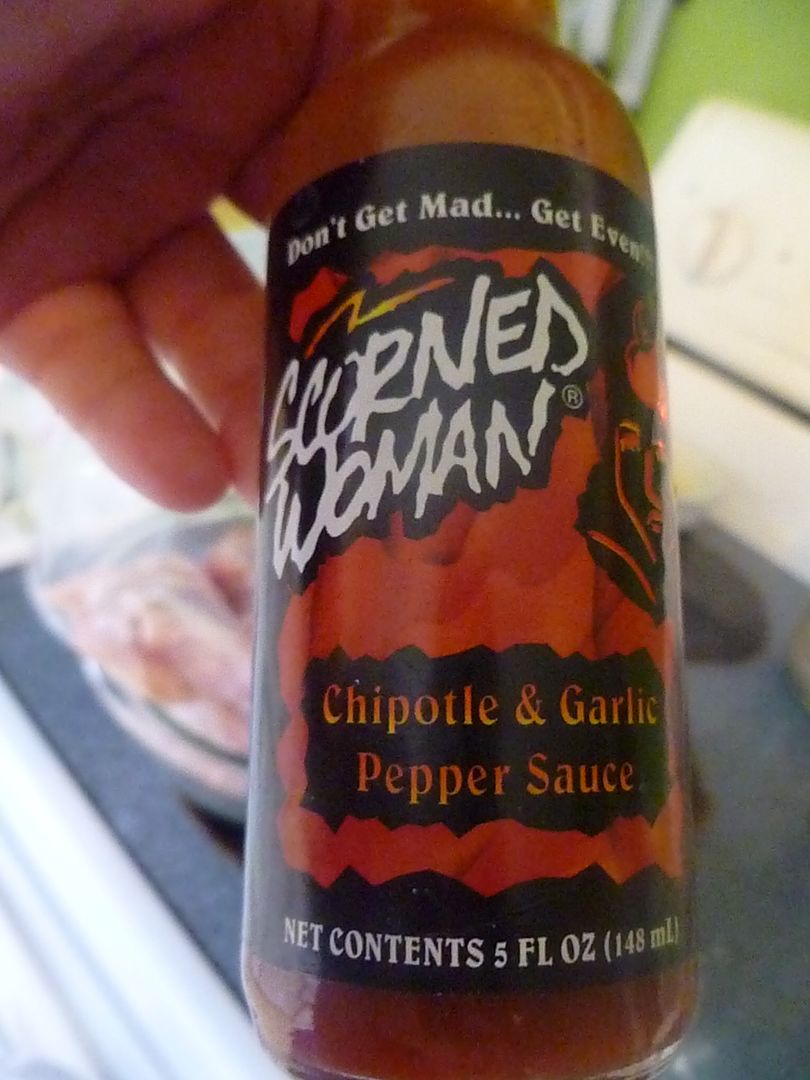
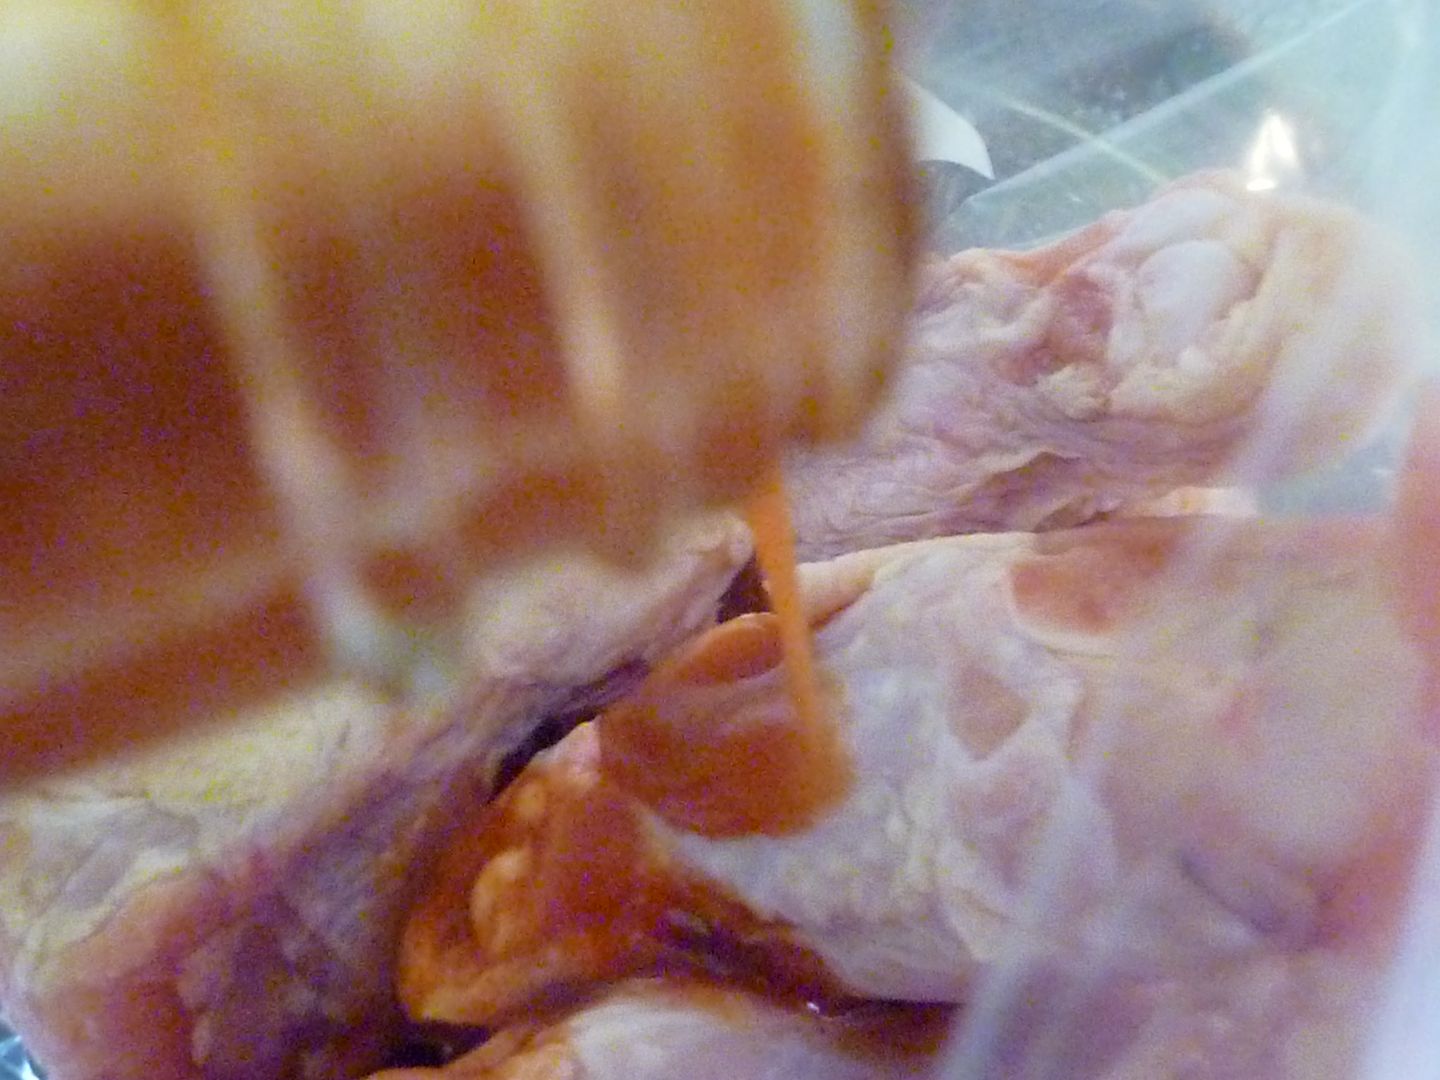
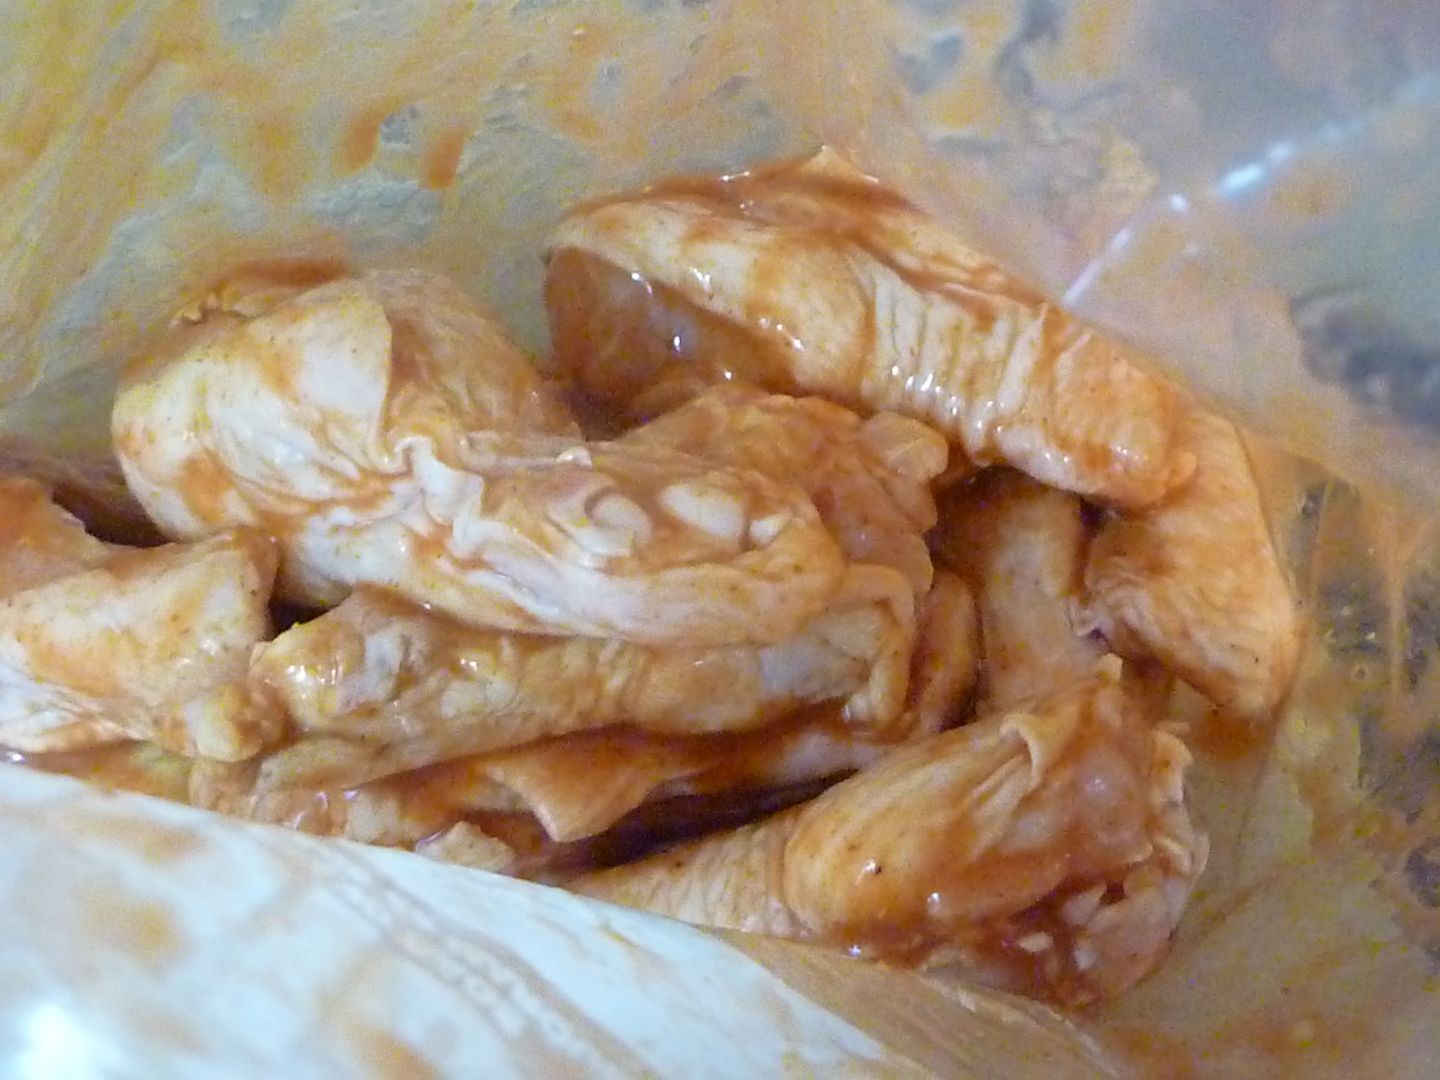
The wings are going to marinate in some hot sauce. That's what makes them spicy but still crispy. I chose some Chipotle Garlic hot sauce, so it wasn't the hottest out there. If you love your lips to tingle, choose something hotter.
The amount of time your wings marinate matters, too. Mine soaked for maybe 30 minutes-1 hour. Overnight (or up to a full day) would infuse the wings with the maximum amount of spice.
When you're ready to make your wings, pull them out of the fridge. Let them sit out at room temperature to take off some of the chill.
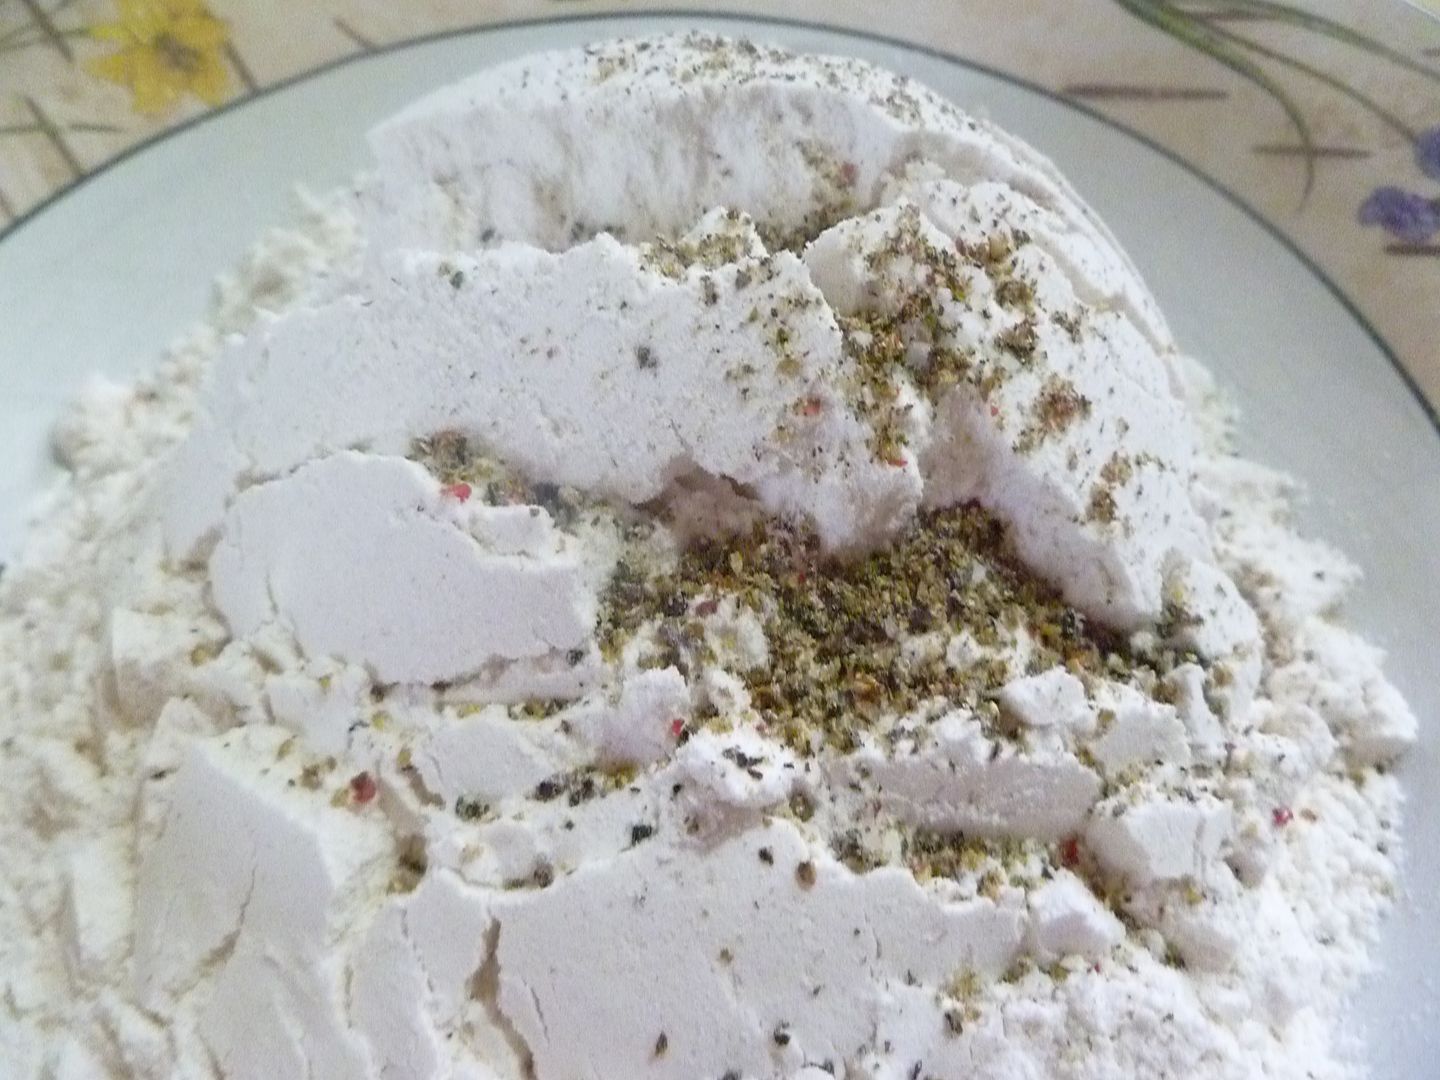
You'll want two bowls for your wings. The first one will have flour, seasoned with salt and pepper.
Add a kick of cayenne if you want even more spice.
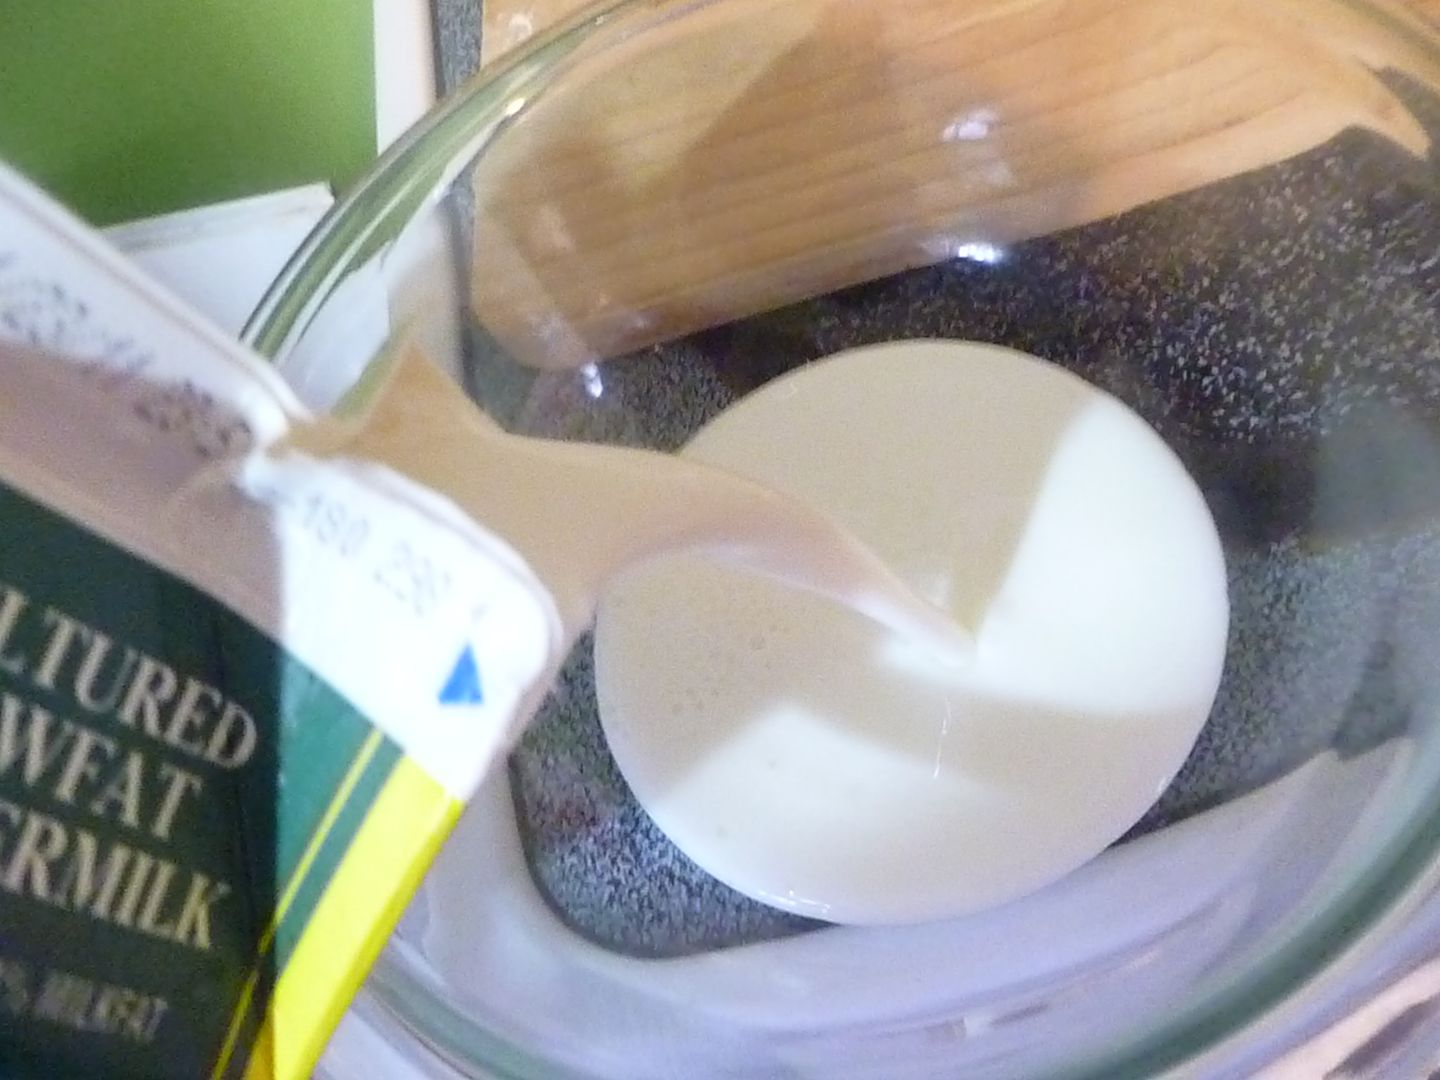
The second bowl will have buttermilk.
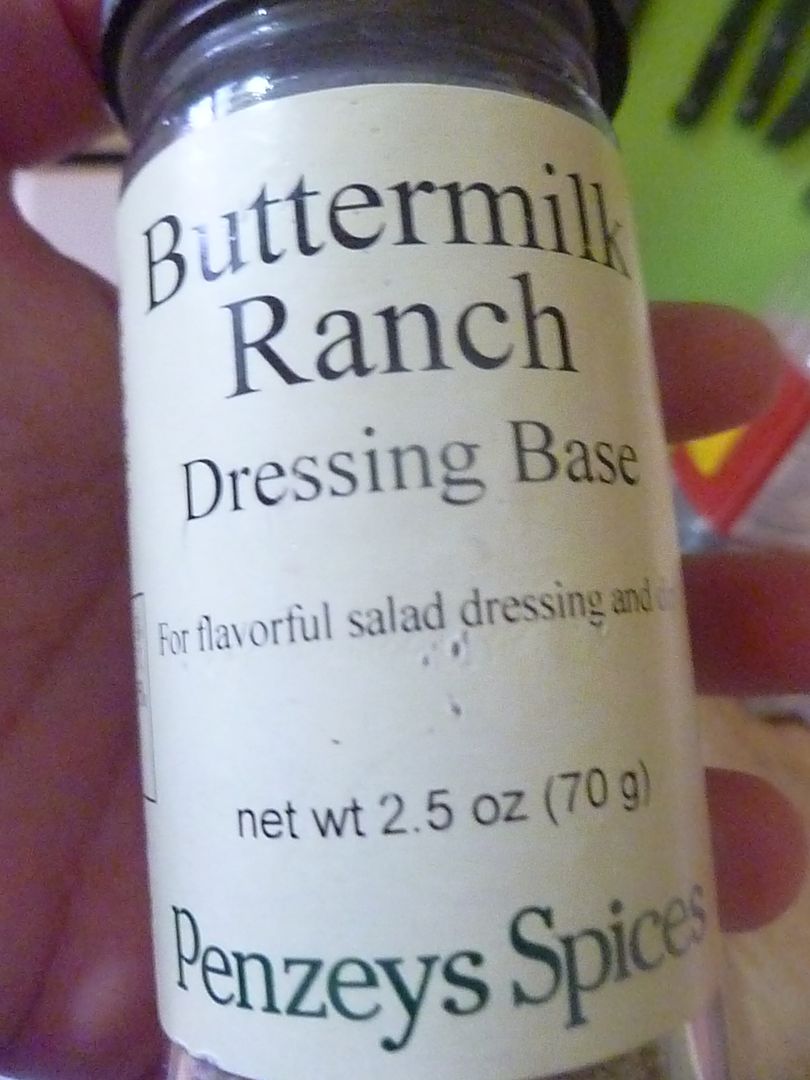
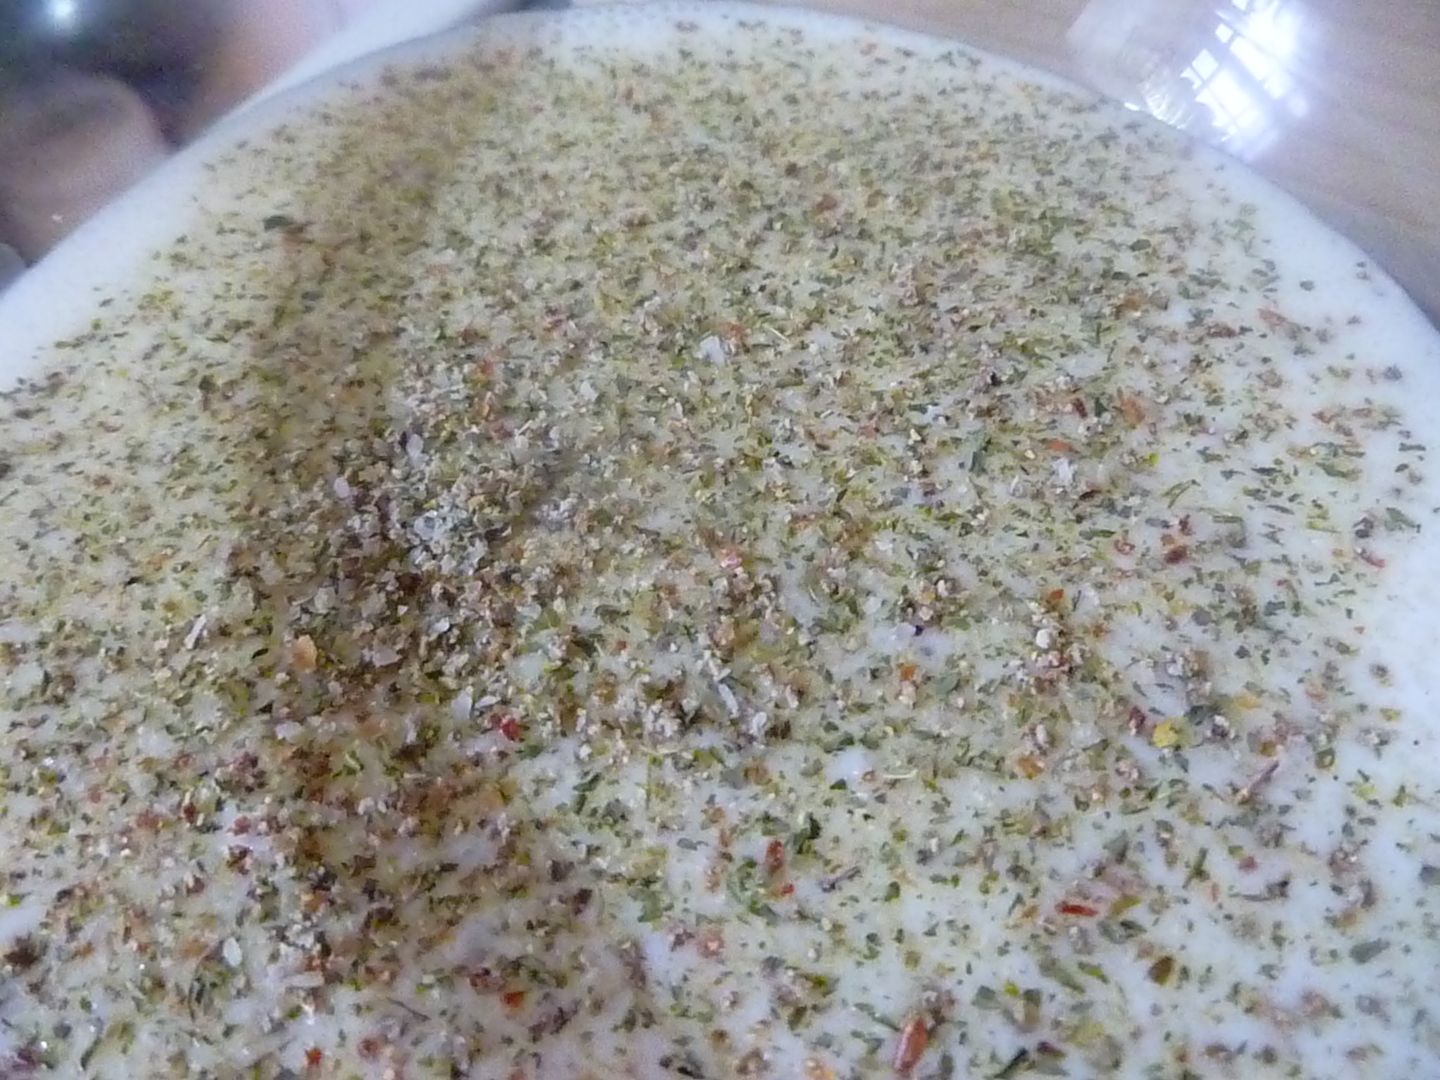
I seasoned the buttermilk with some ranch seasoning I had on hand.
Conversely, you could skip the buttermilk and use ranch dressing (maybe thinned out with a little milk) instead.
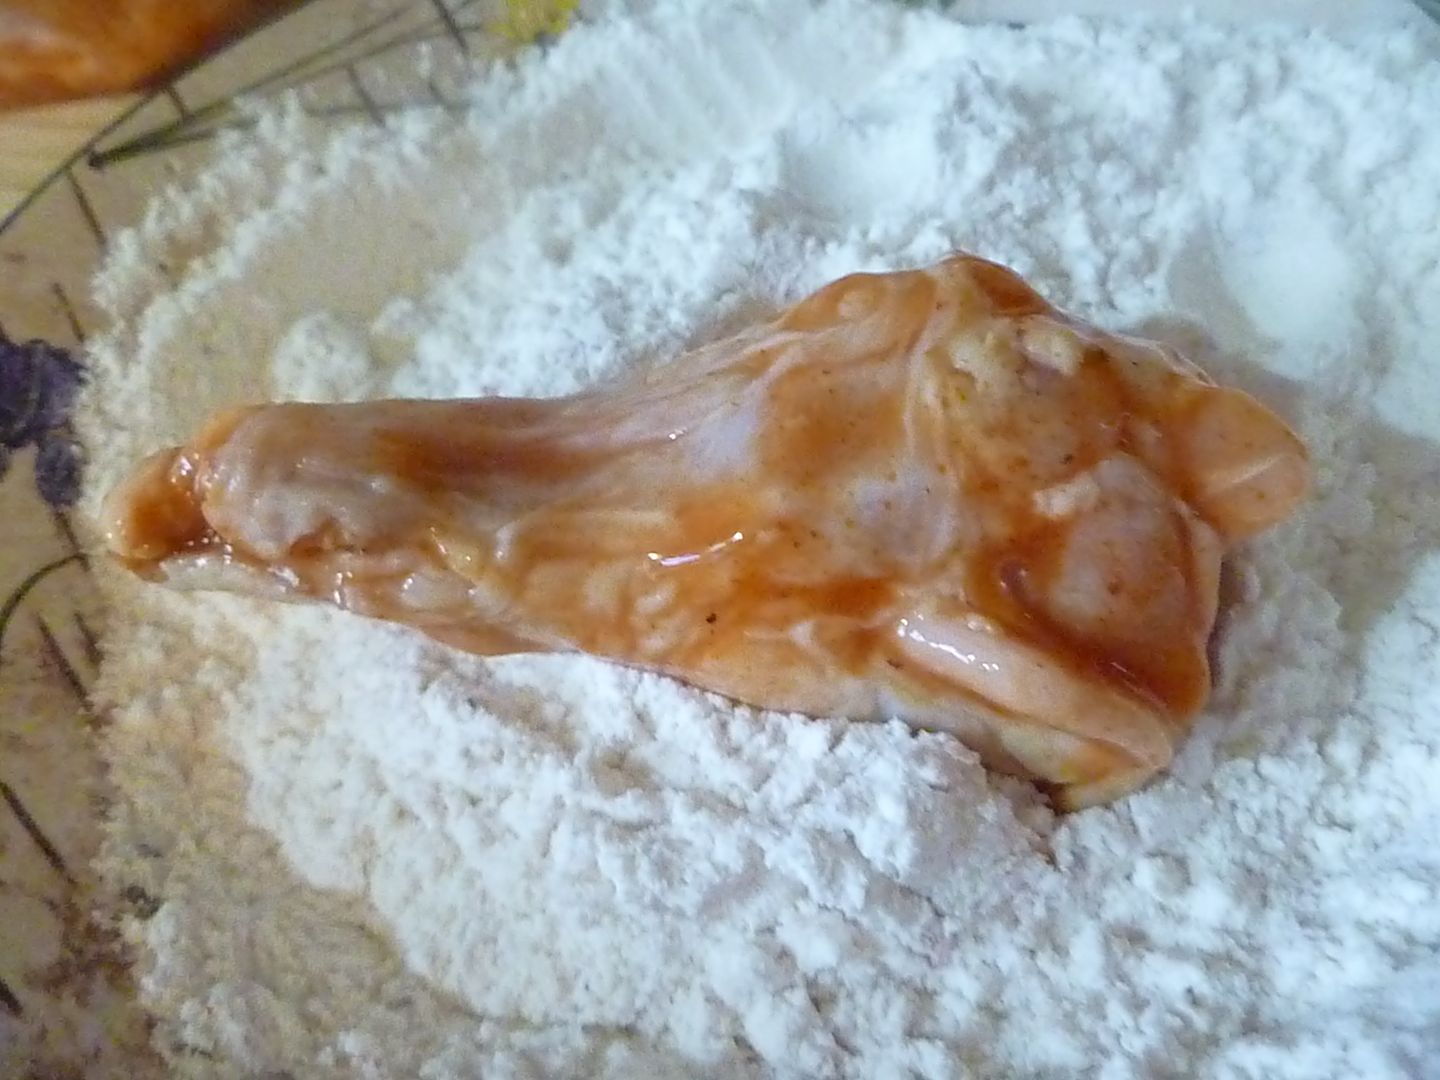
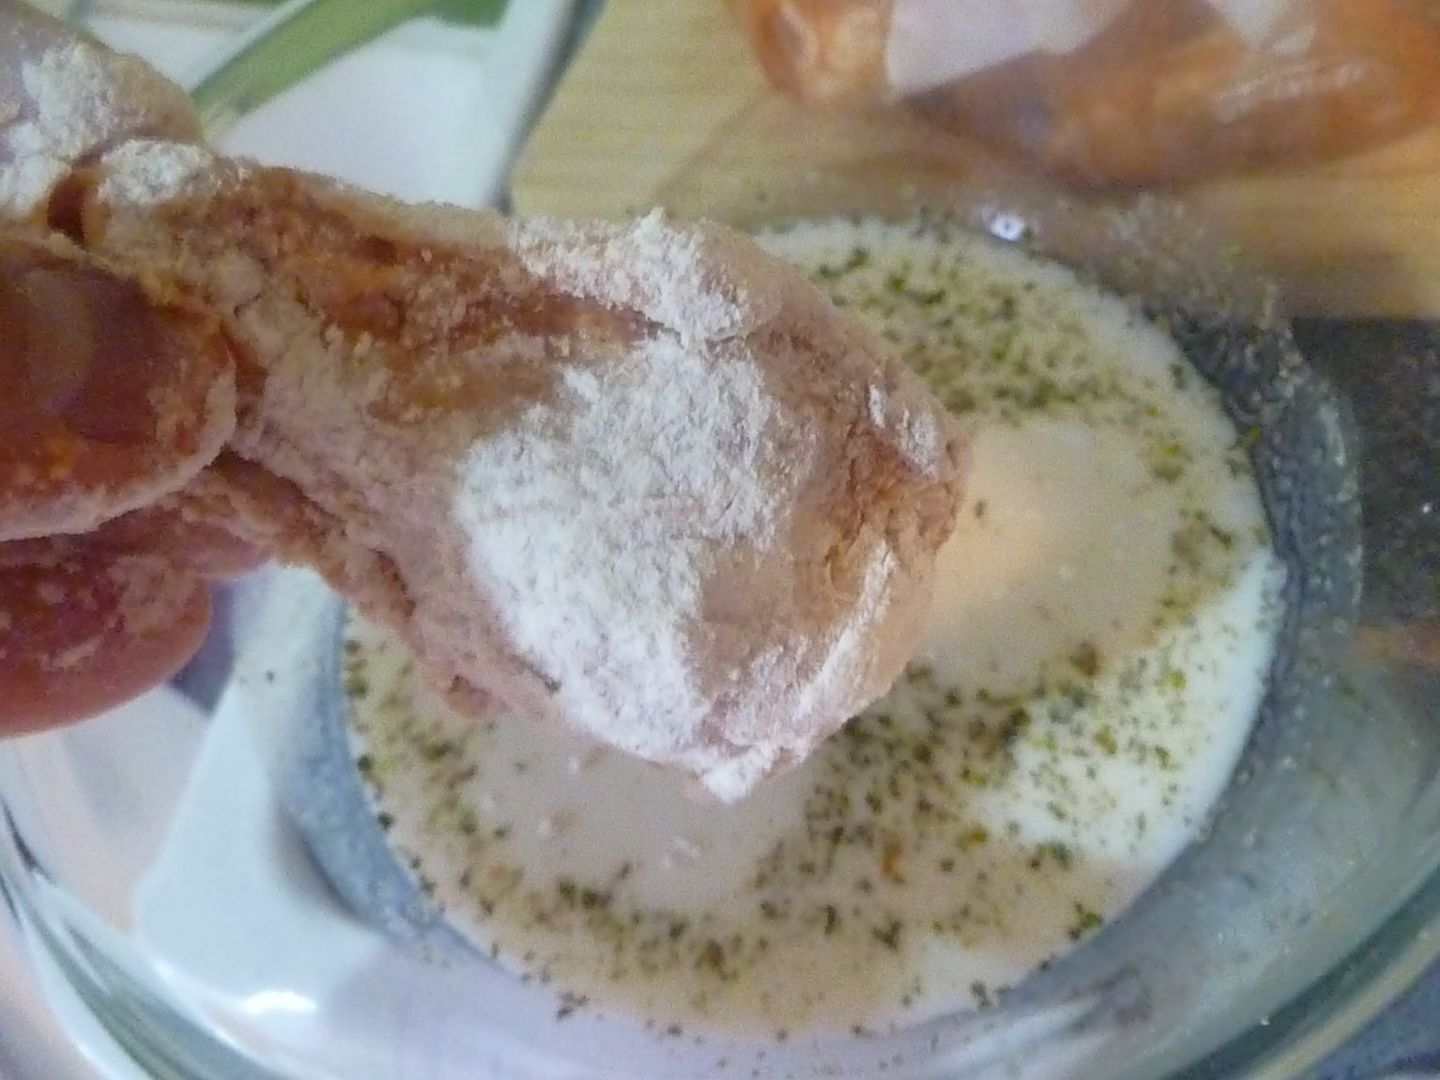
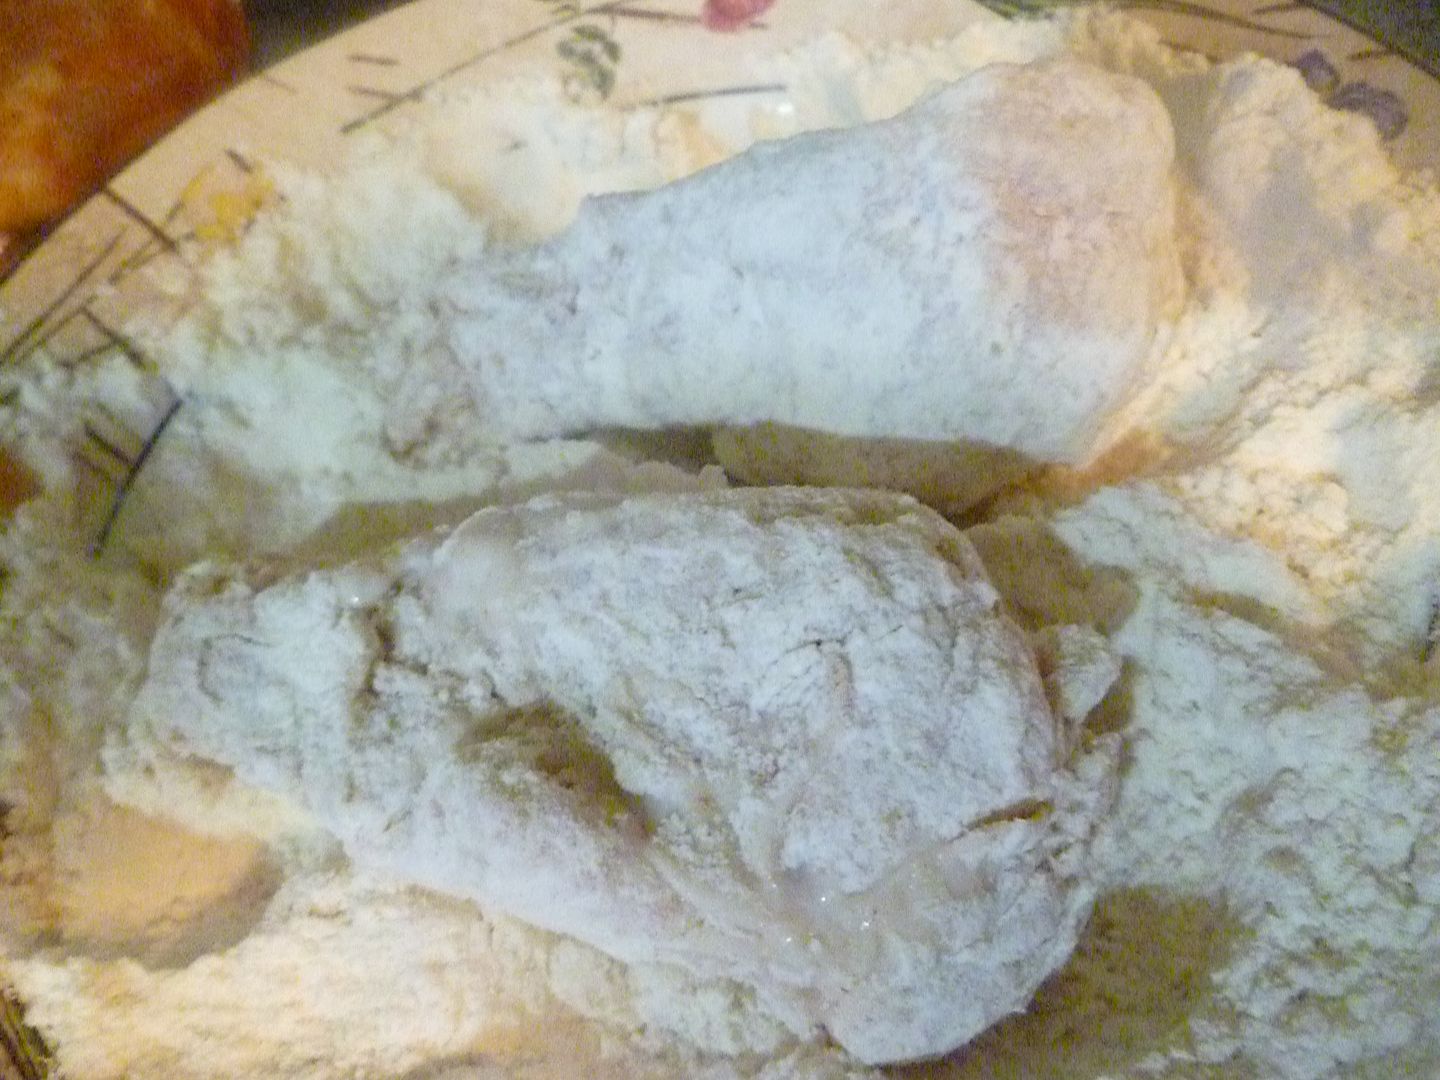
So, take a wing out of the hot sauce. Coat it in the flour, and shake off all the excess.
Move the floured wing to the buttermilk.
Then move it back to the flour.
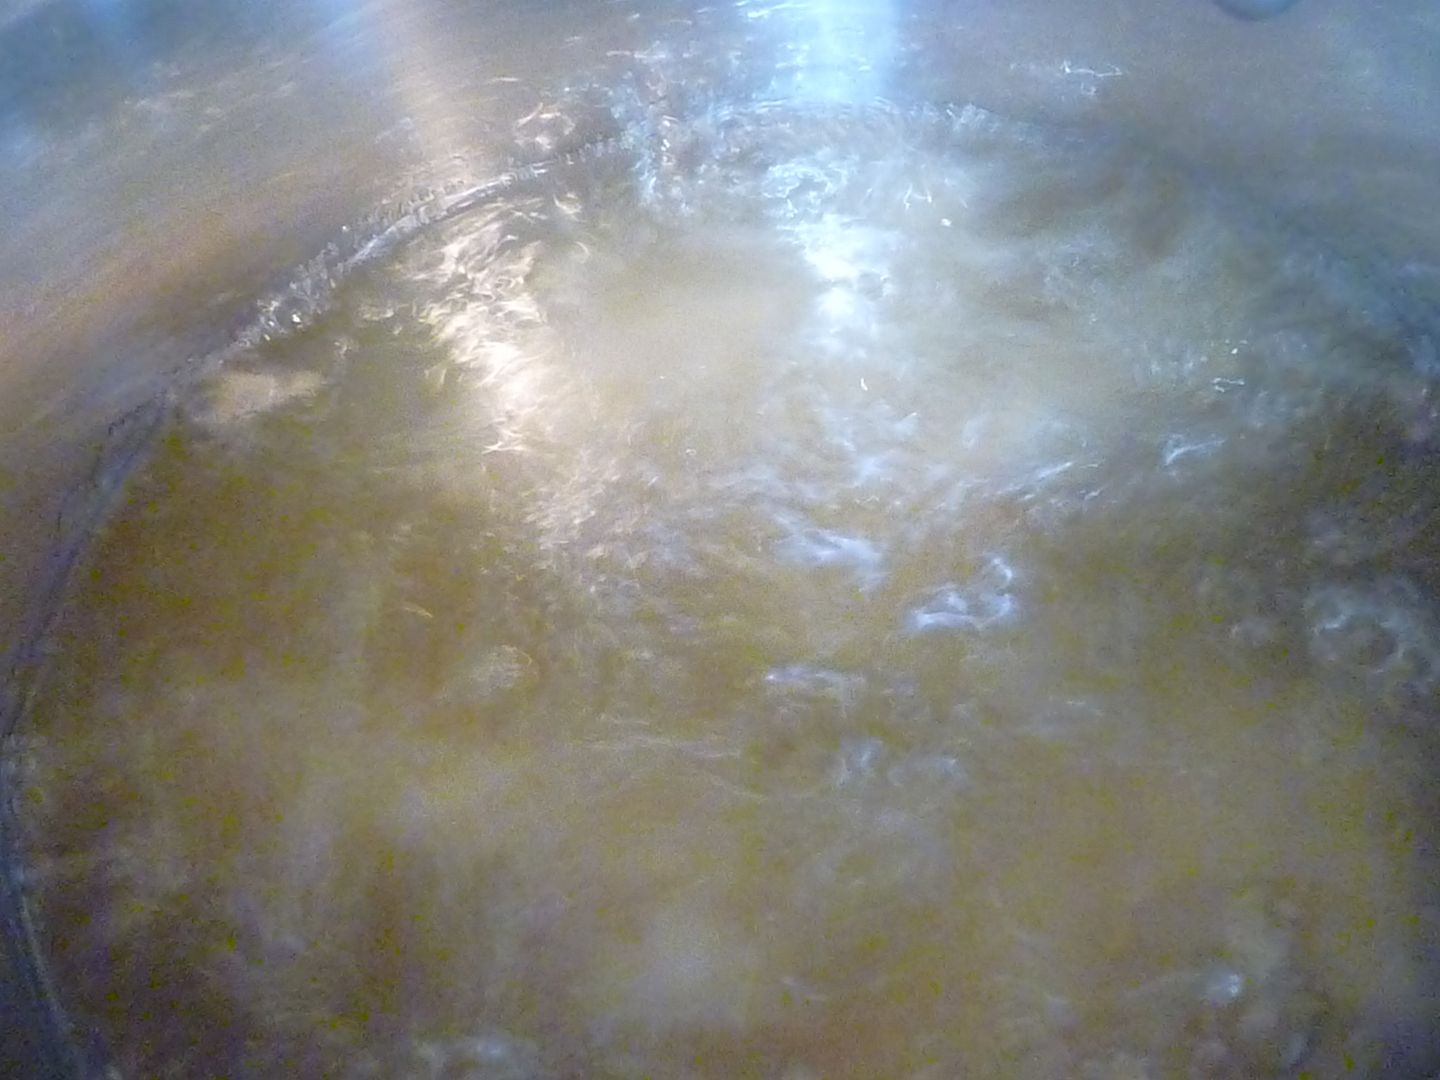
Fry the wings in at least two inches of hot oil, over medium heat. Let them cook for 10-12 minutes, until golden brown and cooked through.
And be sure not to crowd the pot, or you'll bring down the temperature of the oil and the chicken will be greasy.
I let the wings drain on newspaper or paper towels. That allows the excess grease to drain out.
Be sure you've got a glass of milk or a cold beer nearby! These wings will leave your lips tingling and your stomach feeling satisfied.
Recipe: Hot Wings
1 1/2 lbs. chicken drummies
1/3 c. hot sauce
1 c. flour
salt and pepper, to taste
1/2 tsp. cayenne pepper
3/4 c. buttermilk
ranch seasoning (optional), or salt and pepper to taste
oil, for frying
Rinse drummies and pat dry. Marinate in hot sauce for at least 30 minutes and as long as 3 hours.
In a shallow dish, combine flour, salt and pepper, and cayenne pepper.
In a shallow dish, combine buttermilk and ranch seasoning.
Heat at least 2 inches of vegetable oil in a heavy-duty pan over medium-high heat. (Flour should bubble when sprinkled into the oil.)
Remove drummies from hot sauce; dip in flour. Shake off excess flour.
Dip drummies into buttermilk. Let excess drain off.
Dip drummies into flour. Shake off excess flour.
Carefully place drummies in the hot oil. Fry for 10-12 minutes or until golden brown and cooked through. Drain on newspaper.
Showing posts with label fried food. Show all posts
Monday, November 14, 2011
Saturday, October 8, 2011
Giant Blueberry Donut Holes
Sorry for the Monday-only post this week! Something was wrong with my photo hosting service, and images were coming up blurry or not at all. I've since switched my free hosting service to a paid one--I should have done it a long time ago, photos load much more quickly and are stored at high resolution! Thanks for your patience :) To make up for it, here's a Saturday post!
Mr. Kim Chee loves donuts. Unfortunately, bakeries here that make fabulous donuts are few and far between (O Krispy Kreme, how I miss you ... ) Some of his favorite donuts are blueberry cake donuts. So I pulled the Good Wife card and made some :)
They're pretty easy to make.
Just a note--before you begin, grab two cookie sheets and pop them in the freezer. Trust me. They'll come in handy.
In a large mixing bowl, measure out some flour and sugar.
Quite a bit of flour and sugar. This recipe makes several dozen giant donut holes--but there's really no way you can reduce this recipe any more than it already is. If you've got a small family, I suggest making friends with your neighbors, or inviting some friends over for breakfast.
Measure and add some salt.
Some baking soda will help the donuts rise a little.
Whisk the dry ingredients together and then set the bowl aside.
Now get a two-cup measuring cup, and pour in some buttermilk.
Crack in an egg.
Measure some sour cream and add that, too.
A little melted butter is next. It helps if your "cold" items have been given enough time to come to room temperature before you add the butter, or it will become firm again. But it's not a huge deal.
Finally, a bit of vanilla is added. I also planned on putting in a little lemon zest, but all my lemons appeared to be MIA. But add some if you've got it--lemon and blueberry is a lovely combination.
Stir the wet ingredients together, taking care to scramble your egg. Then pour the wet ingredients into the bowl with the dry ingredients.
Before you get down and dirty, measure some blueberries. I used frozen, which helped my dough stay cool, but fresh are fine if you've got some.
A spoon might work, but I dug in with my (clean) bare hands. Give the blueberries a smoosh, to distribute their blueberry goodness throughout the dough.
I'm frying my donut holes in a mixture of vegetable oil and Crisco. Because Crisco fries like no other.
Heat a couple inches of Crisco and/or oil in a heavy-duty pot.
While the oil is getting hot, you can roll out the donut dough. Turn it out onto a well-floured surface.
Flour a rolling pin well. This dough is pretty sticky.
Roll the dough out to be about 1/2 an inch.
Now, remember those baking sheets I told you to put in the freezer? Take them out. Cover the dough with the cold sheets. That will help the dough firm up and be a bit more manageable when you cut and fry it.
If you don't have enough freezer room, I would recommend putting the dough in the fridge after mixing it, for, say, an hour. Enough to cool it down and reduce the stickiness.
Let the cool pans sit on top of the dough for at least 5 minutes. Then use a glass or a biscuit cutter to cut out round shapes.
They're giant donut holes because this is the smallest cutter I have.
Lay your cut-out dough shapes on the second cold sheet.
Cut out all the donut holes. Put one pan back in the freezer, to keep the dough cold. When you're ready for them, just take them right out and stick them into the oil. You'll notice they're much easier to handle when cold!
Then you can start frying the other pan. The oil should be hot enough to bubble when you add a donut, but not too hot that they burn. I had my stove on medium heat.
The donuts will sink to the bottom of the pan when you add them, and then rise to the top. I added a few at a time, adding more after the first few had drifted to the top. They have a tendency to drift close together and want to stick, so adding only a few at a time will keep you from ending up with one huge stuck-together donut.
While your first batch is frying, you can quickly make the glaze.
It's a powdered sugar glaze, so you'll need some powdered sugar.
A liquid is needed to make it a glaze. You could use milk or cream, but I used buttermilk. It's a great addition.
A little vanilla, just to give it some flavor.
Stir the glaze together and then go check on your donuts.
By now, they should be ready to come out of the oil. Let them drain for a minute or so on some newspaper or paper towels.
Dip each donut into the glaze and make sure all sides are covered.
Let any excess glaze drip off.
Then set the newly-glazed donut on a cooling rack, to let them cool, the glaze to harden, and any additional glaze drip off.
I'm not a huge fan of cake donuts, but I ate three of these right away. The glaze is sweet but not too sweet, the outside is crunchy, and the inside is creamy and cakey. If you're craving a homemade cake donut, I strongly recommend you give these a try!
Recipe: Giant Blueberry Donut Holes
5 c. flour
1 1/4 c. sugar
1/2 tsp. salt
1 1/2 tsp. baking soda
1 1/3 c. buttermilk
1/4 c. sour cream
1 egg
3 tbsp. butter, melted
1/2 tsp. vanilla extract
3/4 c. blueberries
Oil, for frying
In a large bowl, whisk flour, sugar, salt, and baking powder together. Set aside.
In a large measuring cup, combine buttermilk, sour cream, egg, butter, and vanilla extract. Stir well.
Pour wet ingredients into dry. Stir briefly. Add blueberries; use a spoon or your hands to crush the blueberries. Stir until combined.
Turn dough onto well-floured surface. Roll to about 1/2 inch thickness. Cover dough with a cold baking sheet while oil preheats.
Heat at least 2 inches of oil over medium heat. When ready, cut donut holes and place on a second cold baking sheet. Cut out all donut holes, placing the second sheet with donut holes into the freezer while you fry.
Fry donuts for 6-8 minutes or until cooked through. Drain on newspaper and/or paper towels. Coat hot donuts in glaze (recipe below) and allow to drain and cool.
Recipe: Glaze
3 1/2 c. powdered sugar
3/4 c. buttermilk
1 1/2 tsp. vanilla extract
Combine all ingredients in a bowl; whisk together until smooth.
Wednesday, June 29, 2011
Firecracker Jalapeno Burgers
Mr. Kim Chee is a big fan of all things hot and spicy. Whenever we go out to eat and I see a burger with peppers, jalapenos, wasabi, or any other kind of spicy thing, there's a pretty big chance he'll order it. I'm not as enamored with heat as he is, but I do love a good burger and am always looking at new ways to dress up ground beef! These jalapeno burgers are spicy enough to suit the iron-tongued person in your life, but are mild enough for the average person to enjoy too.
I used a pound of ground beef; they were pre-formed into patties but I broke them up and mixed the ingredients in with the beef. You could just as easily stuff the patties with the filling.
The heat in these burgers comes from pepperjack cheese and a fresh jalapeno.
I used two slices of presliced cheese. First I cut them into strips.
Then I cubed them, so they were in little pieces.
Next was the jalapeno. I ended up using about half a good-sized jalapeno, and that was perfect; you could most definitely use more, without the jalapeno taking over the overall taste of the burger.
If I'm not using the whole jalapeno, I usually cut the bottom part of the pepper off. I guess I feel like keeping the jalapeno as whole as possible keeps it fresh longer--it also allows me to store the remainder of the pepper with other ingredients, like bell pepper or onion, without worrying that the hotness will rub off on the other veggie. Then I cut the bottom part in half, and scrape out the seeds and membrane, and dice the pepper very finely.
The cheese and jalapenos get thrown in with the ground beef.
For a little more flavor, I added some smoked paprika. Chili powder or Cajun seasoning would be nice additions too, if you have them.
Garlic and onion powders gave some more flavor without adding more wet ingredients (I imagine it would be kind of difficult to keep these in patty form if minced onion and garlic were added.)
And always remember to season your meat with salt and pepper!
To add some moisture (and a little more flavor), I poured in some Worcestershire sauce. I love Worcestershire sauce.
Gently mix the ingredients and form into patties.
Send your significant other out to the grill with these, and start on the real heat--fried jalapenos!
I used jarred jalapenos for these. I saw a recipe that used fresh jalapenos, but I imagine those would be pretty spicy!
The batter for the jalapenos consists of two bowls--a wet bowl and a dry bowl.
The first bowl we'll put together is the dry bowl. It starts with flour.
For texture, I added cornmeal.
Season with salt and pepper.
Garlic powder will add a little accent flavor.
Finally, chili powder will add a smokiness to the batter.
Mix the bowl ingredients together and then get started on your second bowl.
This bowl also starts with flour and cornmeal, although with a slightly different ratio. Buttermilk will turn this bowl into a thick, wet mixture that will stick to your jalapenos. I'll spare you more pictures of white-on-white ingredients and get down to it.
Drain the jalapenos and throw 'em right into the wet mixture.
Then toss them into the dry. Make sure they're well coated.
Caaaarefully drop the breaded jalapeno slices into hot oil (my burner was set a little higher than medium heat.)
Fry until golden brown. Let your fried slices drain on paper towel or newspaper; season with salt if desired.
This batter is great for anything you might want to fry--I picked up some green tomatoes at the market and I sliced them up and tossed them in to fry. If you like fried pickles, whole jalapenos, or any other condiment, I say go for it!
By this time, your burgers should be hot off the grill. I meant to melt a slice of pepperjack cheese over the top, but forgot to send Mr. Kim Chee out with the cheese. If you remember, go for it! Pile everything together and enjoy the tingling sensation that only a jalapeno can give!
Recipe: Firecracker Jalapeno Burgers
Burgers:
1 lb. ground beef
1/2 fresh jalapeno, seeded and minced
2 slices pepperjack cheese
1/2 tsp. smoked paprika
1/4 tsp. garlic powder
1/4 tsp. onion powder
salt and pepper, to taste
1 tbsp. Worchestershire sauce
pepperjack cheese
Jalapeno Slices:
Bowl 1:
1/2 c. flour
1/4 c. cornmeal
salt and pepper, to taste
1/2 tsp. chili powder
1/2 tsp. garlic powder
Bowl 2:
1/4 c. flour
3 tbsp. cornmeal
salt and pepper, to taste
1 c. buttermilk
pickled jalapenos (the batter recipe should be enough for at least half a large jar)
oil, for frying
Combine all burger ingredients in a bowl. Mix gently and shape into patties. Grill over medium-high heat until cooked to desired doneness.
Bowl 1: Combine all ingredients. Mix well.
Bowl 2: Combine all ingredients. Mix well.
Heat oil over medium heat (about 375F).
Dip jalapenos into bowl 2; coat well. Move to bowl 1; coat well. Carefully drop breaded jalapenos into hot oil; fry for 5-8 minutes until golden brown. Drain on paper towels or newspaper.
Top burgers with jalapeno slices. Serve!
Just a note: Due to vacation that includes little to no Internet access, Kim Chee Casserole will also be on vacation. The blog will be back up and running on Wednesday, July 6. Happy 4th of July everyone!
Subscribe to:
Posts (Atom)